Introdução
This guide will show you how to replace the hard drive in a Sony VAIO VPC-EB33FM laptop.
There are several signs of a failing hard drive including sluggish response, freezing, overheating, and even audible clicking or whirring noises from your computer. Hard drives store data, operating systems, and your applications, so you will want to replace that hard drive before it is completely worn out. An earlier replacement will ensure more, if not all, your data is saved.
However, before you uninstall your failing hard drive, you will want to make sure you have backed up any data you would like to save. This includes (but is not limited to), documents, files, music, and photos. Also, have your new hard drive readily available to make this transition as smooth as possible. When you have covered these initial steps, you are ready to begin!
O que você precisa
-
-
-
Power down the laptop by pressing the power button.
-
Turn the laptop onto its backside.
 Pergunte ao FixBot
-
-
-
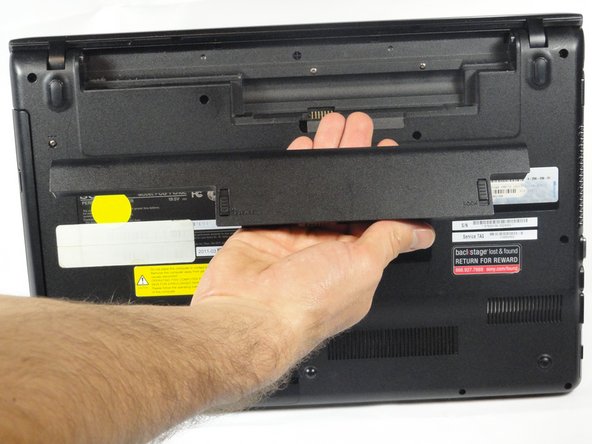
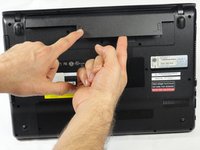
To release the battery, hold both the release button and the unlock button at the same time.
-
-
-
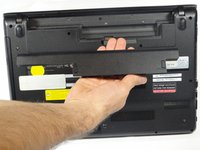
Remove the battery out from the notch while continuing to hold the release button.
-
-
-
-
-
-
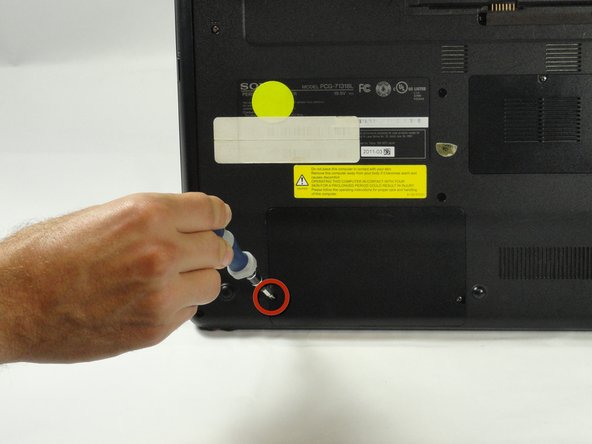
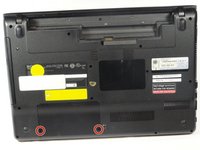
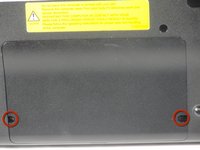
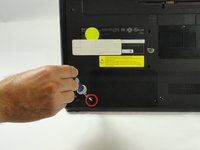
Use a Phillips #00 screwdriver to remove the two 7.8 mm cover screws on the bottom corners of the panel.
-
-
-
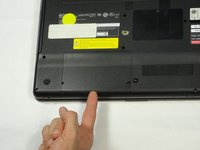
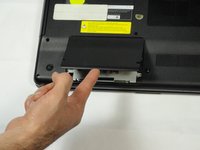
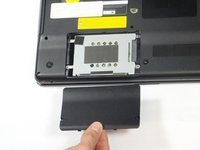
Use a finger/fingernail to grip the notch at the bottom of the panel to lift it off.
-
-
-
Remove the two remaining 7.8 mm screws using the Phillips #00 screwdriver.
-
-
-
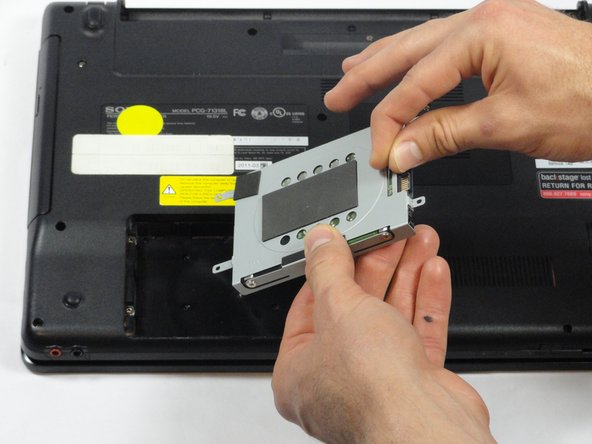
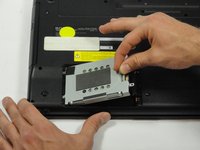
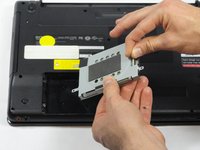
Grab the tab between your thumb and index finger.
-
Hold the hard drive securely in a horizontal position using your other hand.
-
Push the hard drive to the left using the plastic tab to disconnect it from the laptop.
-
-
-
While still holding the plastic tab, lift the right side of the hard drive out at a 45º angle.
-
Pull the hard drive out.
-
-
-
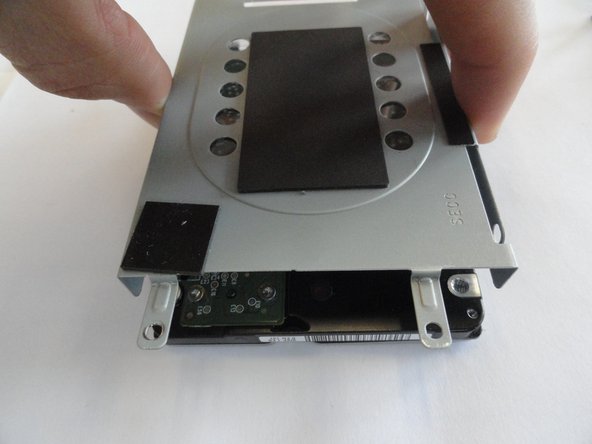
If you need to remove the bracket from the hard drive, follow the next few steps:
-
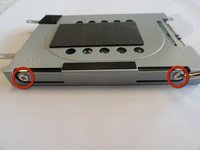
Remove the two 3.7 mm screws from either side of the bracket with a Phillips #00 screwdriver.
-
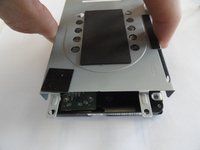
Lift the bracket off the hard drive.
-
-









To reassemble your device, follow these instructions in reverse order.
Cancelar: não concluí este guia.
9 outras pessoas executaram este guia.

Equipe

Cal Poly, Team 18-39, Regan Winter 2013 Membro de Cal Poly, Team 18-39, Regan Winter 2013
CPSU-REGAN-W13S18G39
5 Membros
Autoria de 42 guias
1Comentário do guia
This is very good step by step instructions guide. Loved it and was able to remove my laptop hd very easily. I created this account only to say thanks to writer. Amazing job !! Thaks ton.
