Ir para o conteúdo principal
Participe da comunidade de reparos - Criar conta

Sony DSC-RX10M3 Back and Right Panel Replacement

O que você precisa

    1. Sony DSC-RX10M3 Back and Right Panel Replacement, Battery Replacement: passo 1, imagem 1 %32
      • Turn off the Device by scrolling the tab to "OFF" indicated by the arrow.

      Pergunte ao FixBot

      Comentar

    2. Sony DSC-RX10M3 Back and Right Panel Replacement: passo 2, imagem 1 %32 Sony DSC-RX10M3 Back and Right Panel Replacement: passo 2, imagem 2 %32 Sony DSC-RX10M3 Back and Right Panel Replacement: passo 2, imagem 3 %32
      • Remove the battery located at the bottom of the device.

      Pergunte ao FixBot

      Comentar

    1. Sony DSC-RX10M3 Back and Right Panel Replacement, Back and Right Panel: passo 3, imagem 1 %32
      • Remove the twelve 0.7mm Phillips #000 screws from the bottom case.

      Pergunte ao FixBot

      Comentar

    2. Sony DSC-RX10M3 Back and Right Panel Replacement: passo 4, imagem 1 %32 Sony DSC-RX10M3 Back and Right Panel Replacement: passo 4, imagem 2 %32
      • Remove the two 0.7mm screws that secure the right side of the camera.

      • Remove the two 0.7mm screws that secure the left side of the camera, near the Wi-Fi logo and charging port.

      Pergunte ao FixBot

      Comentar

    3. Sony DSC-RX10M3 Back and Right Panel Replacement: passo 5, imagem 1 %32 Sony DSC-RX10M3 Back and Right Panel Replacement: passo 5, imagem 2 %32
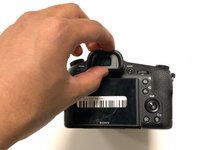
      • Gently pull off the plastic eye guard.

      Pergunte ao FixBot

      Comentar

    4. Sony DSC-RX10M3 Back and Right Panel Replacement: passo 6, imagem 1 %32 Sony DSC-RX10M3 Back and Right Panel Replacement: passo 6, imagem 2 %32
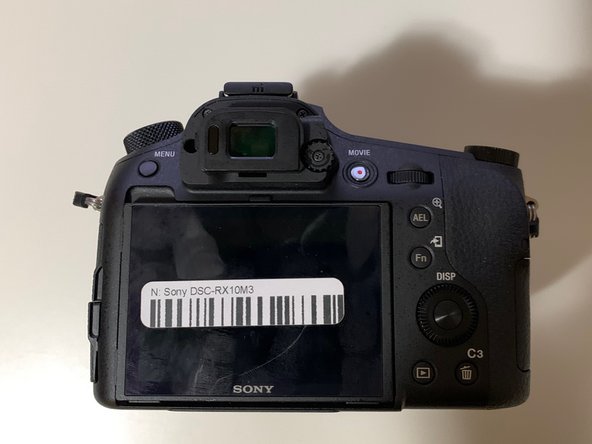
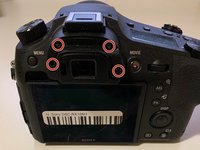
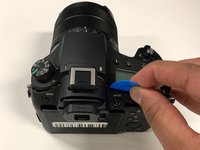
      • Use a Phillips #000 screwdriver to remove the four 0.4mm screws located under the rubber eye guard.

      • Use a plastic opening tool to detach the back panel of the camera.

      Pergunte ao FixBot

      Comentar

    5. Sony DSC-RX10M3 Back and Right Panel Replacement: passo 7, imagem 1 %32
      Ferramenta utilizada neste passo:
      Tweezers
      $4.99
      • This is a tight spot; make sure you use minimal force when removing the cover.

      • Using tweezers, disconnect the ribbon cable connecting the LCD to the circuit board.

      Pergunte ao FixBot

      Comentar

    6. Sony DSC-RX10M3 Back and Right Panel Replacement: passo 8, imagem 1 %32
      • This step is only needed if you wish to remove the right side panel.

      • Use a plastic openeing tool to gently detach the right panel.

      Pergunte ao FixBot

      Comentar

Conclusão

To reassemble your device, follow these instructions in reverse order.

Cancelar: não concluí este guia.

3 outras pessoas executaram este guia.

Salman Hersi

Membro desde: 01/14/20

339 Reputação

Autoria de 2 guias

Equipe

0Comentários do guia

Comentar

Visualizações:

Últimas 24 horas: 5

Últimos 7 dias: 19

Últimos 30 dias: 72

Ao todo: 1,947