Ir para o conteúdo principal
Participe da comunidade de reparos - Criar conta

Sony DSC-RX100MA Image Sensor Replacement

O que você precisa

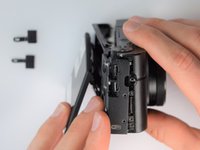
  1. Sony DSC-RX100MA Image Sensor Replacement, Back Cover: passo 1, imagem 1 %32 Sony DSC-RX100MA Image Sensor Replacement, Back Cover: passo 1, imagem 2 %32 Sony DSC-RX100MA Image Sensor Replacement, Back Cover: passo 1, imagem 3 %32
    • Remove battery by sliding the tab to open the cover

    Pergunte ao FixBot
    Comentar

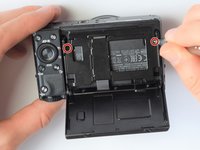
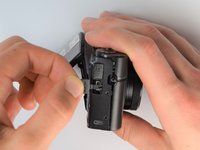
  2. Sony DSC-RX100MA Image Sensor Replacement: passo 2, imagem 1 %32 Sony DSC-RX100MA Image Sensor Replacement: passo 2, imagem 2 %32 Sony DSC-RX100MA Image Sensor Replacement: passo 2, imagem 3 %32
    • Using the screwdriver, remove all screws (black 2.5mm) from outermost layer of the assembly.

    • All screws in the camera can be removed with the PH 0 driver head.

    Pergunte ao FixBot
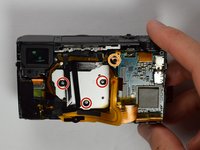
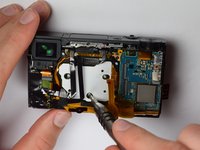
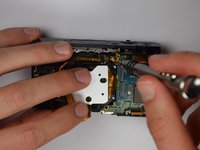
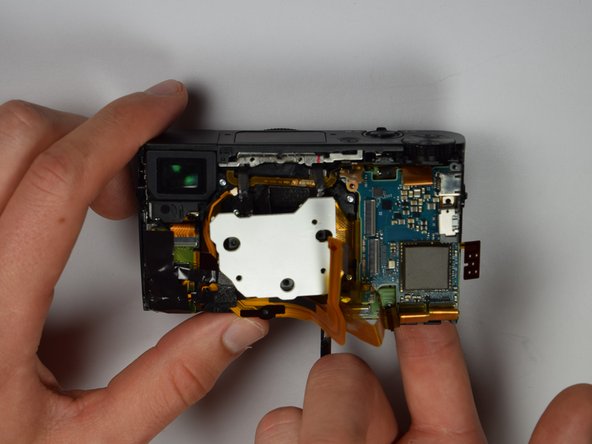
    Comentar

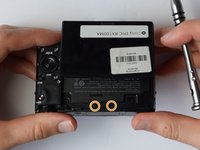
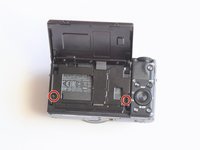
  3. Sony DSC-RX100MA Image Sensor Replacement: passo 3, imagem 1 %32 Sony DSC-RX100MA Image Sensor Replacement: passo 3, imagem 2 %32 Sony DSC-RX100MA Image Sensor Replacement: passo 3, imagem 3 %32
    • Also using the screwdriver, remove screws (black 1mm) underneath articulated LCD screen.

    • Remove the marked 2.5 mm screws with the screwdriver

    Pergunte ao FixBot

    Comentar

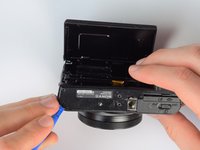
  4. Sony DSC-RX100MA Image Sensor Replacement: passo 4, imagem 1 %32 Sony DSC-RX100MA Image Sensor Replacement: passo 4, imagem 2 %32
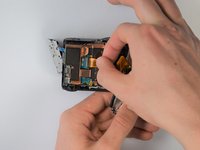
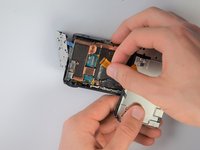
    • Using the plastic opening tools, carefully pry off the bottom plate.

    • Do not pull too hard as you may break the plastic casing.

    Pergunte ao FixBot

    Comentar

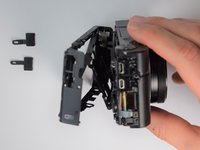
  5. Sony DSC-RX100MA Image Sensor Replacement: passo 5, imagem 1 %32 Sony DSC-RX100MA Image Sensor Replacement: passo 5, imagem 2 %32 Sony DSC-RX100MA Image Sensor Replacement: passo 5, imagem 3 %32
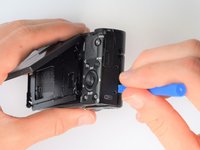
    • Using the same plastic opening tools, separate the screen and back assembly from the front portion of the camera

    • Once the back assembly is slightly detached, pull the media covers for the HDMI and Multimedia ports

    Pergunte ao FixBot
    Comentar

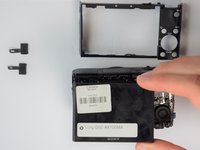
  6. Sony DSC-RX100MA Image Sensor Replacement: passo 6, imagem 1 %32 Sony DSC-RX100MA Image Sensor Replacement: passo 6, imagem 2 %32
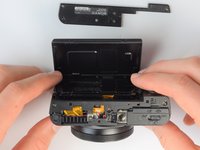
    • Remove the back cover

    Pergunte ao FixBot
    Comentar

  7. Sony DSC-RX100MA Image Sensor Replacement, Screen: passo 7, imagem 1 %32 Sony DSC-RX100MA Image Sensor Replacement, Screen: passo 7, imagem 2 %32 Sony DSC-RX100MA Image Sensor Replacement, Screen: passo 7, imagem 3 %32
    • Move side panel to get access to screws

    • Remove two screws (black 2.5mm) with PH #0 screwdriver

    Pergunte ao FixBot

    Comentar

  8. Sony DSC-RX100MA Image Sensor Replacement: passo 8, imagem 1 %32 Sony DSC-RX100MA Image Sensor Replacement: passo 8, imagem 2 %32
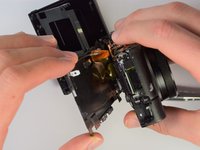
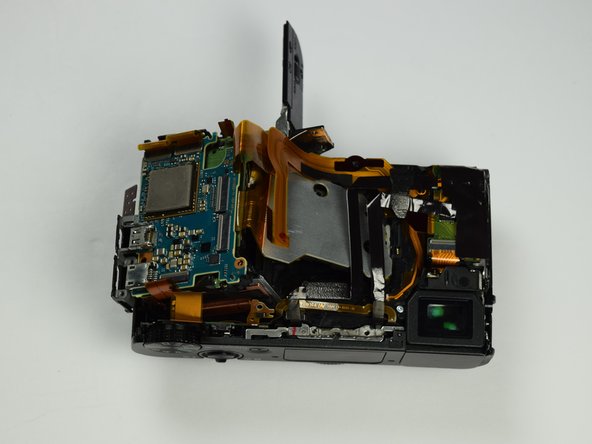
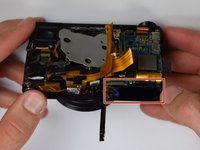
    • Remove back panel assembly while still keeping ribbon cable attached

    • Be very gentle and care not to tear the gold ribbon cable. This will be a common theme throughout these replacement guides.

    Pergunte ao FixBot

    Comentar

  9. Sony DSC-RX100MA Image Sensor Replacement: passo 9, imagem 1 %32 Sony DSC-RX100MA Image Sensor Replacement: passo 9, imagem 2 %32
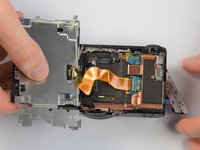
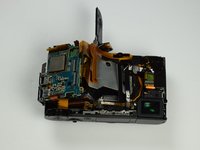
    • Carefully unplug ribbon connector to fully detach LCD screen assembly from camera

    Pergunte ao FixBot

    Comentar

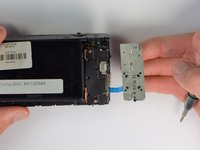
  10. Sony DSC-RX100MA Image Sensor Replacement, Image Sensor: passo 10, imagem 1 %32 Sony DSC-RX100MA Image Sensor Replacement, Image Sensor: passo 10, imagem 2 %32
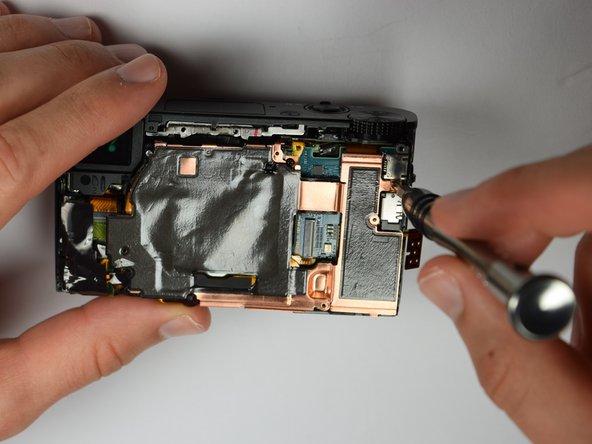
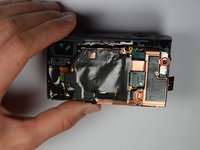
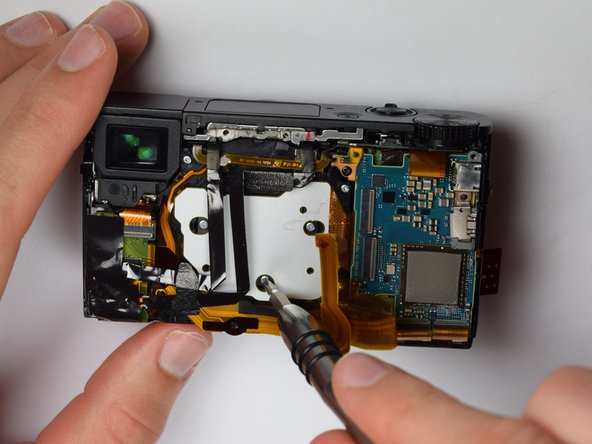
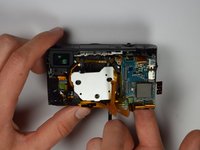
    • Using the Philips Screwdriver, remove the screw (black 3mm) located on the copper casing.

    Pergunte ao FixBot
    Comentar

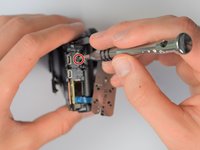
  11. Sony DSC-RX100MA Image Sensor Replacement: passo 11, imagem 1 %32 Sony DSC-RX100MA Image Sensor Replacement: passo 11, imagem 2 %32 Sony DSC-RX100MA Image Sensor Replacement: passo 11, imagem 3 %32
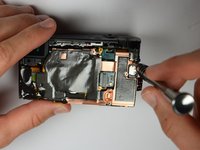
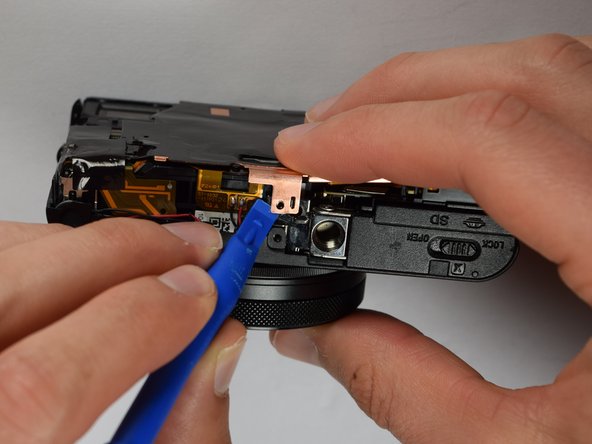
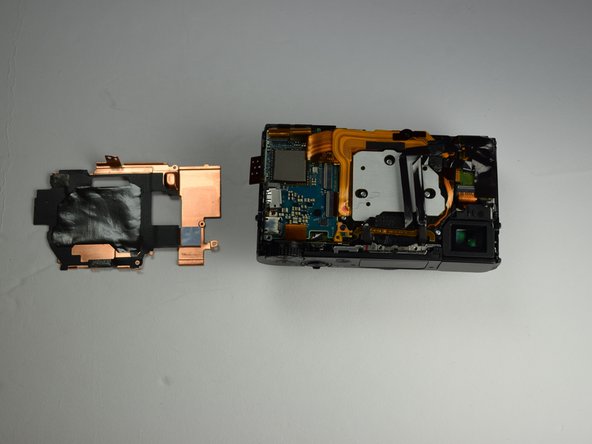
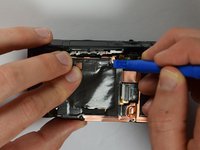
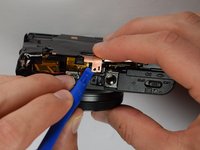
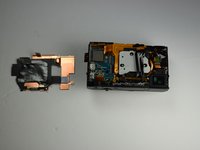
    • Using the plastic opening tools, carefully pry off the copper casing at the two pictured points.

    • Remove casing.

    Pergunte ao FixBot
    Comentar

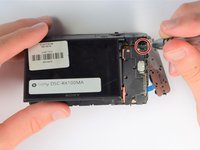
  12. Sony DSC-RX100MA Image Sensor Replacement: passo 12, imagem 1 %32 Sony DSC-RX100MA Image Sensor Replacement: passo 12, imagem 2 %32 Sony DSC-RX100MA Image Sensor Replacement: passo 12, imagem 3 %32
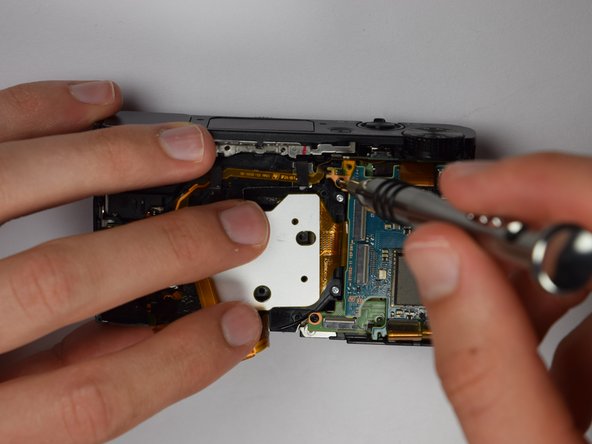
    • Using the Philips screwdriver, remove the three (silver 3mm) screws

    • Remove the screw (silver 2mm) from the upper right hand corner

    Pergunte ao FixBot
    Comentar

  13. Sony DSC-RX100MA Image Sensor Replacement: passo 13, imagem 1 %32 Sony DSC-RX100MA Image Sensor Replacement: passo 13, imagem 2 %32 Sony DSC-RX100MA Image Sensor Replacement: passo 13, imagem 3 %32
    • Place your finger into the battery port and push up on the SD card holder to push it out of its socket.

    • Give it a little wiggle and you should feel the SD card holder come out.

    Pergunte ao FixBot

    Comentar

  14. Sony DSC-RX100MA Image Sensor Replacement: passo 14, imagem 1 %32
    • Now you can remove the marked gold ribbon cable from the SD card holder.

    • Utilize extreme caution while removing because the ribbon cables are extremely fragile and important to the camera.

    Pergunte ao FixBot

    Comentar

Conclusão

To reassemble your device, follow these instructions in reverse order.

Cancelar: não concluí este guia.

Uma outra pessoa concluiu este guia.

Isaiah De Leon

Membro desde: 01/29/17

442 Reputação

Autoria de 3 guias

Equipe

Cal Poly, Team 21-1, Maness Winter 2017 Membro de Cal Poly, Team 21-1, Maness Winter 2017

CPSU-MANESS-W17S21G1

5 Membros

Autoria de 10 guias

0Comentários do guia

Comentar

Visualizações:

Últimas 24 horas: 4

Últimos 7 dias: 14

Últimos 30 dias: 55

Ao todo: 4,117