Ir para o conteúdo principal
Participe da comunidade de reparos - Criar conta

Sony Cyber-shot DSC-P9 Top Button Replacement

O que você precisa

    1. Sony Cyber-shot DSC-P9 Top Button Replacement, Battery: passo 1, imagem 1 %32
      • Slide the battery latch down the side of the camera with your hands.

      • The latch will automatically pop open.

      Pergunte ao FixBot

      Comentar

    2. Sony Cyber-shot DSC-P9 Top Button Replacement: passo 2, imagem 1 %32
      • Unlatch the clip over the battery.

      • The battery will partially pop out.

      Pergunte ao FixBot

      Comentar

    3. Sony Cyber-shot DSC-P9 Top Button Replacement: passo 3, imagem 1 %32 Sony Cyber-shot DSC-P9 Top Button Replacement: passo 3, imagem 2 %32
      • Remove the battery from the camera.

      Pergunte ao FixBot

      Comentar

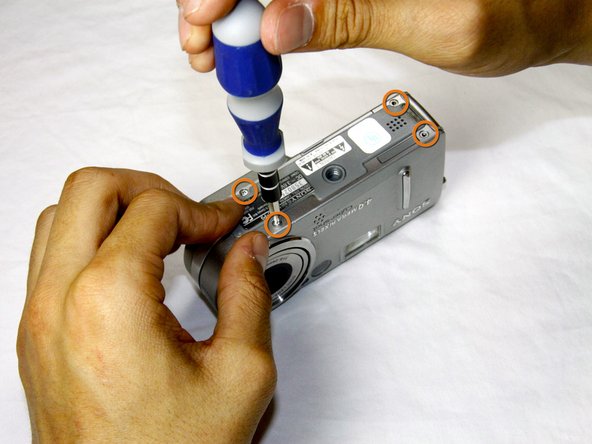
    1. Sony Cyber-shot DSC-P9 Top Button Replacement, Outer Casing: passo 4, imagem 1 %32 Sony Cyber-shot DSC-P9 Top Button Replacement, Outer Casing: passo 4, imagem 2 %32
      • Remove the four 3.0mm Phillips #000 screws on the top of the camera with the phillips screwdriver.

      • Remove the additional four 3.0mm Phillips #000 screws on the bottom of the camera.

      Pergunte ao FixBot

      Comentar

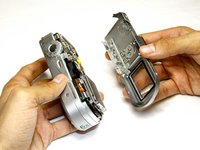
    2. Sony Cyber-shot DSC-P9 Top Button Replacement: passo 5, imagem 1 %32 Sony Cyber-shot DSC-P9 Top Button Replacement: passo 5, imagem 2 %32
      • Once the screws are removed, slowly remove the back casing from the rest of the camera.

      Pergunte ao FixBot

      Comentar

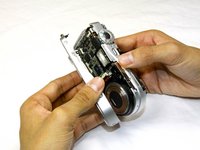
    3. Sony Cyber-shot DSC-P9 Top Button Replacement: passo 6, imagem 1 %32 Sony Cyber-shot DSC-P9 Top Button Replacement: passo 6, imagem 2 %32
      • Then, pull the front case away from the rest of the camera.

      Pergunte ao FixBot

      Comentar

    4. Sony Cyber-shot DSC-P9 Top Button Replacement: passo 7, imagem 1 %32
      • After the casing is removed, the camera should look as shown.

      Pergunte ao FixBot

      Comentar

    1. Sony Cyber-shot DSC-P9 Top Button Replacement, Top Button: passo 8, imagem 1 %32
      • Remove the 3.0mm Phillips #000 screw above the battery door on the side of the camera.

      Pergunte ao FixBot

      Comentar

    2. Sony Cyber-shot DSC-P9 Top Button Replacement: passo 9, imagem 1 %32
      • Pull off the pieces of casing located on either side of the top button of the camera.

      • Both of the two pieces should slide off very easily. Do not force them off.

      Pergunte ao FixBot

      Comentar

    3. Sony Cyber-shot DSC-P9 Top Button Replacement: passo 10, imagem 1 %32
      • Remove the top button piece. You will need to detach a small blue ribbon cable before the button can be fully removed.

      Pergunte ao FixBot

      Comentar

Conclusão

To reassemble your device, follow these instructions in reverse order.

Cancelar: não concluí este guia.

Equipe

Cal Poly, Team 17-25, Amido Spring 2012 Membro de Cal Poly, Team 17-25, Amido Spring 2012

CPSU-AMIDO-S12S17G25

4 Membros

Autoria de 21 guias

0Comentários do guia

Comentar

Visualizações:

Últimas 24 horas: 4

Últimos 7 dias: 12

Últimos 30 dias: 32

Ao todo: 1,092