Introdução
You can use this guide to replace the disk drive in the Sony BDP S3500. It is a fairly easy process and won’t require many tools or a lot of prior experience.
Be sure to review the troubleshooting guide, as most of the time the problems are due to malfunctioning software rather than it being a hardware issue.
This guide will show you how to safely disassemble the device by removing the required parts and connections so that the disk drive can be replaced without damaging any of the other components.
O que você precisa
-
-
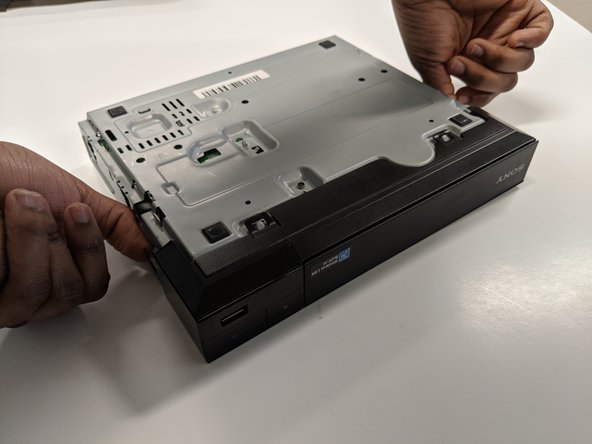
Use the Phillips #2 screwdriver to remove the two 9mm screws located on the back of the device.
-
-
-
-
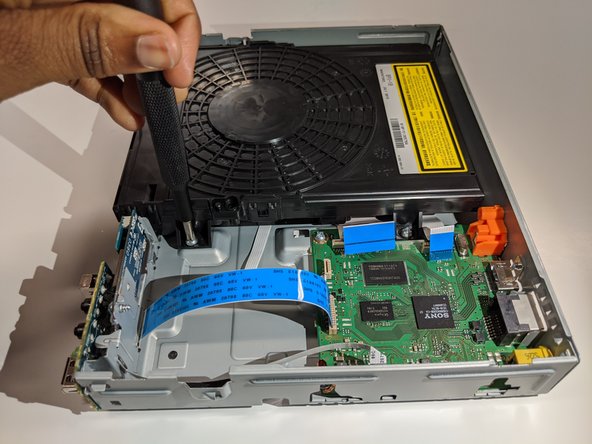
Remove the three ribbon cables by gently pulling the cables out of each connector.
-


To reassemble your device, follow these instructions in reverse order.
To reassemble your device, follow these instructions in reverse order.

Equipe

York University, Team S8-G4, Turner Winter 2020 Membro de York University, Team S8-G4, Turner Winter 2020
YORK-TURNER-W20S8G4
Membros da 4
Autoria de 5 guias