O que você precisa
-
-
-
Remove the two screws on the bottom of the camera.
-
Remove the screw inside the battery door.
-
Once these are removed, slide the door out, and the small piece of plastic with the door.
 Pergunte ao FixBot
-
-
-
-
Grab the lens and pull the body out of the plastic, this will reveal the insides of the device.
-
You'll see a screw on the top of the device, towards the front, remove this screw.
-
Pull the tabs on the bottom and top of the lens, and pull outward, this will remove the lens housing from the body.
-
-
-
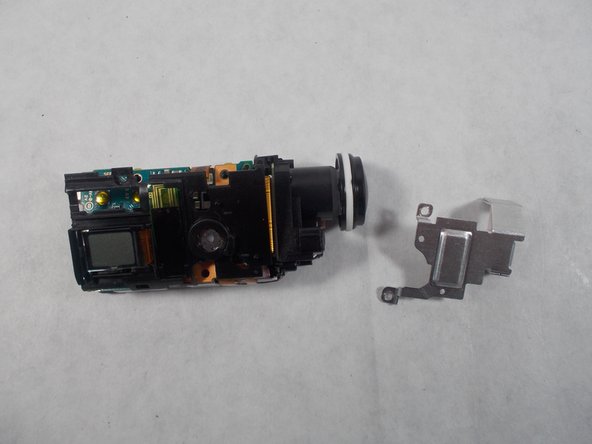
Remove the screws connected to the silver metal plate.
-
Remove the plate by pulling the back up and pushing it towards the front.
-
Remove the screw directly above the LCD display.
-
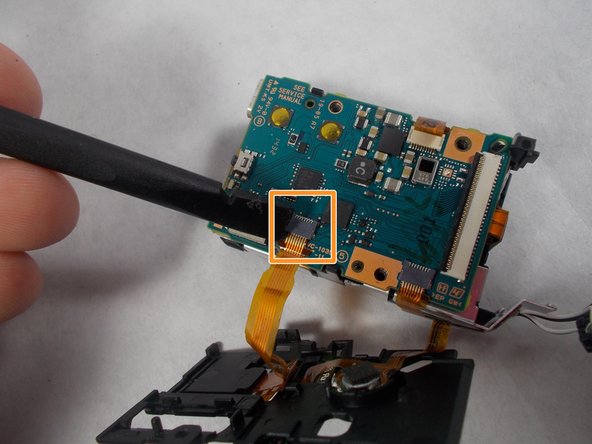
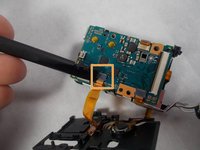
Disconnect the cable going to the LCD display.
-
-


To reassemble your device, follow these instructions in reverse order.

Equipe

UMass Dartmouth, Team S3-G5, Botvin Spring 2017 Membro de UMass Dartmouth, Team S3-G5, Botvin Spring 2017
UMASSD-BOTVIN-S17S3G5
3 Membros
Autoria de 10 guias
