Ir para o conteúdo principal
Participe da comunidade de reparos - Criar conta

Snapfon ezOne Speaker Replacement

O que você precisa

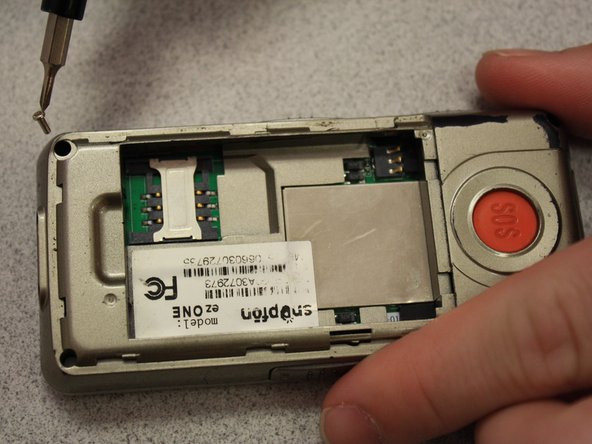
  1. Snapfon ezOne Speaker Replacement, Remove the battery cover: passo 1, imagem 1 %32
    • Turn off the phone to prevent data loss.

    • Press and slide the battery out to remove it.

    • Picture rights belong to Snapfon®. Picture is used for educational purposes only. No copyright infringement intended.

    Pergunte ao FixBot

    Comentar

  2. Snapfon ezOne Speaker Replacement, Remove the battery: passo 2, imagem 1 %32
    • Pry the battery out with your thumb or the iFixit opening tool.

    • Make sure to properly dispose of the old battery at a recycling center.

    • Picture rights belong to Snapfon®. Picture is used for educational purposes only. No copyright infringement intended.

    Pergunte ao FixBot

    Comentar

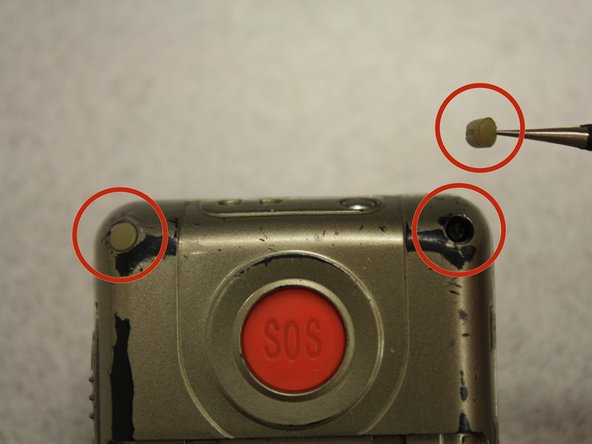
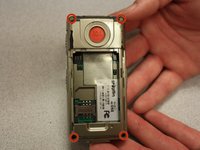
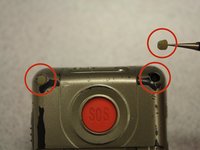
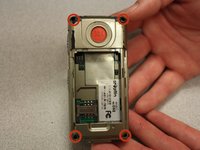
  3. Snapfon ezOne Speaker Replacement, Removing the plastic inserts: passo 3, imagem 1 %32 Snapfon ezOne Speaker Replacement, Removing the plastic inserts: passo 3, imagem 2 %32
    Ferramenta utilizada neste passo:
    Tweezers
    $4.99
    • Remove the four rubber inserts from the screw holes using a pair of tweezers.

    Pergunte ao FixBot

    Comentar

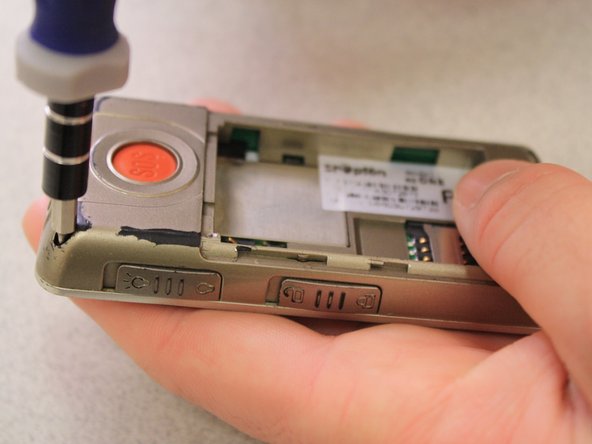
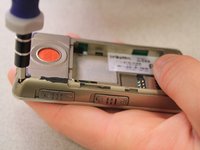
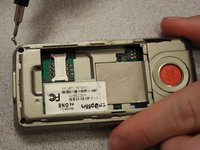
  4. Snapfon ezOne Speaker Replacement, Remove the shield screws: passo 4, imagem 1 %32 Snapfon ezOne Speaker Replacement, Remove the shield screws: passo 4, imagem 2 %32 Snapfon ezOne Speaker Replacement, Remove the shield screws: passo 4, imagem 3 %32
    • Remove the four 3.1mm screws in the corners with a Phillips #00 screwdriver.

    Pergunte ao FixBot

    Comentar

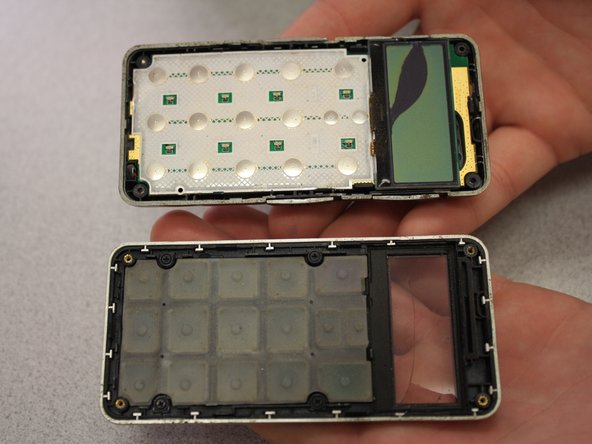
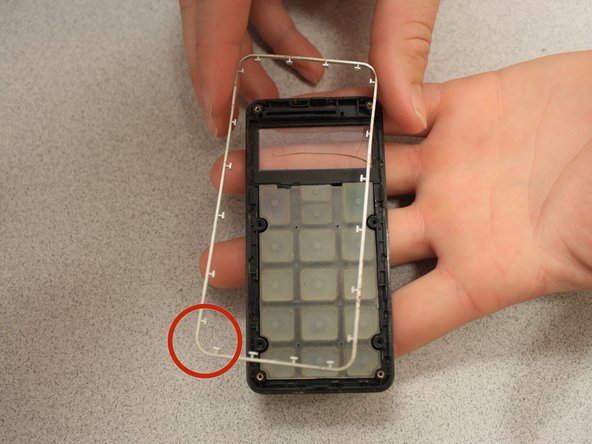
  5. Snapfon ezOne Speaker Replacement, Separate the case: passo 5, imagem 1 %32 Snapfon ezOne Speaker Replacement, Separate the case: passo 5, imagem 2 %32 Snapfon ezOne Speaker Replacement, Separate the case: passo 5, imagem 3 %32
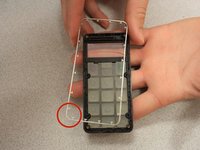
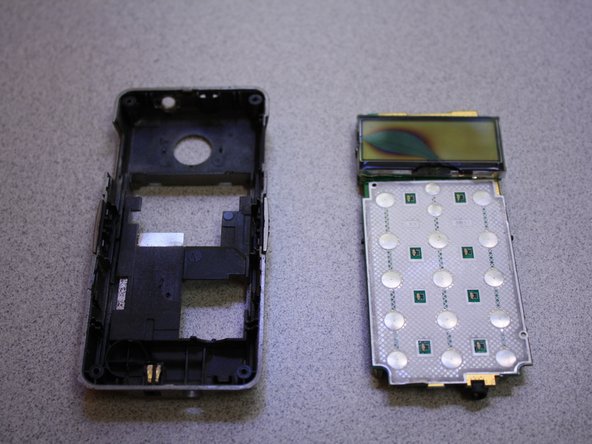
    • Separate the front case from the back case.

    • Remove the metal bumper from the front case’s perimeter.

    Pergunte ao FixBot

    Comentar

  6. Snapfon ezOne Speaker Replacement, Remove the volume slider: passo 6, imagem 1 %32
    • Pry the volume slider button out with tweezers.

    • The volume slider button may fall out during the separation of the front and back cases. This is OK.

    Pergunte ao FixBot

    Comentar

  7. Snapfon ezOne Speaker Replacement, Remove the motherboard: passo 7, imagem 1 %32 Snapfon ezOne Speaker Replacement, Remove the motherboard: passo 7, imagem 2 %32 Snapfon ezOne Speaker Replacement, Remove the motherboard: passo 7, imagem 3 %32
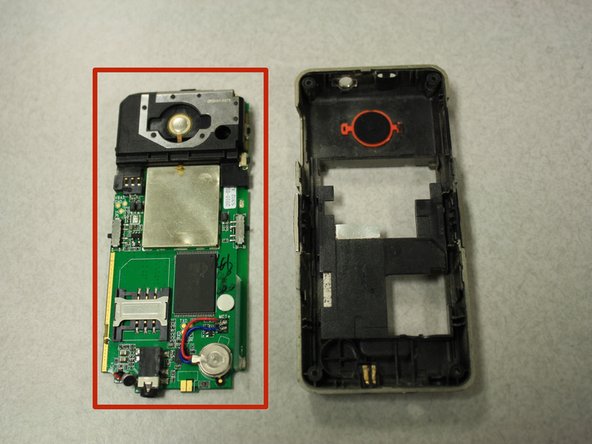
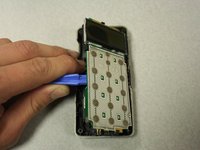
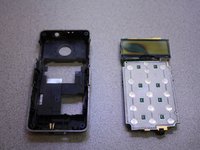
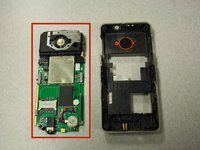
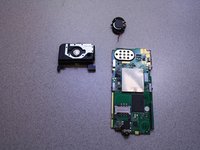
    • Separate the circuit board from the inside of the back case by prying between them with the opening tool.

    • The last picture is a view of the back of the circuit board.

    Pergunte ao FixBot

    Comentar

  8. Snapfon ezOne Speaker Replacement, Speaker: passo 8, imagem 1 %32 Snapfon ezOne Speaker Replacement, Speaker: passo 8, imagem 2 %32
    Ferramenta utilizada neste passo:
    Tweezers
    $4.99
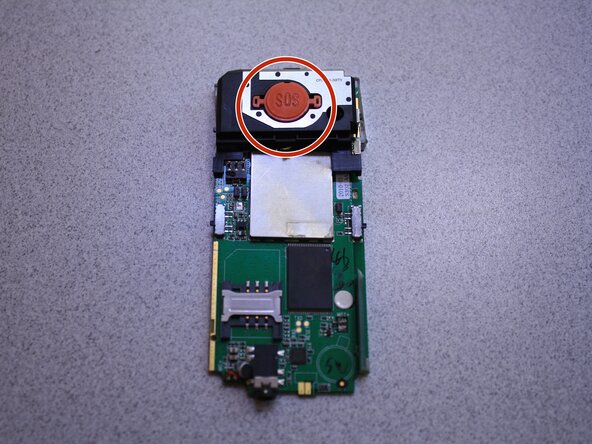
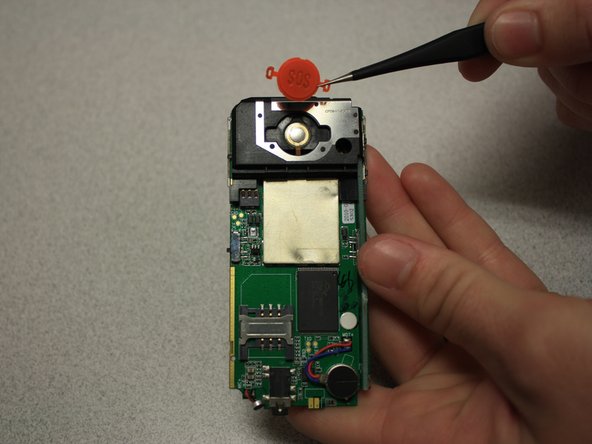
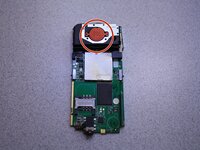
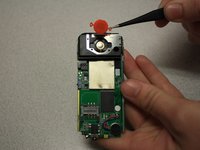
    • Remove SOS button from circuit board with tweezers.

    Pergunte ao FixBot

    Comentar

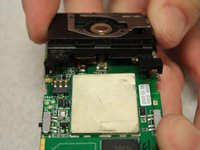
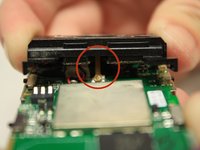
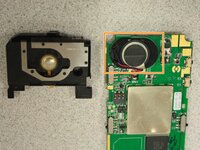
  9. Snapfon ezOne Speaker Replacement: passo 9, imagem 1 %32 Snapfon ezOne Speaker Replacement: passo 9, imagem 2 %32 Snapfon ezOne Speaker Replacement: passo 9, imagem 3 %32
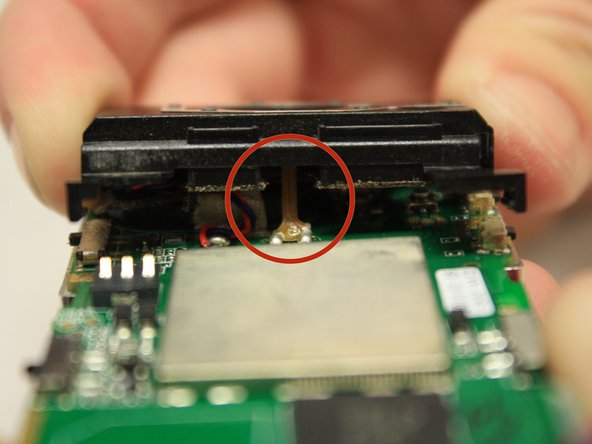
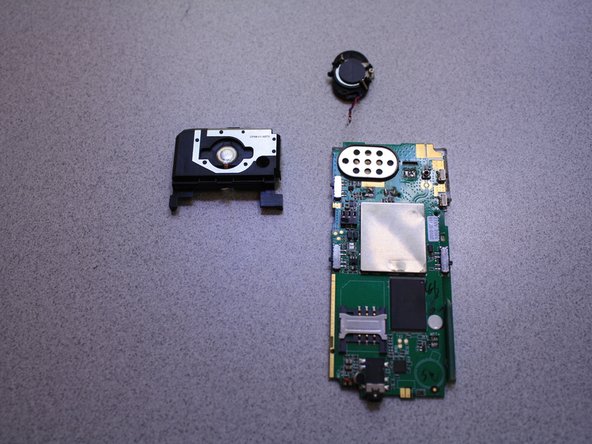
    • Pull black casing from the circuit board with fingers.

    • The black casing will not be able to be fully removed at this point

    • To fully remove the black casing, desolder the SOS button cable from the circuit board with a soldering iron.

    • The solder iron creates high temperatures that may cause bodily harm.

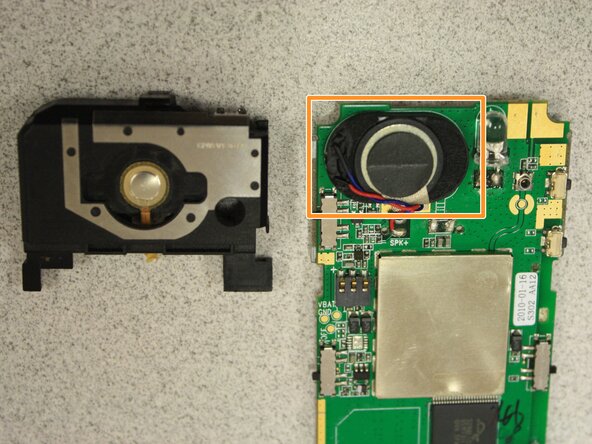
    • Once the black casing is removed, the speaker will now be exposed.

    Pergunte ao FixBot

    Comentar

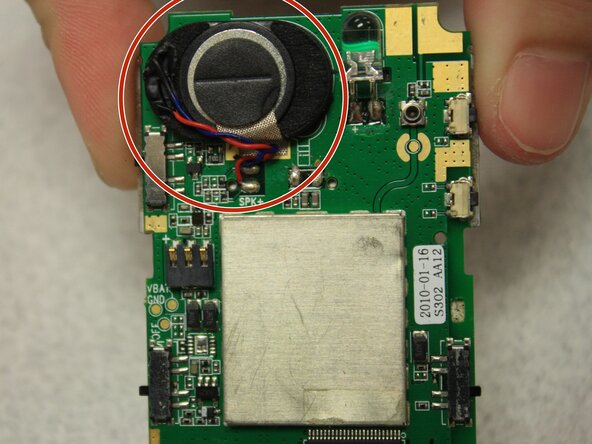
  10. Snapfon ezOne Speaker Replacement: passo 10, imagem 1 %32 Snapfon ezOne Speaker Replacement: passo 10, imagem 2 %32 Snapfon ezOne Speaker Replacement: passo 10, imagem 3 %32
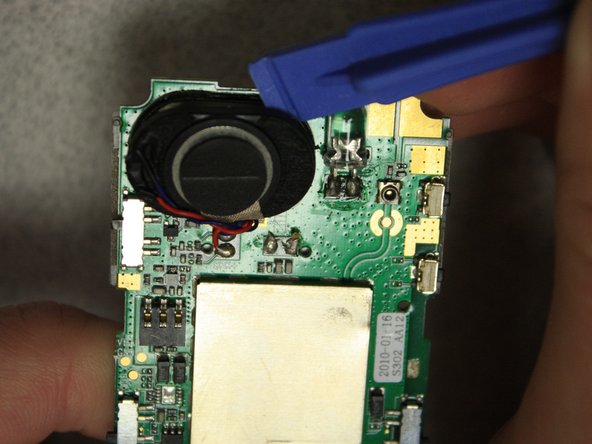
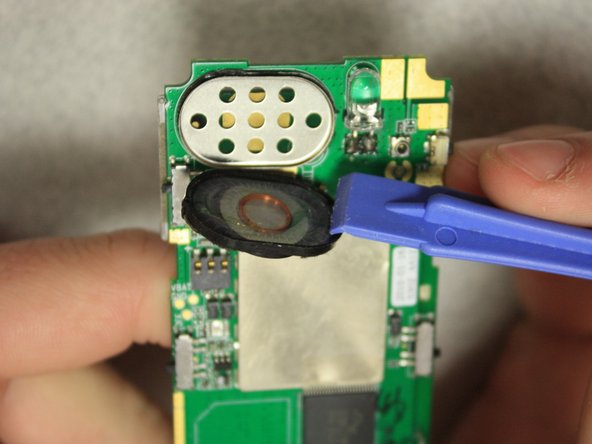
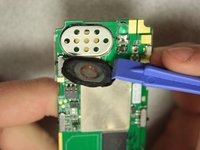
    • With the plastic opening tools, pry off the speaker from the circuit board.

    Pergunte ao FixBot

    Comentar

  11. Snapfon ezOne Speaker Replacement: passo 11, imagem 1 %32 Snapfon ezOne Speaker Replacement: passo 11, imagem 2 %32
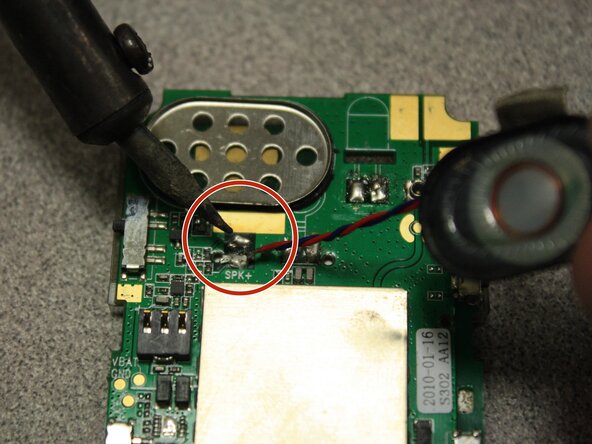
    • Desolder the speaker cables from the base of the circuit board with the soldering iron.

    • The soldering iron creates high temperatures that may cause bodily harm.

    • Melt the new speaker wires to the circuit board with the soldering iron.

    Pergunte ao FixBot

    Comentar

Conclusão

To reassemble your device, follow these instructions in reverse order.

Cancelar: não concluí este guia.

John Bender

Membro desde: 03/26/14

818 Reputação

Autoria de 8 guias

Equipe

Clemson, Team 6-5, Benson Spring 2014 Membro de Clemson, Team 6-5, Benson Spring 2014

CLEM-BENSON-S14S6G5

3 Membros

Autoria de 16 guias

0Comentários do guia

Comentar

Visualizações:

Últimas 24 horas: 0

Últimos 7 dias: 7

Últimos 30 dias: 29

Ao todo: 618