Ir para o conteúdo principal

Smart Soldering Iron Main Board Replacement

O que você precisa

  1. Smart Soldering Iron Main Board Replacement, How to read the Touch-Safe Indicator LED: passo 1, imagem 1 %32 Smart Soldering Iron Main Board Replacement, How to read the Touch-Safe Indicator LED: passo 1, imagem 2 %32 Smart Soldering Iron Main Board Replacement, How to read the Touch-Safe Indicator LED: passo 1, imagem 3 %32
    • The color of the Touch-Safe Indicator LED provides information about the status of the soldering iron tip. Note: the soldering iron grip is always safe to touch.

    • The LED only functions when the soldering iron is connected to a power source—so use caution when handling an unplugged iron if you don't know how hot it is.

    • Blue LED: The iron has cooled below 40 °C (100 °F), and the tip is safe to touch.

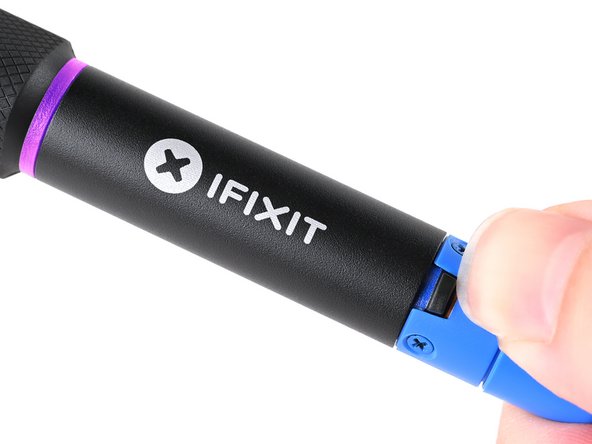
    • Purple LED: When pulsing, the iron is actively heating up or cooling down. When static, the iron is in Idle Mode. The iron tip is not safe to touch.

    • Orange LED: The iron has reached the set temperature and is ready to solder. The iron tip is not safe to touch.

  2. Smart Soldering Iron Main Board Replacement, Turn off the iron: passo 2, imagem 1 %32 Smart Soldering Iron Main Board Replacement, Turn off the iron: passo 2, imagem 2 %32 Smart Soldering Iron Main Board Replacement, Turn off the iron: passo 2, imagem 3 %32
    • The sliding power switch has a built-in color indicator for each position:

    • Orange: ON

    • Blue: OFF

    • Slide the power switch to the blue OFF position.

    • The LED will turn purple and pulse to show the iron is powering down.

    • Leave the soldering iron connected until the indicator ring turns blue, indicating it's now safe to touch the soldering iron tip.

    • Remember: The LED only functions when the soldering iron is connected to a power source—so use caution when handling an unplugged iron if you don't know how hot it is.

  3. Smart Soldering Iron Main Board Replacement, Unplug the iron: passo 3, imagem 1 %32 Smart Soldering Iron Main Board Replacement, Unplug the iron: passo 3, imagem 2 %32
    • Disconnect the iron's USB-C cable from your power source.

  4. Smart Soldering Iron Main Board Replacement, Unlock the locking collar: passo 4, imagem 1 %32 Smart Soldering Iron Main Board Replacement, Unlock the locking collar: passo 4, imagem 2 %32 Smart Soldering Iron Main Board Replacement, Unlock the locking collar: passo 4, imagem 3 %32
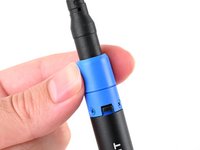
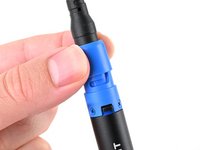
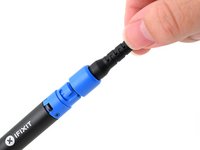
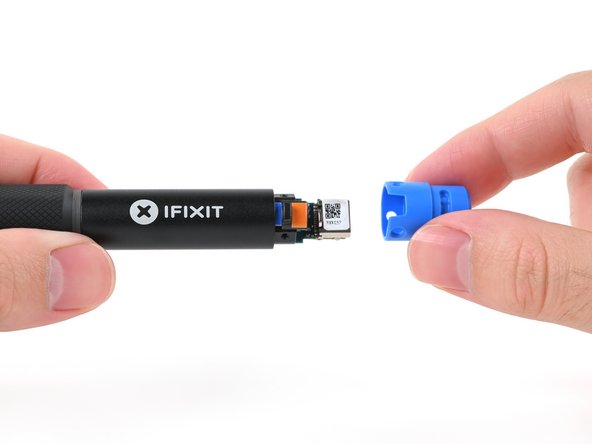
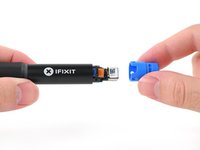
    • Twist the blue cable collar counter-clockwise and pull up to release it from the iron.

  5. Smart Soldering Iron Main Board Replacement, Disconnect the cable from the iron: passo 5, imagem 1 %32 Smart Soldering Iron Main Board Replacement, Disconnect the cable from the iron: passo 5, imagem 2 %32
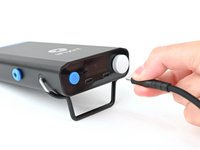
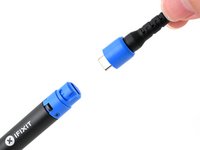
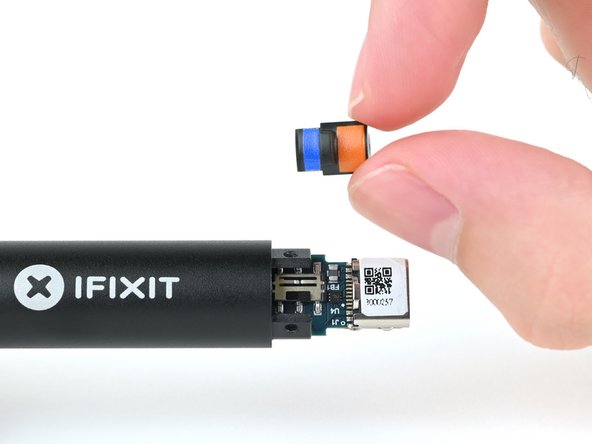
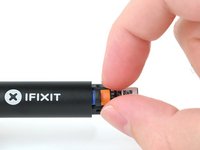
    • Disconnect the USB-C cable from the Smart Soldering Iron.

  6. Smart Soldering Iron Main Board Replacement, Remove the soldering iron cap: passo 6, imagem 1 %32 Smart Soldering Iron Main Board Replacement, Remove the soldering iron cap: passo 6, imagem 2 %32
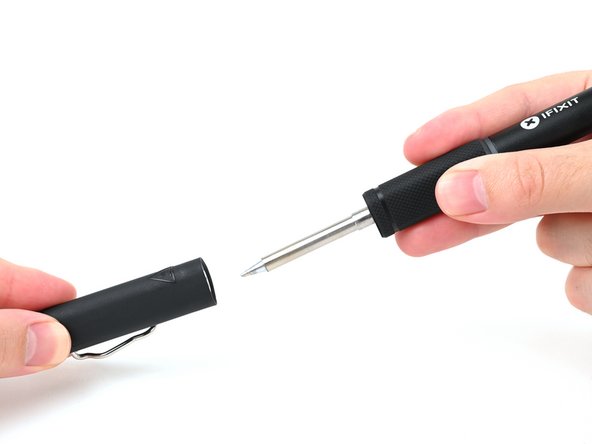
    • Hold the iron from both ends and pull to remove the cap.

  7. Smart Soldering Iron Main Board Replacement, Remove the quick-swap soldering tip: passo 7, imagem 1 %32 Smart Soldering Iron Main Board Replacement, Remove the quick-swap soldering tip: passo 7, imagem 2 %32
    • Make sure the tip has fully cooled before touching it.

    • Firmly grasp the base of the tip and pull it away from the front of the iron handle to remove it.

  8. Smart Soldering Iron Main Board Replacement, Remove the handle screws: passo 8, imagem 1 %32 Smart Soldering Iron Main Board Replacement, Remove the handle screws: passo 8, imagem 2 %32
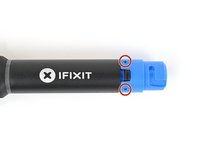
    • Use a Phillips screwdriver to remove the three blue 3.4 mm‑long screws securing the blue end cap.

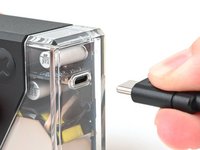
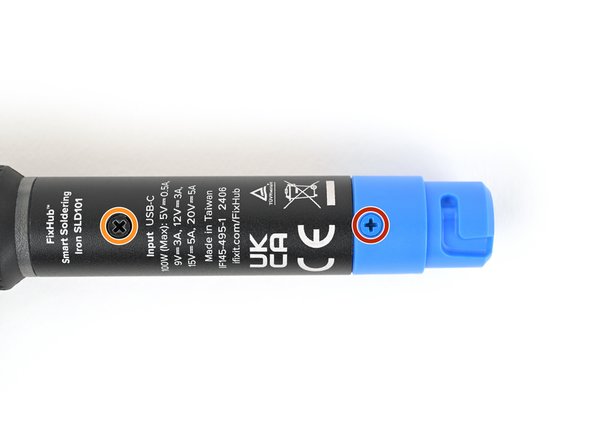
    • Use a Phillips screwdriver to remove the one black 3.4 mm‑long screw at the base of the enclosure.

  9. Smart Soldering Iron Main Board Replacement, Remove the blue end cap: passo 9, imagem 1 %32 Smart Soldering Iron Main Board Replacement, Remove the blue end cap: passo 9, imagem 2 %32
    • Pull to remove the blue end cap from the rest of the iron handle.

  10. Smart Soldering Iron Main Board Replacement, Remove the power switch: passo 10, imagem 1 %32 Smart Soldering Iron Main Board Replacement, Remove the power switch: passo 10, imagem 2 %32
    • Remove the blue and orange power switch.

  11. Smart Soldering Iron Main Board Replacement, Remove the main board: passo 11, imagem 1 %32 Smart Soldering Iron Main Board Replacement, Remove the main board: passo 11, imagem 2 %32 Smart Soldering Iron Main Board Replacement, Remove the main board: passo 11, imagem 3 %32
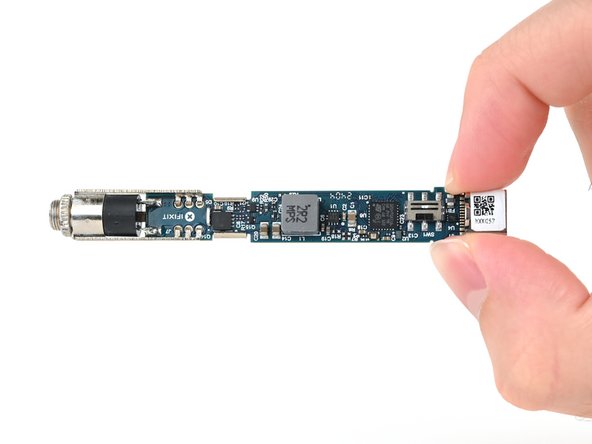
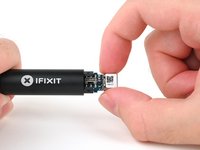
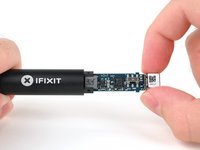
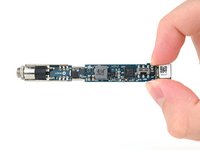
    • Grasp the end of the main board that sticks out from inside of the soldering iron handle.

    • Pull to slide the main board out of the handle.

    • When reassembling your iron, make sure to insert the main board with the shiny iron auxiliary port end first.

Conclusão

To reassemble your Smart Soldering Iron, follow these instructions in reverse order.

Take your e-waste to an R2 or e-Stewards certified recycler.

Repair didn’t go as planned? Try some basic troubleshooting, or ask our Answers community for help.

Kara Piepenbrink

Membro desde: 05/31/24

4.010 Reputação

Autoria de 21 guias

Equipe

iFixit Membro de iFixit

Staff

Membros da 118

Autoria de 19.415 guias

0 comentários

Adicione um comentário

Exibir estatísticas:

Últimas 24 horas: 2

Últimos 7 dias: 11

Últimos 30 dias: 41

Duração total: 369