Ir para o conteúdo principal

Slingbox SOLO DC Power Connector Replacement

O que você precisa

  1. Slingbox SOLO DC Power Connector Replacement, Motherboard: passo 1, imagem 1 %32
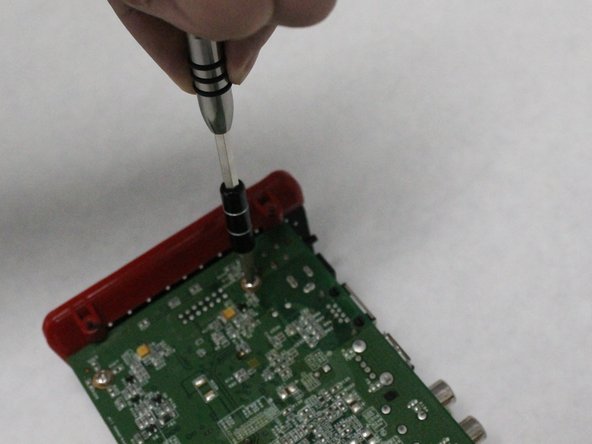
    • Use the plastic opening tool to remove the four rubber pads from the bottom of the device.

  2. Slingbox SOLO DC Power Connector Replacement: passo 2, imagem 1 %32 Slingbox SOLO DC Power Connector Replacement: passo 2, imagem 2 %32 Slingbox SOLO DC Power Connector Replacement: passo 2, imagem 3 %32
    • The Slingbox has four black 5mm screws, one on each corner of the case.

    • Remove the four black 5mm screws using the PH1 screwdriver.

    • Gently pull and separate the two case covers.

  3. Slingbox SOLO DC Power Connector Replacement: passo 3, imagem 1 %32 Slingbox SOLO DC Power Connector Replacement: passo 3, imagem 2 %32 Slingbox SOLO DC Power Connector Replacement: passo 3, imagem 3 %32
    • The motherboard has five silver 5.5mm screws connecting it to the base of the Slingbox.

    • Remove the five silver screws on the motherboard using the PH1 screwdriver.

    • Gently slide and separate the motherboard from the base.

  4. Slingbox SOLO DC Power Connector Replacement, DC Power Connector: passo 4, imagem 1 %32
    • Do not touch the heated tip of the soldering iron.

    • Check this guide out to learn how to use a soldering iron.

    • Desolder all three lead prongs.

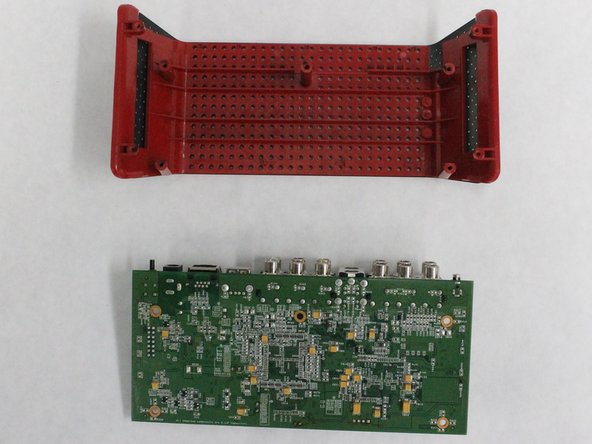
    • Gently pull the DC power connector from the motherboard.

Conclusão

To reassemble your device, follow the instructions in reverse order.

Nitin Muralidhar

Membro desde: 07/18/16

222 Reputação

Autoria de 2 guias

Equipe

IUPUI, Team 2-2, Harley SU 2016 Membro de IUPUI, Team 2-2, Harley SU 2016

IUPUI-HARLEY-SU16S2G2

Membros da 5

Autoria de 2 guias

0 comentários

Adicione um comentário

Exibir estatísticas:

Últimas 24 horas: 0

Últimos 7 dias: 5

Últimos 30 dias: 8

Duração total: 284