Introdução
Esta desmontagem inclui o painel de botões e a placa-mãe dos botões.
O que você precisa
-
-
Começando pelos cantos, puxe delicadamente a capa de borracha para fora do dispositivo.
 Pergunte ao FixBot
-
-
-
Usando a chave (de fenda) hexagonal T-6, desparafuse os quatro parafusos sextavados nº 6 de 10 mm no lado direito do dispositivo.
-
Remova a alça do dispositivo.
-
-
-
Desparafuse os dois parafusos do lado esquerdo do dispositivo usando a chave Phillips #00.
-
Um parafuso Phillips de 5 mm.
-
Um parafuso Phillips de 8 mm.
-
-
-
-
Puxe suavemente as laterais da placa frontal para fora do dispositivo.
-
Puxe a placa frontal para cima para removê-la do dispositivo.
-
-
-
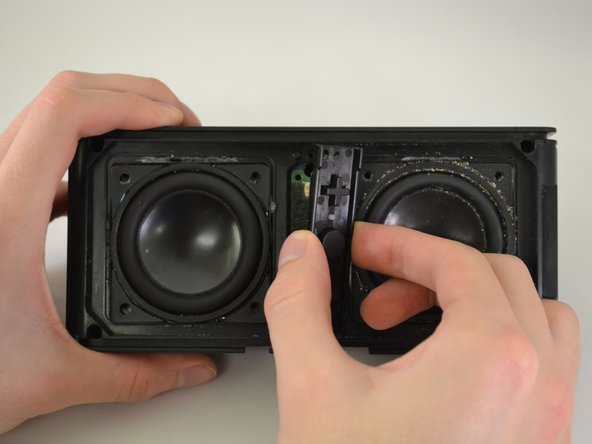
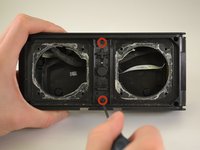
Com uma chave Phillips #00, remova dois parafusos Phillips de 6 mm do centro do painel, especificamente acima e abaixo dos botões de volume.
-
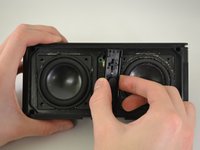
Levante o painel de botões.
-
-
-
Usando uma chave Phillips #00 de precisão, remova dois parafusos Phillips de 6 mm da placa-mãe dos botões.
-
-
-
Com uma Ferramenta de abertura de plástico, force a placa-mãe do botão para desprendê-la do dispositivo.
-
-
-
Primeiro, puxe o acessório preto para desconectá-lo da peça metálica.
-
Solte o cabo da parte de trás da placa-mãe.
-




Para a remontagem de seu dispositivo, siga estas instruções na ordem inversa.
Cancelar: não concluí este guia.
2 outras pessoas executaram este guia.
Um agradecimento especial a esses tradutores:
100%

Translation Bot está nos ajudando a consertar o mundo! Quer contribuir?
Comece a traduzir ›

Equipe

Eastern Washington University, Team 1-3, Carnegie Winter 2015 Membro de Eastern Washington University, Team 1-3, Carnegie Winter 2015
EWU-CARNEGIE-W15S1G3
3 Membros
Autoria de 12 guias
