Introdução
This guide is intended to demonstrate how to perform a backstitch using a Singer EZ-Stitch. A backstitch is a form of sewing that uses overlapping stitches to hold the thread in place. The Singer EZ-Stitch can only do what’s known as a chainstitch. That means that it uses just one spool of thread rather than the traditional bobbin and spool that most machines use.
O que você precisa
-
-
-
Complete your first line of stitching.
 Pergunte ao FixBot
-
-
-
-
Without pressing on the pedal, turn your fabric so that the end of the line of stitches you just made is now closest to you.
-
Press the peddle and continue stitching back over your previous line.
-
-


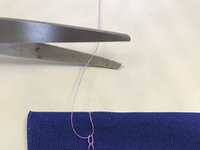
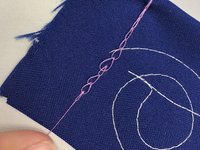
You have finished a line of stitching using the Singer EZ-Stitch.
Cancelar: não concluí este guia.
2 outras pessoas executaram este guia.

Equipe

University of Maine, Team 2-6, Diaz Fall 2016 Membro de University of Maine, Team 2-6, Diaz Fall 2016
UMAINE-DIAZ-F16S2G6
2 Membros
Autoria de 6 guias
1Comentário do guia
Need manual got singer EZ-stich plastic toy and I need a manual to teach granddaughter how to use it
