Ir para o conteúdo principal
Participe da comunidade de reparos - Criar conta

Shop-Vac MC150A Motor Replacement

O que você precisa

    1. Shop-Vac MC150A Motor Replacement, Unlatch the power unit assembly: passo 1, imagem 1 %32
      • Before you begin, make sure to switch off the device and unplug it from the outlet.

      • Unlatch the two side clips securing the power unit assembly to the tank.

      • Remove the power unit assembly from the tank assembly.

      Pergunte ao FixBot

      Comentar

    2. Shop-Vac MC150A Motor Replacement, Remove the top cover: passo 2, imagem 1 %32 Shop-Vac MC150A Motor Replacement, Remove the top cover: passo 2, imagem 2 %32
      • Use a 3.5 mm hex key to remove the three screws securing the top cover.

      • Remove the top cover.

      Pergunte ao FixBot

      Comentar

    3. Shop-Vac MC150A Motor Replacement: passo 3, imagem 1 %32
      • Use a 3.5 mm hex key to remove the four screws securing the power unit assembly.

      Pergunte ao FixBot

      Comentar

    4. Shop-Vac MC150A Motor Replacement: passo 4, imagem 1 %32
      • Separate the power unit assembly from the cover.

      Pergunte ao FixBot

      Comentar

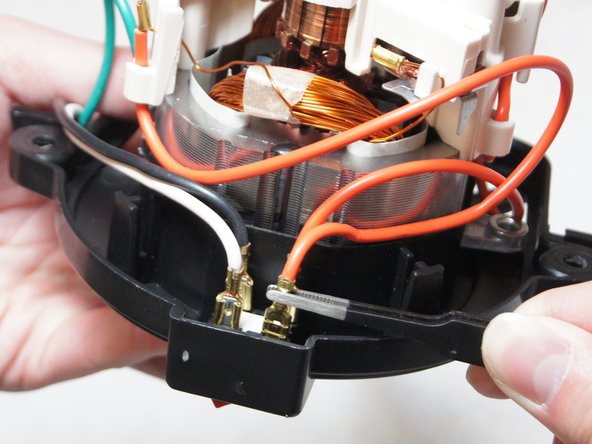
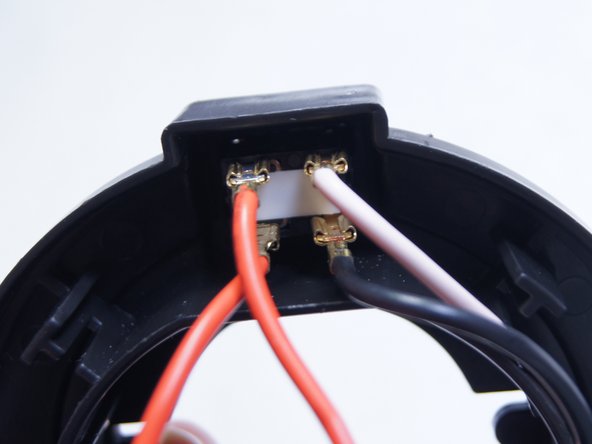
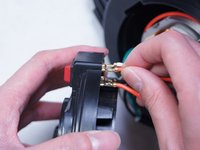
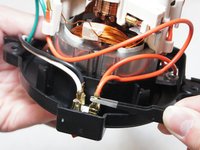
    1. Shop-Vac MC150A Motor Replacement, Disconnect the switch: passo 5, imagem 1 %32 Shop-Vac MC150A Motor Replacement, Disconnect the switch: passo 5, imagem 2 %32 Shop-Vac MC150A Motor Replacement, Disconnect the switch: passo 5, imagem 3 %32
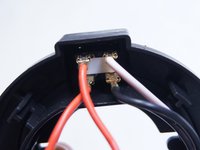
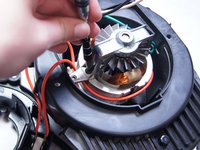
      • Pull out and disconnect the four spade connectors from the switch module.

      • During reassembly, use the last image as a reference for how to connect the wires.

      Pergunte ao FixBot

      Comentar

    2. Shop-Vac MC150A Motor Replacement, Unscrew the motor bracket: passo 6, imagem 1 %32 Shop-Vac MC150A Motor Replacement, Unscrew the motor bracket: passo 6, imagem 2 %32
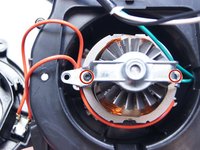
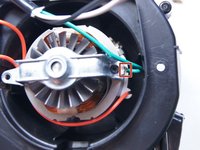
      • Use a Torx T15 driver to unscrew the two screws securing the metal motor bracket.

      Pergunte ao FixBot

      Comentar

    3. Shop-Vac MC150A Motor Replacement: passo 7, imagem 1 %32 Shop-Vac MC150A Motor Replacement: passo 7, imagem 2 %32
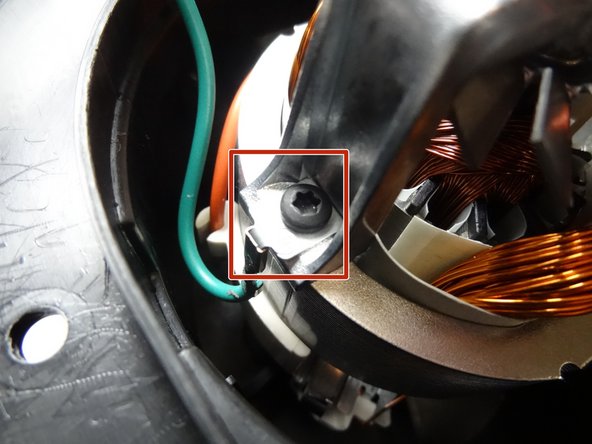
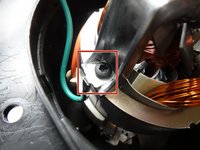
      • During reassembly, be sure to reattach the green ground wire clip to the bracket.

      Pergunte ao FixBot

      Comentar

    4. Shop-Vac MC150A Motor Replacement: passo 8, imagem 1 %32
      • Separate the clip from the green wire and transfer it to the replacement motor.

      Pergunte ao FixBot

      Comentar

    1. Shop-Vac MC150A Motor Replacement, Motor: passo 9, imagem 1 %32 Shop-Vac MC150A Motor Replacement, Motor: passo 9, imagem 2 %32
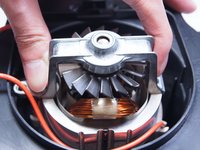
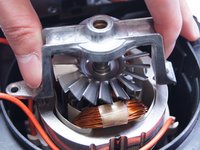
      • Remove the motor bracket.

      Pergunte ao FixBot

      Comentar

    2. Shop-Vac MC150A Motor Replacement: passo 10, imagem 1 %32
      • Turn the part over to the other side.

      • Use the socket wrench remove the bolt securing the aluminum plate.

      Pergunte ao FixBot

      Comentar

    3. Shop-Vac MC150A Motor Replacement: passo 11, imagem 1 %32
      • Unscrew the two Phillips head screws holding the cover to the motor.

      • After removing the cover to the motor, you can replace the motor.

      Pergunte ao FixBot

      Comentar

Conclusão

To reassemble your device, follow these instructions in reverse order.

Cancelar: não concluí este guia.

8 outras pessoas executaram este guia.

Ngunlian

Membro desde: 02/08/16

756 Reputação

Autoria de 5 guias

Equipe

IUPUI, Team 1-2, Baechle Spring 2016 Membro de IUPUI, Team 1-2, Baechle Spring 2016

IUPUI-BAECHLE-S16S1G2

5 Membros

Autoria de 18 guias

2Comentários do guia

Where do I buy a new motor?????

Gerald Mikel - Responder Compartilhar

Yeah that's what we all would like to know, removing is the easy part

Junkyard_Boxer - Responder Compartilhar

Comentar

Visualizações:

Últimas 24 horas: 2

Últimos 7 dias: 40

Últimos 30 dias: 230

Ao todo: 32,378