Ir para o conteúdo principal
Participe da comunidade de reparos - Criar conta

Shark Navigator Lightweight Upright Motor Replacement

O que você precisa

    1. Shark Navigator Lightweight Upright Motor Replacement, Head Shell: passo 1, imagem 1 %32 Shark Navigator Lightweight Upright Motor Replacement, Head Shell: passo 1, imagem 2 %32
      • Detach the hose connected on the bottom of the vacuum by pulling it out of the casing.

      Pergunte ao FixBot

      Comentar

    2. Shark Navigator Lightweight Upright Motor Replacement: passo 2, imagem 1 %32 Shark Navigator Lightweight Upright Motor Replacement: passo 2, imagem 2 %32
      • Lay the vacuum on its side.

      • Press in the black, rubberish button located on the back of the vacuum to detach the vacuum head from the body.

      Pergunte ao FixBot

      Comentar

    3. Shark Navigator Lightweight Upright Motor Replacement: passo 3, imagem 1 %32
      • Flip over the vacuum head so the brush head is facing up.

      Pergunte ao FixBot

      Comentar

    4. Shark Navigator Lightweight Upright Motor Replacement: passo 4, imagem 1 %32 Shark Navigator Lightweight Upright Motor Replacement: passo 4, imagem 2 %32 Shark Navigator Lightweight Upright Motor Replacement: passo 4, imagem 3 %32
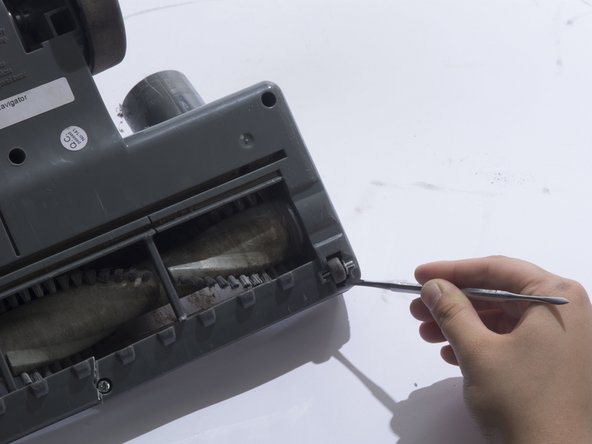
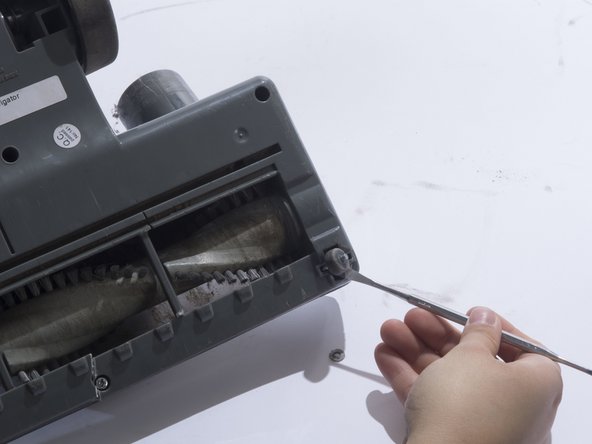
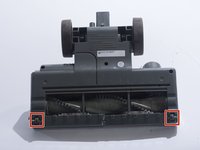
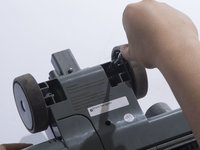
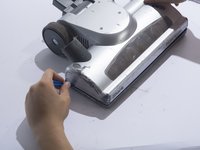
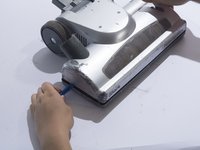
      • Remove the small front wheels with a metal spudger by inserting the metal spudger in front of the wheel and slowly prying up. This will free the wheel and reveal the screw beneath it.

      • Repeat this for the other wheel.

      Pergunte ao FixBot

      Comentar

    5. Shark Navigator Lightweight Upright Motor Replacement: passo 5, imagem 1 %32 Shark Navigator Lightweight Upright Motor Replacement: passo 5, imagem 2 %32
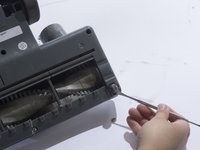
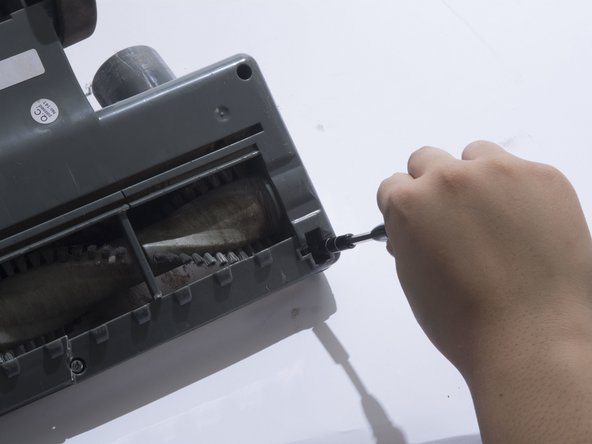
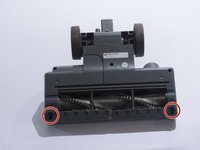
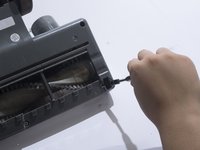
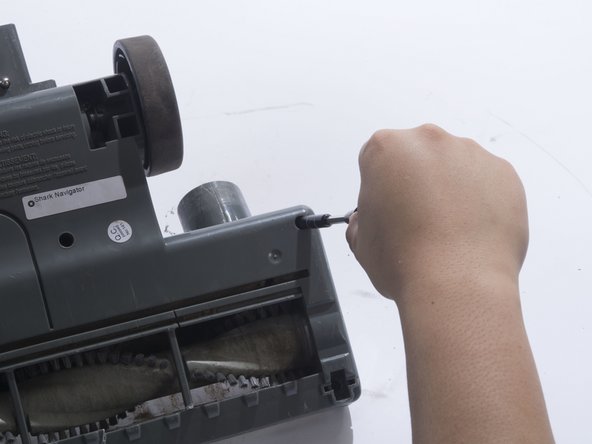
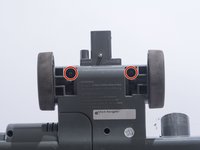
      • Remove the two 18mm screws with a JIS 1 screwdriver.

      Pergunte ao FixBot

      Comentar

    6. Shark Navigator Lightweight Upright Motor Replacement: passo 6, imagem 1 %32 Shark Navigator Lightweight Upright Motor Replacement: passo 6, imagem 2 %32
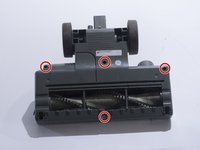
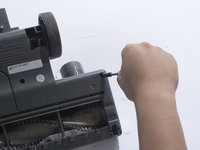
      • Remove the four 18mm screws located on the top corners and the bottom/middle of the vacuum head using a JIS 1 screwdriver.

      Pergunte ao FixBot

      Comentar

    7. Shark Navigator Lightweight Upright Motor Replacement: passo 7, imagem 1 %32 Shark Navigator Lightweight Upright Motor Replacement: passo 7, imagem 2 %32
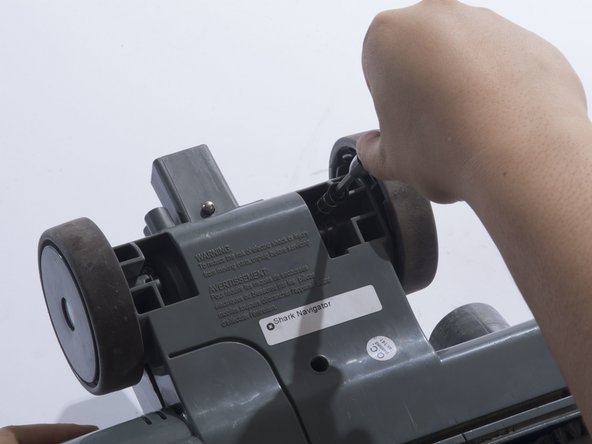
      • Remove the two 18mm screws located on the inside of the large wheels using a JIS 1 screwdriver.

      Pergunte ao FixBot

      Comentar

    8. Shark Navigator Lightweight Upright Motor Replacement: passo 8, imagem 1 %32 Shark Navigator Lightweight Upright Motor Replacement: passo 8, imagem 2 %32 Shark Navigator Lightweight Upright Motor Replacement: passo 8, imagem 3 %32
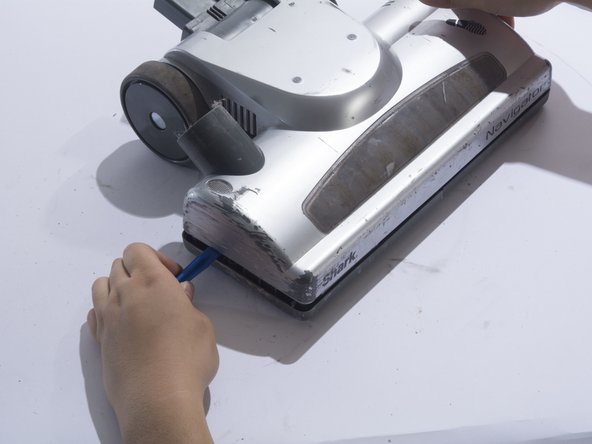
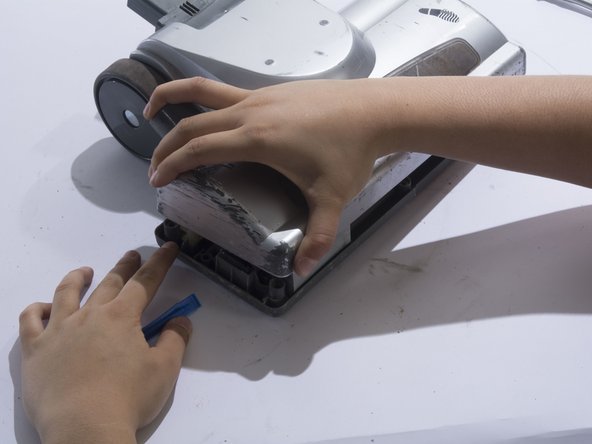
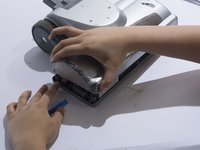
      • Remove the plastic cover by prying the plastic cover up using a plastic opening tool.

      • Prying in multiple locations may be necessary to create separation.

      Pergunte ao FixBot

      Comentar

    1. Shark Navigator Lightweight Upright Motor Replacement, Motor: passo 9, imagem 1 %32
      • Locate the motor on the top right corner of the vacuum head shell.

      Pergunte ao FixBot

      Comentar

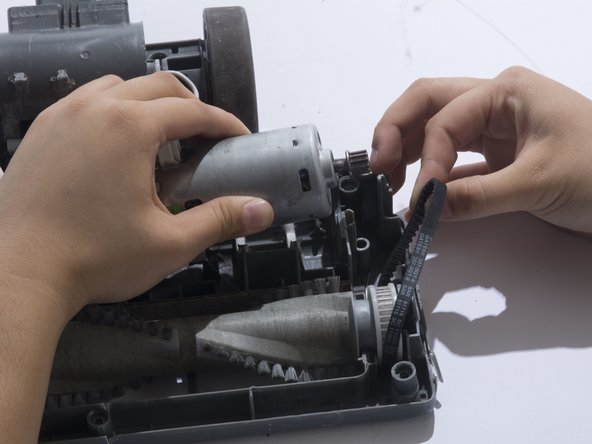
    2. Shark Navigator Lightweight Upright Motor Replacement: passo 10, imagem 1 %32 Shark Navigator Lightweight Upright Motor Replacement: passo 10, imagem 2 %32 Shark Navigator Lightweight Upright Motor Replacement: passo 10, imagem 3 %32
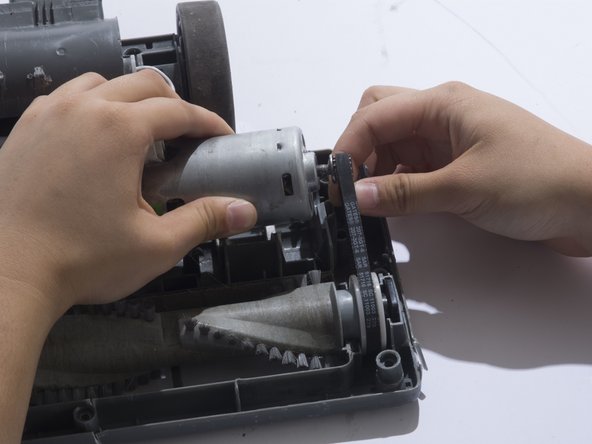
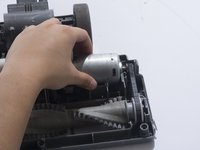
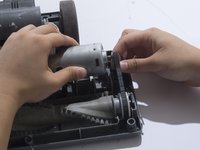
      • Remove the belt from the motor gear by sliding the belt to the right.

      Pergunte ao FixBot

      Comentar

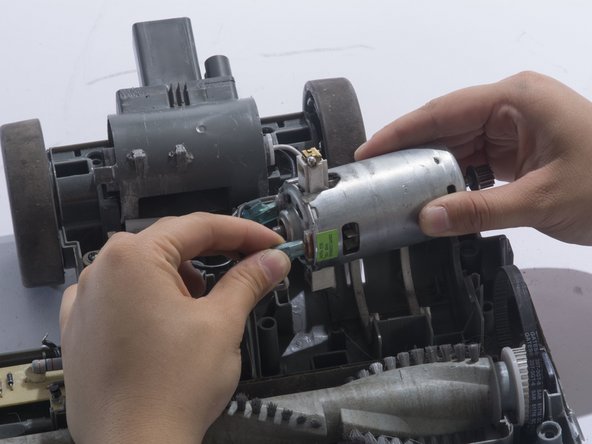
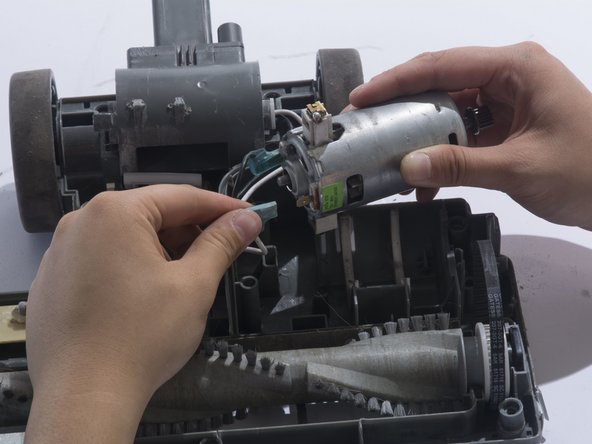
    3. Shark Navigator Lightweight Upright Motor Replacement: passo 11, imagem 1 %32 Shark Navigator Lightweight Upright Motor Replacement: passo 11, imagem 2 %32 Shark Navigator Lightweight Upright Motor Replacement: passo 11, imagem 3 %32
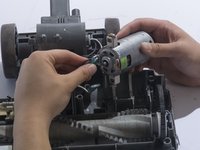
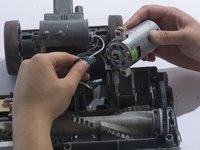
      • Remove the white metal wire connector from the motor.

      • The white cable is positive.

      Pergunte ao FixBot

      Comentar

    4. Shark Navigator Lightweight Upright Motor Replacement: passo 12, imagem 1 %32 Shark Navigator Lightweight Upright Motor Replacement: passo 12, imagem 2 %32
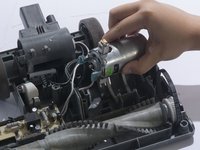
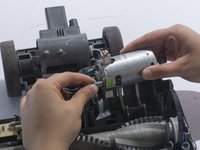
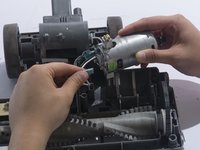
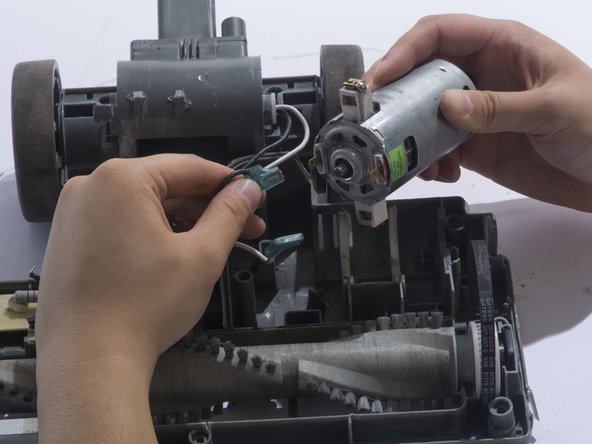
      • Remove the black metal wire connector from the motor.

      • The black cable is negative.

      Pergunte ao FixBot

      Comentar

Conclusão

To reassemble your device, follow these instructions in reverse order.

Cancelar: não concluí este guia.

4 outras pessoas executaram este guia.

Suzie

Membro desde: 10/02/17

545 Reputação

Autoria de 4 guias

Equipe

Cal Poly, Team S4-G6, Livingston Fall 2017 Membro de Cal Poly, Team S4-G6, Livingston Fall 2017

CPSU-LIVINGSTON-F17S4G6

3 Membros

Autoria de 18 guias

2Comentários do guia

Where does one buy the replacement motor?

Michael De La Rosa - Responder Compartilhar
Where can I get spares??

ck

Clive Kingscote - Responder Compartilhar
Comentar

Visualizações:

Últimas 24 horas: 2

Últimos 7 dias: 12

Últimos 30 dias: 49

Ao todo: 10,571