Ir para o conteúdo principal

Sanyo VPC-T700 LCD Screen Replacement

O que você precisa

  1. Sanyo VPC-T700 LCD Screen Replacement, LCD Screen: passo 1, imagem 1 %32 Sanyo VPC-T700 LCD Screen Replacement, LCD Screen: passo 1, imagem 2 %32 Sanyo VPC-T700 LCD Screen Replacement, LCD Screen: passo 1, imagem 3 %32
    • Cameras powers on and the broken LCD becomes immediately evident.

    • Remove the battery

    • Remove the camera strap

  2. Sanyo VPC-T700 LCD Screen Replacement: passo 2, imagem 1 %32 Sanyo VPC-T700 LCD Screen Replacement: passo 2, imagem 2 %32 Sanyo VPC-T700 LCD Screen Replacement: passo 2, imagem 3 %32
    • Remove the four screws on the right side of the camera

    • Remove the two screws on the left side.

    • remove the four screws on the bottom of the camera.

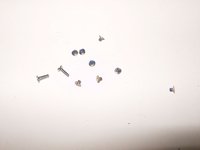
    • The two screws on the thread for a tripod are longer than the others, keep those separated.

  3. Sanyo VPC-T700 LCD Screen Replacement: passo 3, imagem 1 %32 Sanyo VPC-T700 LCD Screen Replacement: passo 3, imagem 2 %32 Sanyo VPC-T700 LCD Screen Replacement: passo 3, imagem 3 %32
    • Here is a look at the screws from the camera. The two screws from the tripod thread are the longest.

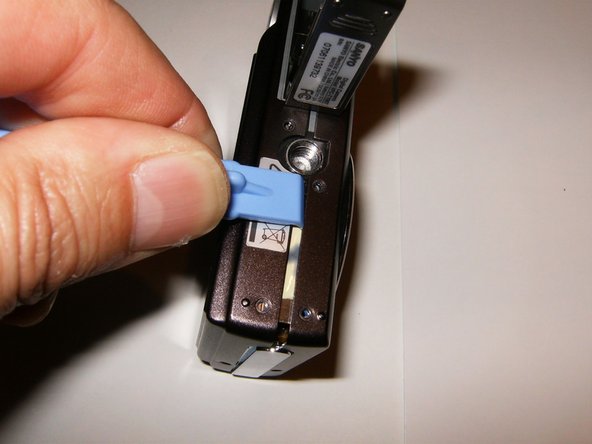
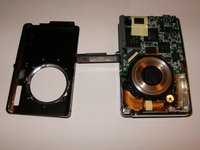
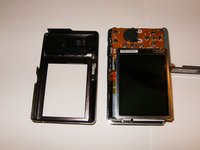
    • Start splitting the housing with either an opening tool or your fingernails. The housing does not require a lot of force and will easily unsnap.

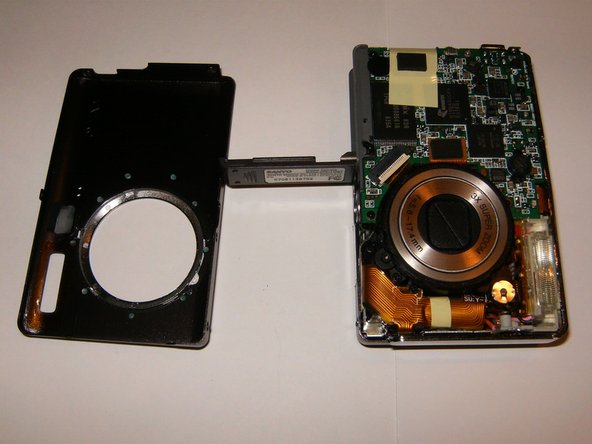
    • The front cover seems to be easiest and will come off first

  4. Sanyo VPC-T700 LCD Screen Replacement: passo 4, imagem 1 %32 Sanyo VPC-T700 LCD Screen Replacement: passo 4, imagem 2 %32 Sanyo VPC-T700 LCD Screen Replacement: passo 4, imagem 3 %32
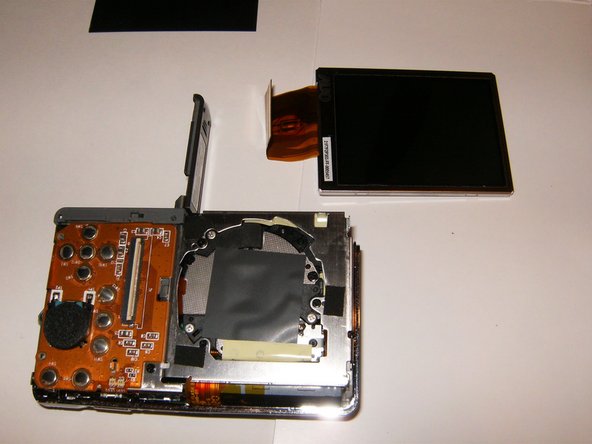
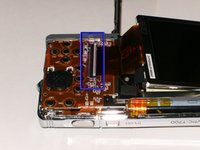
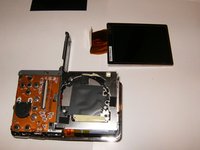
    • The rear cover can now be easily removed. The LCD is sitting in a frame without fasteners. It will just lift up, however, there will be a piece of insulating material that is separating the back of the LCD from the logic board. Remove this after the removal of the LCD from the frame. Do not try to remove the LCD from the PCB yet.

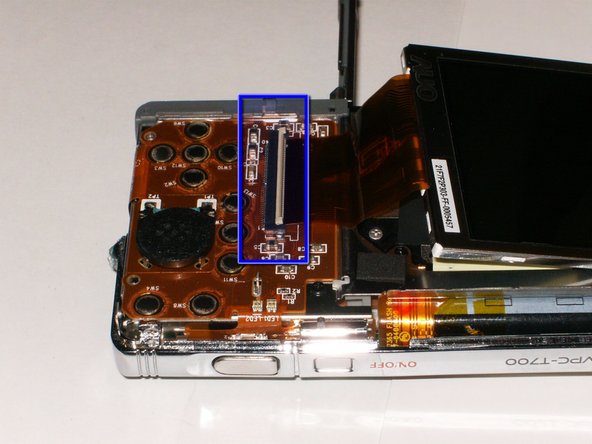
    • Open the ribbon cable connector by pulling the white clasp gently up.

    • Remove the old LCD.

  5. Sanyo VPC-T700 LCD Screen Replacement: passo 5, imagem 1 %32 Sanyo VPC-T700 LCD Screen Replacement: passo 5, imagem 2 %32
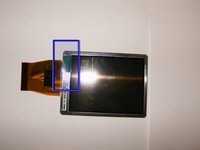
    • Here is the new LCD. Note the protective cover. Remove that cover by pulling on the green tab after installing the LCD to the PCB.

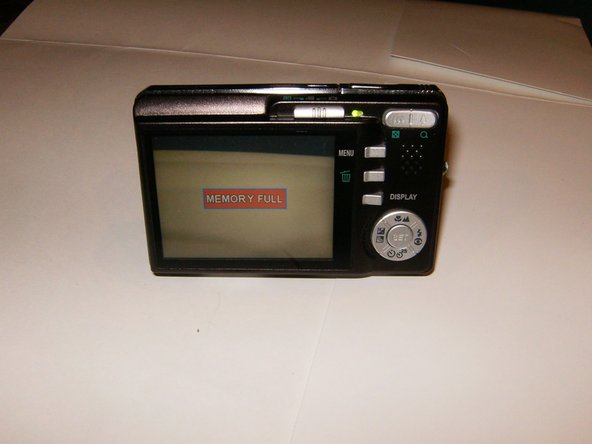
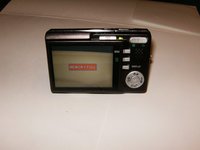
    • After reassembling your camera, hopefully it will look like this.

Conclusão

To reassemble your device, follow these instructions in reverse order.

Uma outra pessoa concluiu este guia.

oldturkey03

Membro desde: 09/29/10

778.207 Reputação

Autoria de 118 guias

Equipe

Global Fixers Membro de Global Fixers

Community

Membros da 31

Autoria de 520 guias

0 comentários

Adicione um comentário

Exibir estatísticas:

Últimas 24 horas: 0

Últimos 7 dias: 0

Últimos 30 dias: 5

Duração total: 1,290