Ir para o conteúdo principal
Participe da comunidade de reparos - Criar conta

Sanyo VPC S1275 LCD Screen Replacement

O que você precisa

    1. Sanyo VPC S1275 LCD Screen Replacement, Battery: passo 1, imagem 1 %32
      • Place your thumb on the right side of the camera over the battery door.

      • Slide the battery door to the right until the door lifts up.

      Pergunte ao FixBot

      Comentar

    2. Sanyo VPC S1275 LCD Screen Replacement: passo 2, imagem 1 %32
      • Remove and recycle old batteries.

      Pergunte ao FixBot

      Comentar

    1. Sanyo VPC S1275 LCD Screen Replacement, Case: passo 3, imagem 1 %32 Sanyo VPC S1275 LCD Screen Replacement, Case: passo 3, imagem 2 %32 Sanyo VPC S1275 LCD Screen Replacement, Case: passo 3, imagem 3 %32
      • Remove the following six screws using the Phillips #00 screwdriver:

      • Two screws on the left side of the camera.

      • Two screws on the right side of the camera.

      • Two screws on the bottom of the camera.

      Pergunte ao FixBot

      Comentar

    2. Sanyo VPC S1275 LCD Screen Replacement: passo 4, imagem 1 %32 Sanyo VPC S1275 LCD Screen Replacement: passo 4, imagem 2 %32
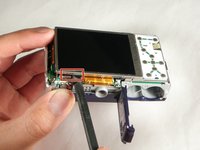
      • Open the battery slot on the bottom of the camera by sliding the door to the right.

      • Remove the single 4 mm screw on the bottom right using the Phillips #00 screwdriver.

      Pergunte ao FixBot

      Comentar

    3. Sanyo VPC S1275 LCD Screen Replacement: passo 5, imagem 1 %32 Sanyo VPC S1275 LCD Screen Replacement: passo 5, imagem 2 %32 Sanyo VPC S1275 LCD Screen Replacement: passo 5, imagem 3 %32
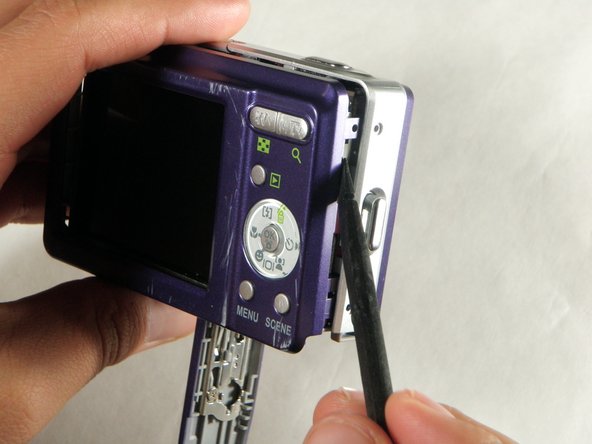
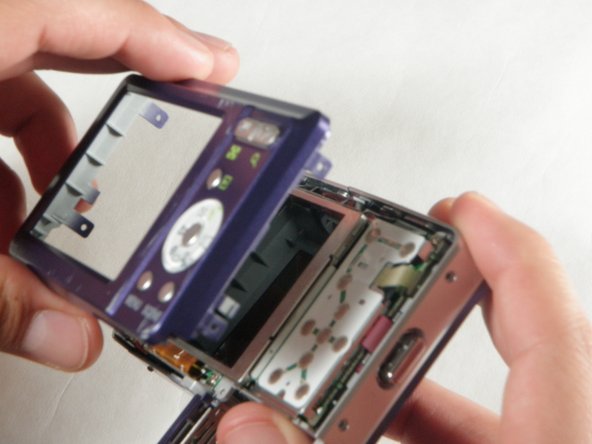
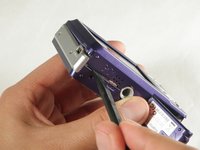
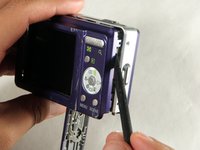
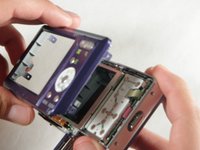
      • Insert a spudger in the seam at the bottom of the camera.

      • Gently separate the rear case from the front of the camera.

      Pergunte ao FixBot

      Comentar

    4. Sanyo VPC S1275 LCD Screen Replacement: passo 6, imagem 1 %32
      • This step is only needed for the case and logic board replacement

      • Using the Phillips #00 screwdriver, remove the single screw attached to the front casing in the top left corner. The front case should easily separate.

      Pergunte ao FixBot

      Comentar

    5. Sanyo VPC S1275 LCD Screen Replacement: passo 7, imagem 1 %32
      • This step is only needed for the case replacement.

      • Using the Phillips #00 screwdriver, remove the screw on the inside of the battery door.

      • Slide the battery door off of the hinge.

      Pergunte ao FixBot

      Comentar

    1. Sanyo VPC S1275 LCD Screen Replacement, LCD Screen: passo 8, imagem 1 %32 Sanyo VPC S1275 LCD Screen Replacement, LCD Screen: passo 8, imagem 2 %32
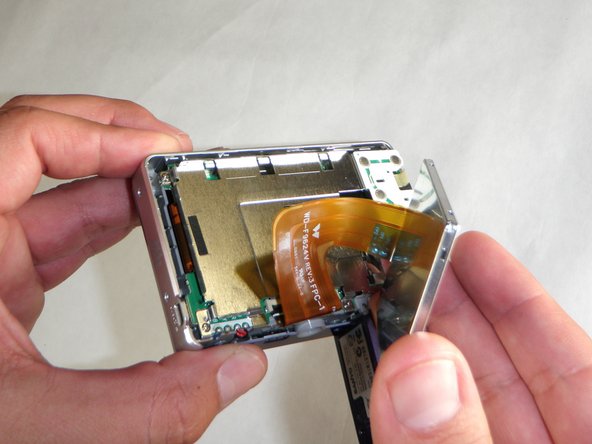
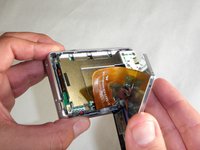
      • Using the spudger, carefully lift up the LCD screen, making sure to keep the ribbon cable intact.

      • Place the LCD screen on a non-abrasive surface.

      Pergunte ao FixBot

      Comentar

    2. Sanyo VPC S1275 LCD Screen Replacement: passo 9, imagem 1 %32
      • Using the spudger lift the black flap up to release the ribbon cable.

      • The LCD screen will now be completely detached from the camera.

      Pergunte ao FixBot

      Comentar

Conclusão

To reassemble your device, follow these instructions in reverse order.

Cancelar: não concluí este guia.

Evan Perez

Membro desde: 04/15/10

19 Reputação

Autoria de 2 guias

Equipe

Cal Poly, Team 24-24, Regan Spring 2010 Membro de Cal Poly, Team 24-24, Regan Spring 2010

CPSU-REGAN-S10S24G24

4 Membros

Autoria de 18 guias

0Comentários do guia

Comentar

Visualizações:

Últimas 24 horas: 3

Últimos 7 dias: 13

Últimos 30 dias: 51

Ao todo: 3,692