Ir para o conteúdo principal
Participe da comunidade de reparos - Criar conta

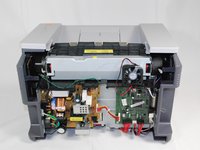
Samsung ML2510 Side Cooling Fan Replacement

O que você precisa

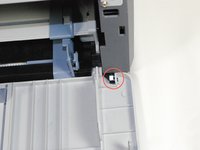
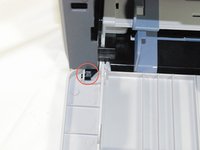
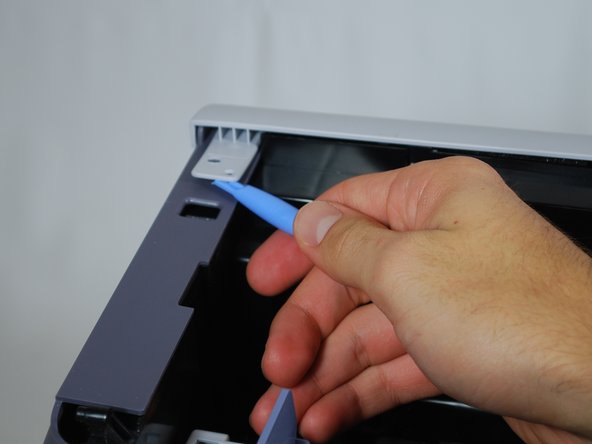
    1. Samsung ML2510 Side Cooling Fan Replacement, Removing Samsung ML2510 Back Panel: passo 1, imagem 1 %32 Samsung ML2510 Side Cooling Fan Replacement, Removing Samsung ML2510 Back Panel: passo 1, imagem 2 %32 Samsung ML2510 Side Cooling Fan Replacement, Removing Samsung ML2510 Back Panel: passo 1, imagem 3 %32
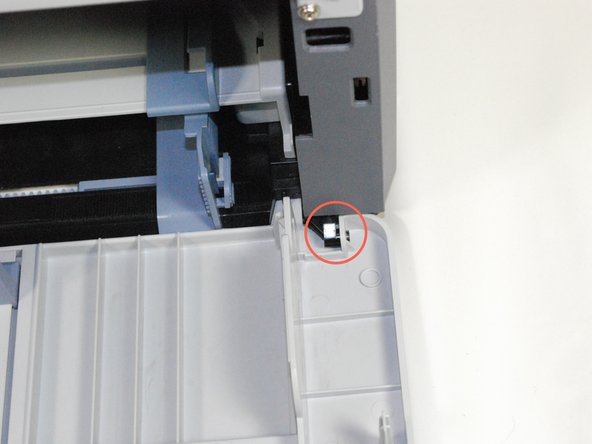
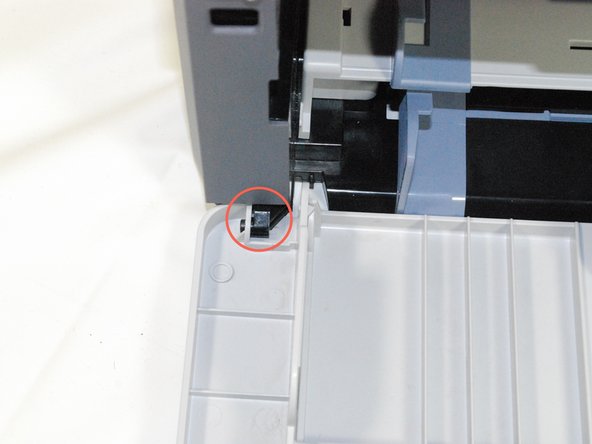
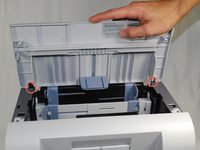
      • Remove the top hinged panel by taking out the pins at the bottom of this panel.

      Pergunte ao FixBot

      Comentar

    2. Samsung ML2510 Side Cooling Fan Replacement: passo 2, imagem 1 %32
      • Using a Phillips #2 screwdriver, remove the four screws on the back of the printer.

      Pergunte ao FixBot

      Comentar

    3. Samsung ML2510 Side Cooling Fan Replacement: passo 3, imagem 1 %32 Samsung ML2510 Side Cooling Fan Replacement: passo 3, imagem 2 %32 Samsung ML2510 Side Cooling Fan Replacement: passo 3, imagem 3 %32
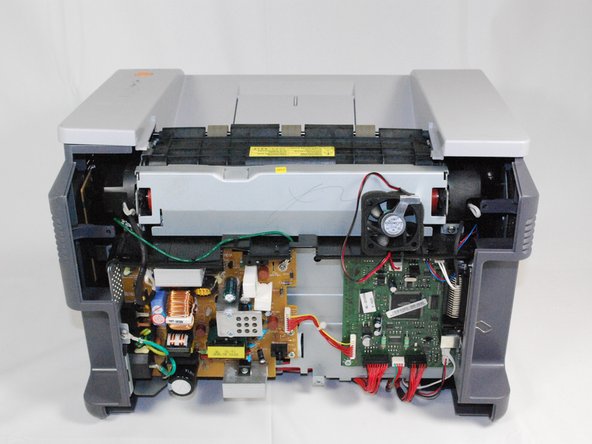
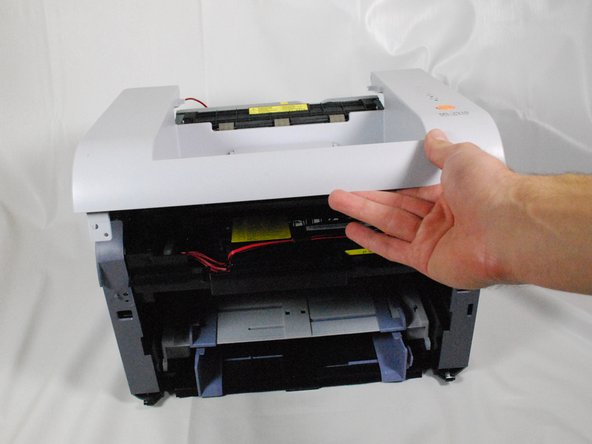
      • Gently lift the top panel while simultaneously pulling off the back panel.

      • Before pulling out the back panel entirely, make sure to remove the rear cooling fan from its slot.

      Pergunte ao FixBot

      Comentar

    1. Samsung ML2510 Side Cooling Fan Replacement, Side Cooling Fan: passo 4, imagem 1 %32 Samsung ML2510 Side Cooling Fan Replacement, Side Cooling Fan: passo 4, imagem 2 %32 Samsung ML2510 Side Cooling Fan Replacement, Side Cooling Fan: passo 4, imagem 3 %32
      • Locate the holes on the panel that are attached to the main body.

      • Remove the front panel by gently moving the holes from the pegs one by one.

      Pergunte ao FixBot

      Comentar

    2. Samsung ML2510 Side Cooling Fan Replacement: passo 5, imagem 1 %32
      • Using a Phillips #2 screwdriver, remove the two 1" screws on the front face of the printer.

      Pergunte ao FixBot

      Comentar

    3. Samsung ML2510 Side Cooling Fan Replacement: passo 6, imagem 1 %32 Samsung ML2510 Side Cooling Fan Replacement: passo 6, imagem 2 %32 Samsung ML2510 Side Cooling Fan Replacement: passo 6, imagem 3 %32
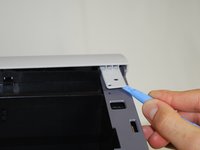
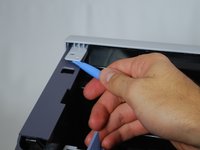
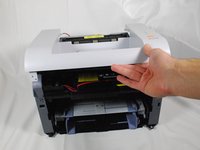
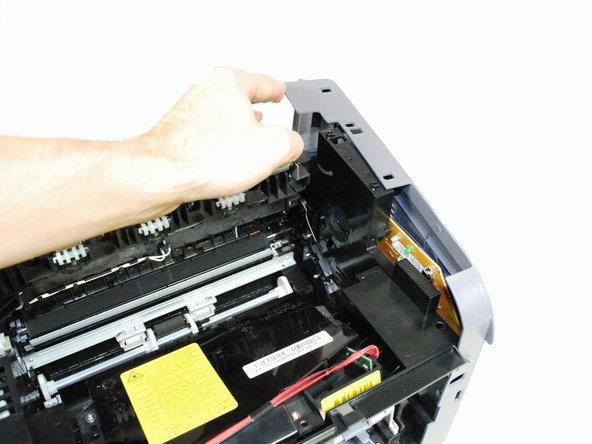
      • Using a plastic opening tool, gently lift one side of the top panel from its peg.

      • Repeat process for the other side.

      • Lift the top panel from the front to remove it entirely.

      Pergunte ao FixBot

      Comentar

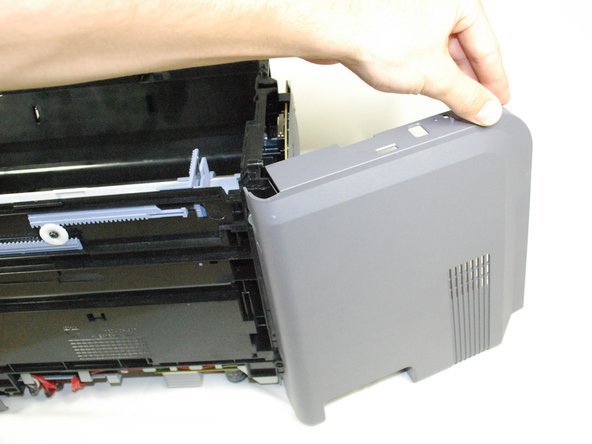
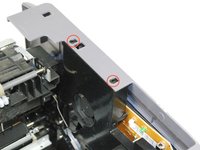
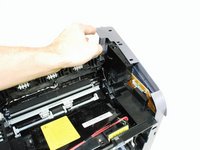
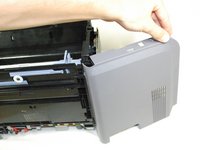
    4. Samsung ML2510 Side Cooling Fan Replacement: passo 7, imagem 1 %32 Samsung ML2510 Side Cooling Fan Replacement: passo 7, imagem 2 %32 Samsung ML2510 Side Cooling Fan Replacement: passo 7, imagem 3 %32
      • Lift the right side-panel up from the raised stops.

      • Gently rotate the panel as indicated in the picture to remove the panel entirely.

      Pergunte ao FixBot

      Comentar

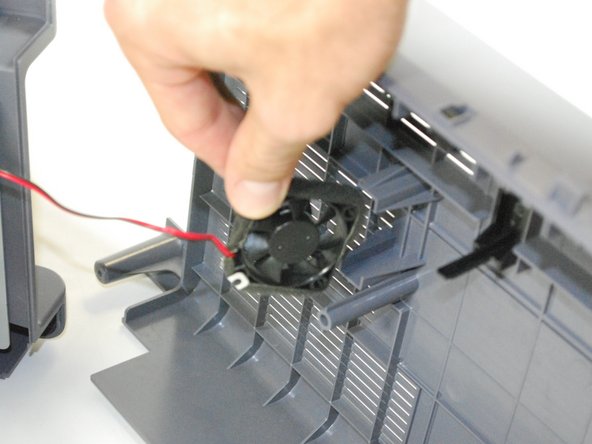
    5. Samsung ML2510 Side Cooling Fan Replacement: passo 8, imagem 1 %32
      • Poke out the side fan from the inside of the printer.

      Pergunte ao FixBot

      Comentar

    6. Samsung ML2510 Side Cooling Fan Replacement: passo 9, imagem 1 %32
      • Unplug the fan's wires from the side circuit board.

      • Replace the fan and reassemble the printer using reverse procedures.

      Pergunte ao FixBot

      Comentar

Conclusão

To reassemble your device, follow these instructions in reverse order.

Cancelar: não concluí este guia.

2 outras pessoas executaram este guia.

bbaustin

Membro desde: 10/12/11

268 Reputação

Autoria de 6 guias

Equipe

Cal Poly, Team 17-18, Regan Fall 2011 Membro de Cal Poly, Team 17-18, Regan Fall 2011

CPSU-REGAN-F11S17G18

4 Membros

Autoria de 12 guias

0Comentários do guia

Comentar

Visualizações:

Últimas 24 horas: 2

Últimos 7 dias: 5

Últimos 30 dias: 25

Ao todo: 2,948