Introdução
Replacing a SIM card port on a Samsung Droid Charge presents potential hazards, including the risk of damaging internal components, the need to safeguard against any electrical discharges, and the delicate nature of the small parts involved. Special requirements for this replacement include exercising skill and patience and ensuring the compatibility of replacement parts. This replacement may become necessary due to physical damage from impact or wear, leading to connectivity issues with SIM cards and affecting the phone's texting, calling, or data functionality. To ensure successful repair and safety, seek assistance from an experienced technician or Samsung's service center if uncomfortable with the tedious process or unsure about handling the delicate parts.
O que você precisa
-
-
Open up the back case on the phone from the groove in the bottom of the phone.
 Pergunte ao FixBot
-
-
-
Use the groove to lever out the battery gently, in order to not damage either the battery or phone. Store the battery in a safe place.
-
-
-
Push the SD card further into its metal slot until you hear a click.
-
Release the card, and it should automatically eject itself.
-
Remove the SD card.
-
-
-
-
Slide the SIM card out of its casing by pushing on it and sliding it upward.
-
-
-
Carefully remove the back cover.
-
Remove the two 5mm screws with a small Phillips head screwdriver.
-
-
-
Removal of the back half of the casing.
-
Using a thin plastic flat head screw driver, or similar item. On the side of the phone insert the thin edge into the visible split between the 2 halves of the phone.
-
Use a prying motion to lift the casing up. This will separate the phone casing.
-
Repeat this motion all around the screen edge until the casing pops off.
-
-
-
Release the volume button flex cable on the right.
-
Release the pop connector on the motherboard located to the left of the SIM card port.
-
-
-
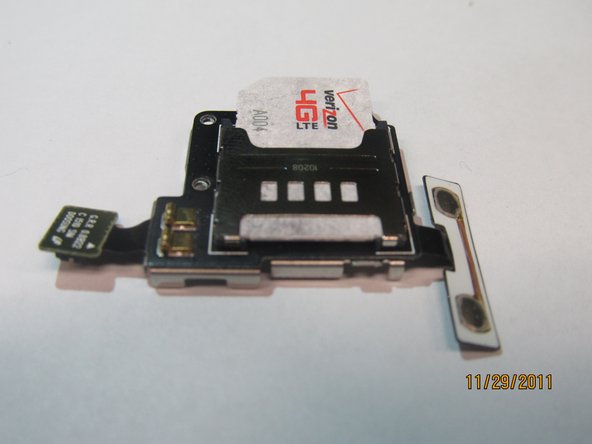
Your SIM card port is now unattached.
-
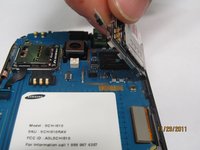
Remove SIM card port from motherboard.
-


To reassemble your device, follow these instructions in reverse order.
Cancelar: não concluí este guia.
4 outras pessoas executaram este guia.

Equipe

Cal Poly, Team 15-44, Forte Fall 2012 Membro de Cal Poly, Team 15-44, Forte Fall 2012
CPSU-FORTE-F12S15G44
4 Membros
Autoria de 6 guias
