Introdução
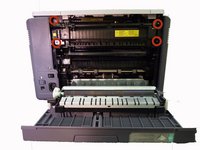
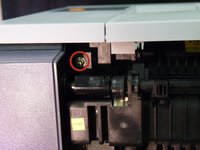
Follow these steps to replace the fuser unit by taking off the back cover of your Samsung CLP-300.
O que você precisa
-
-
-
Turn the printer off and wait a few minutes for it to cool.
-
Turn printer around so that you are looking at the rear panel.
 Pergunte ao FixBot
-
-
-
-
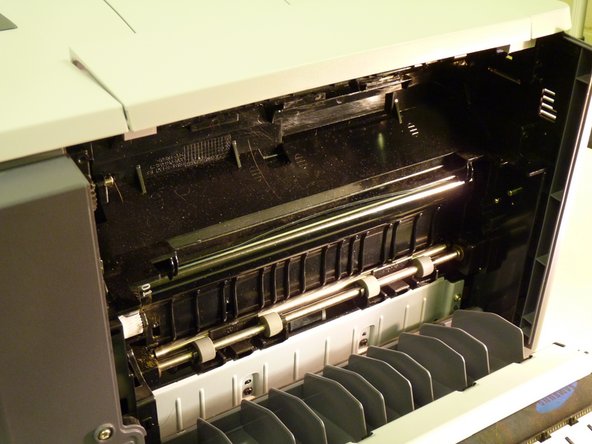
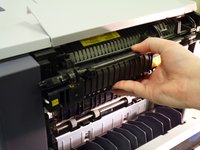
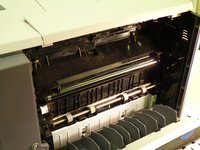
Slide fuser unit out of the printer.
-
Remove packaging from new fuser unit.
-
Insert new fuser unit.
-
-



To reassemble your device, follow these instructions in reverse order.
Cancelar: não concluí este guia.
2 outras pessoas executaram este guia.

Equipe

University of Maine, Team 1-1, Diaz Fall 2014 Membro de University of Maine, Team 1-1, Diaz Fall 2014
UMAINE-DIAZ-F14S1G1
3 Membros
Autoria de 28 guias
2Comentários do guia
how do you unplug the old fuser unit and plug in the new fuser unit - you don’t show how to do that.
The plug in on the left side, no need to unplug it because it is part of the fuser unit.
