Introdução
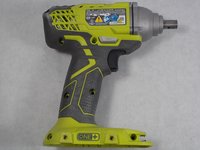
Use this guide to replace the trigger assembly in your Ryobi P235 Impact driver if power isn’t getting to the motor while using a fully charged battery.
The trigger assembly is what regulates how much power gets to the motor and what direction the motor spins.
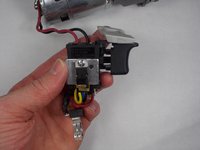
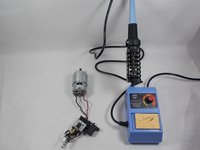
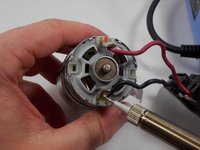
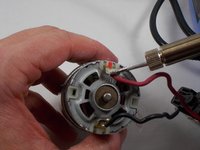
When you reach step 7 and 8, the wires are soldered to the motor so a soldering iron will need to be used to disconnect them from the old trigger assembly and then reattach them to the new one.
O que você precisa
-
-
-
Pull the battery away from the drill housing while holding in both tabs.
-
-
-
-
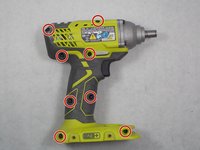
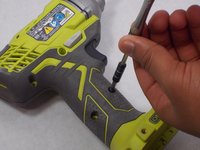
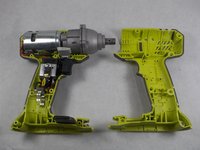
Use a Phillips #2 screwdriver to remove the eight 16 mm screws that secure the housing.
-
-
-
-
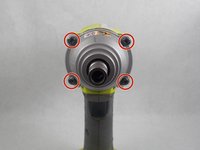
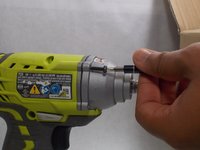
Use a T20 Torx screwdriver to remove the four 25.4 mm screws that secure the front of the housing.
-
-
-
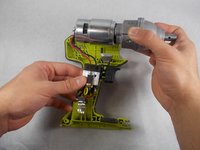
Lift the trigger mechanism and other internal components out of the housing assembly.
-
-
-
Use a soldering iron to remove the black and red wires connecting the trigger assembly to the motor.
-
-


 Pergunte ao FixBot










To reassemble your device, follow these instructions in reverse order starting at step 6.
Cancelar: não concluí este guia.
3 outras pessoas executaram este guia.

Equipe

UMass Dartmouth, Team S4-G2, Saloman Fall 2019 Membro de UMass Dartmouth, Team S4-G2, Saloman Fall 2019
UMASSD-SALOMAN-F19S4G2
3 Membros
Autoria de 12 guias
1Comentário do guia
Is the trigger what makes this a brushless motor? Is it possible for the trigger to cause the battery to drain down completely overnight?
