Ir para o conteúdo principal
Participe da comunidade de reparos - Criar conta

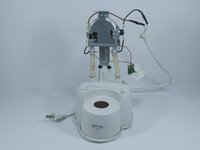
Rival CM4015 Water Tubes Replacement

O que você precisa

    1. Rival CM4015 Water Tubes Replacement, Base Plate: passo 1, imagem 1 %32 Rival CM4015 Water Tubes Replacement, Base Plate: passo 1, imagem 2 %32
      • Remove the three 16 mm tri-point screws from the base plate.

      Pergunte ao FixBot

      Comentar

    2. Rival CM4015 Water Tubes Replacement: passo 2, imagem 1 %32 Rival CM4015 Water Tubes Replacement: passo 2, imagem 2 %32
      • Remove the base plate by pressing the plastic body away from the metal plate with your thumbs.

      Pergunte ao FixBot

      Comentar

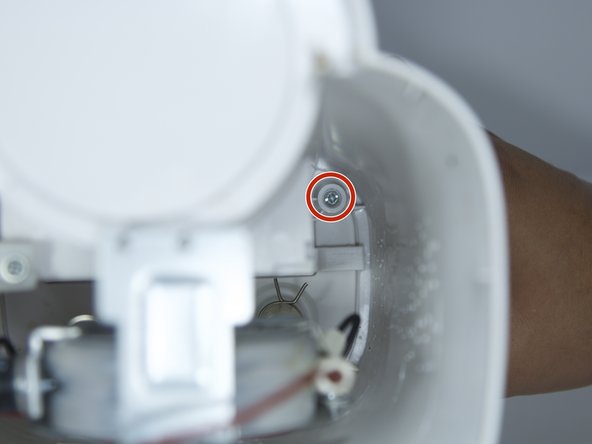
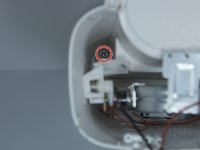
    1. Rival CM4015 Water Tubes Replacement, Power Button: passo 3, imagem 1 %32
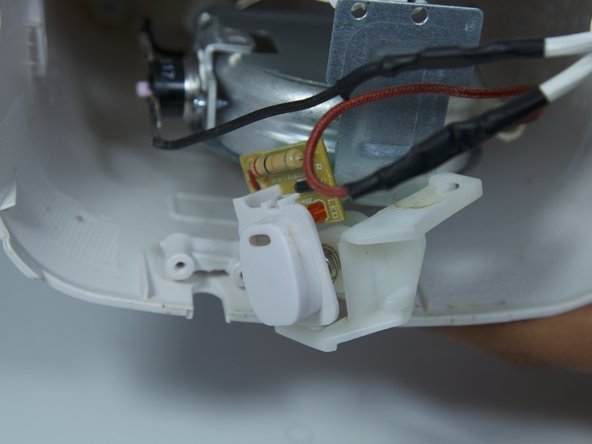
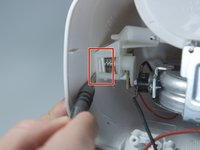
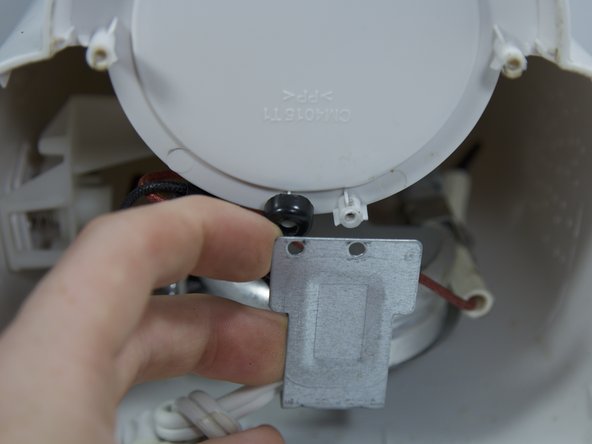
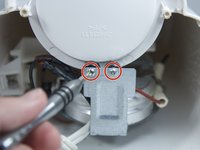
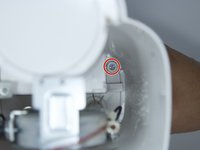
      • Remove the 8mm Phillips screw that attaches the power button to the inside of the coffee maker.

      Pergunte ao FixBot

      Comentar

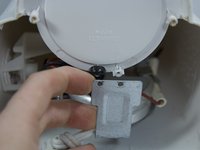
    2. Rival CM4015 Water Tubes Replacement: passo 4, imagem 1 %32 Rival CM4015 Water Tubes Replacement: passo 4, imagem 2 %32
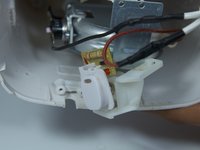
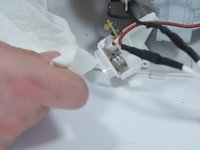
      • Use a flat head screwdriver to pry the power button from its slot in the body of the device.

      • Make sure the tool is pressed securely under the plastic clip, in order to not break it.

      Pergunte ao FixBot

      Comentar

    3. Rival CM4015 Water Tubes Replacement: passo 5, imagem 1 %32 Rival CM4015 Water Tubes Replacement: passo 5, imagem 2 %32
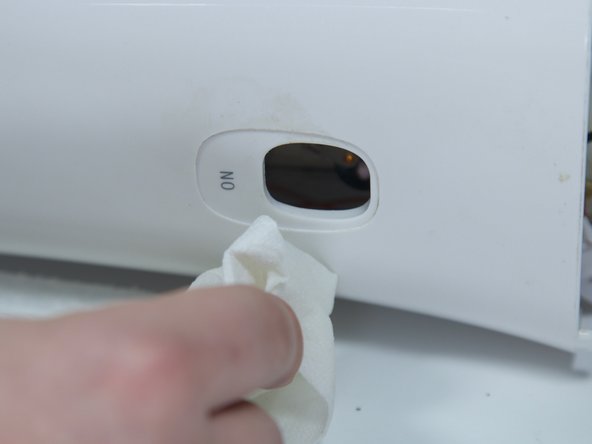
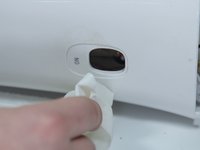
      • Clean both the button and its slot before replacing the power button.

      Pergunte ao FixBot

      Comentar

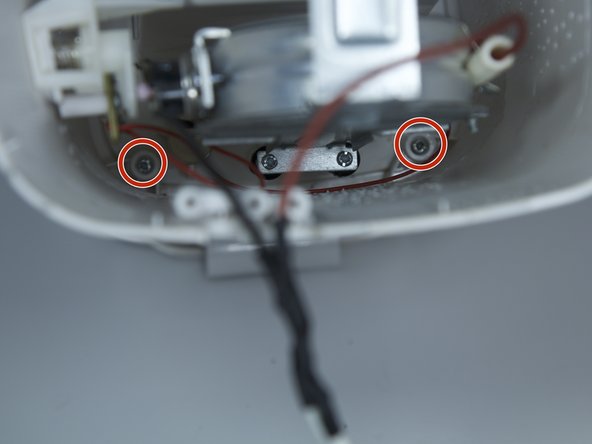
    1. Rival CM4015 Water Tubes Replacement, Heating Element: passo 6, imagem 1 %32
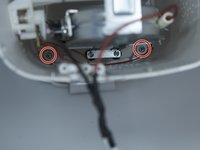
      • Remove the two 8 mm Phillips screws from the plastic body.

      Pergunte ao FixBot

      Comentar

    2. Rival CM4015 Water Tubes Replacement: passo 7, imagem 1 %32 Rival CM4015 Water Tubes Replacement: passo 7, imagem 2 %32
      • Remove the two 8 mm Phillips screws from the chassis of coffee maker.

      • Pull back the metal backing from the plastic body.

      Pergunte ao FixBot

      Comentar

    3. Rival CM4015 Water Tubes Replacement: passo 8, imagem 1 %32 Rival CM4015 Water Tubes Replacement: passo 8, imagem 2 %32 Rival CM4015 Water Tubes Replacement: passo 8, imagem 3 %32
      • Remove the four 8 mm Phillips screws from the inner plastic body.

      • You will need a long, thin Phillips screw driver to get this deep into the device.

      Pergunte ao FixBot

      Comentar

    4. Rival CM4015 Water Tubes Replacement: passo 9, imagem 1 %32 Rival CM4015 Water Tubes Replacement: passo 9, imagem 2 %32
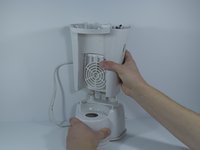
      • Flip the device upside down and remove the outer plastic body from the device by pulling straight up.

      • Take your time to make sure the thin cables within the device don't tear.

      Pergunte ao FixBot

      Comentar

    5. Rival CM4015 Water Tubes Replacement: passo 10, imagem 1 %32
      • Remove the two 8 mm Phillips screws from the metal backing.

      Pergunte ao FixBot

      Comentar

    6. Rival CM4015 Water Tubes Replacement: passo 11, imagem 1 %32
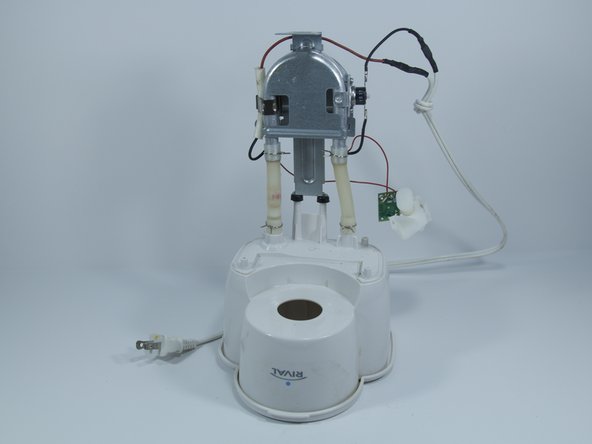
      • Remove the 4 springs holding the water tubes by squeezing the 2 prongs together.

      • You may also use pliers for this step if the springs are too strong.

      Pergunte ao FixBot

      Comentar

    7. Rival CM4015 Water Tubes Replacement: passo 12, imagem 1 %32
      • Bend the heating element back and forth to wiggle the water tubes loose from the plastic.

      Pergunte ao FixBot

      Comentar

    1. Rival CM4015 Water Tubes Replacement, Water Tubes: passo 13, imagem 1 %32
      • Remove the two rubber water tubes from the heating element by firmly pulling each at a 90 degree angle from the socket.

      Pergunte ao FixBot

      Comentar

Conclusão

To reassemble your device, follow these instructions in reverse order.

Cancelar: não concluí este guia.

Equipe

Cal Poly, Team 10-6, Livingston Fall 2016 Membro de Cal Poly, Team 10-6, Livingston Fall 2016

CPSU-LIVINGSTON-F16S10G6

5 Membros

Autoria de 18 guias

0Comentários do guia

Comentar

Visualizações:

Últimas 24 horas: 1

Últimos 7 dias: 3

Últimos 30 dias: 20

Ao todo: 502