Introdução
Neste guia, você verá o passo a passo de como desmontar e substituir a câmera da Ring Video Doorbell. Você precisará de uma chave Phillips PH00 e uma espátula de plástico.
O que você precisa
-
-
Comece usando a chave Phillips PH00 para remover os seis parafusos Phillips de 1 mm na parte inferior do dispositivo.
-
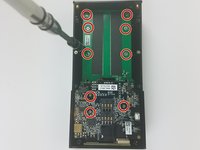
Use as Ferramentas de abertura de plástico para abrir a placa de alumínio.
-
Remova os dois parafusos Phillips de 1 mm usando a chave Phillips PH00.
 Pergunte ao FixBot
-
-
-
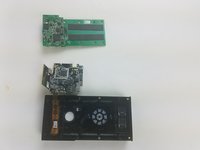
Use a Ferramenta de abertura para abrir a tampa traseira como mostrado.
-
Desconecte a bateria da placa-mãe puxando cuidadosamente o conector para cima.
-
-
-
-
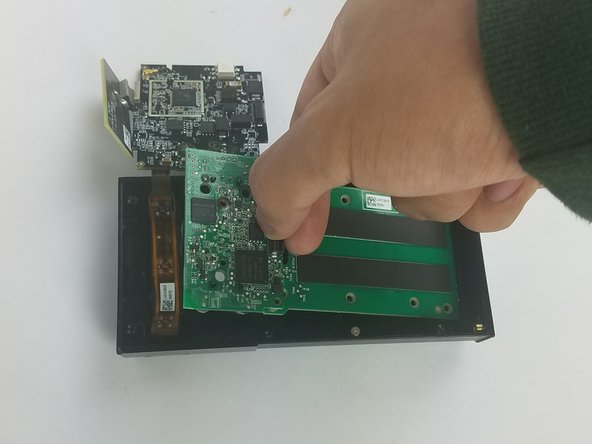
Desaparafuse os nove parafusos de 1 mm usando uma chave Phillips PH00.
-
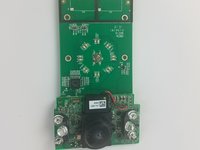
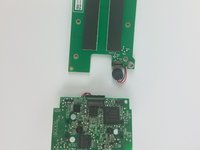
Com cuidado, separe a placa-mãe da carcaça usando as mãos.
-
-
-
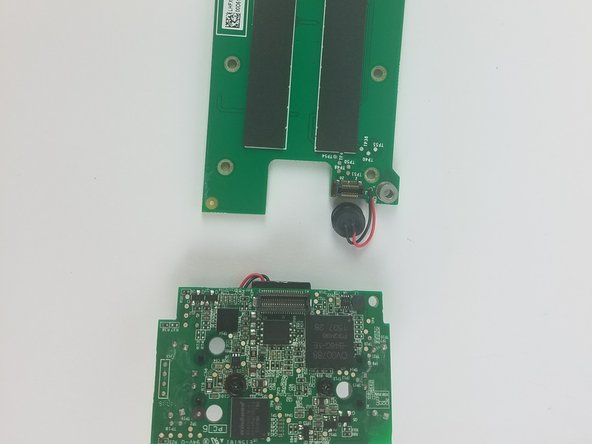
Usando o Plating Tool Opener, desconecte com cuidado o cabo plano que prende a câmera à carcaça.
-
Substitua a câmera e siga os passos na ordem inversa para a remontagem
-
-
Ferramenta utilizada neste passo:Tweezers$4.99
-
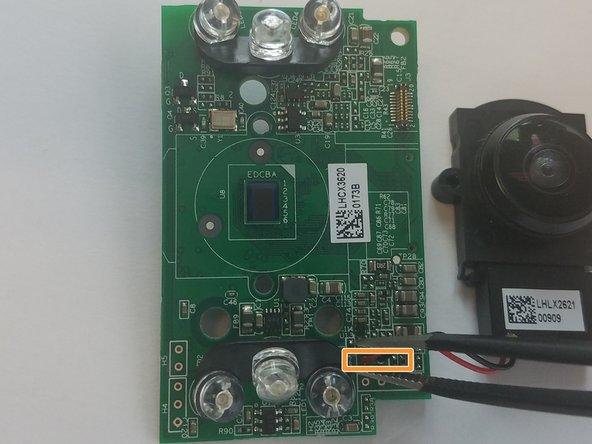
Desparafuse os dois parafusos de 1 mm usando a chave Phillips PH00.
-
Desconecte a fiação preta e vermelha conectada à placa-mãe usando a pinça para remover a câmera.
-


Para a remontagem de seu dispositivo, siga estas instruções na ordem inversa.
Cancelar: não concluí este guia.
3 outras pessoas executaram este guia.
Um agradecimento especial a esses tradutores:
100%

Translation Bot está nos ajudando a consertar o mundo! Quer contribuir?
Comece a traduzir ›
Equipe

USF Tampa, Team S11-G5, Cheng Spring 2018 Membro de USF Tampa, Team S11-G5, Cheng Spring 2018
USFT-CHENG-S18S11G5
3 Membros
Autoria de 15 guias
11Comentários do guia
What camera should I use to replace a malfunctioning camera in the ring video doorbell? And where do I buy it?
Bump. What camera should I use to replace? (Scratched Lens.) Is the lens you can touch, a lens, or is it just a cover? Mine fell at there is chip right in the center that make the image unusable.
I have a scratch dead center of mine too. Have no clue how it got there as I’m super careful when I take it off to charge. Ugh. did you find out where to buy a replacement?
What camera should I use to replace? (Scratched Lens.) I have the right 1st generation with a 740p camera
Has anyone found a replacement camera online?