Ir para o conteúdo principal
Participe da comunidade de reparos - Criar conta

Replacing Creative Zen X-Fi Speaker

O que você precisa

  1. Replacing Creative Zen X-Fi Speaker, Detaching Front Case: passo 1, imagem 1 %32 Replacing Creative Zen X-Fi Speaker, Detaching Front Case: passo 1, imagem 2 %32 Replacing Creative Zen X-Fi Speaker, Detaching Front Case: passo 1, imagem 3 %32
    • Using a spudger, wedge the tip between the front and back case to pry them apart.

    • Be careful to not apply excessive force since there are six fasteners on the screen's side that holds the cases firmly together.

    Pergunte ao FixBot

    Comentar

  2. Replacing Creative Zen X-Fi Speaker, Rubber Button Cover: passo 2, imagem 1 %32
    • The black rubber button pad can be removed by simply picking it up.

    Pergunte ao FixBot

    Comentar

  3. Replacing Creative Zen X-Fi Speaker, Button Input Chip Part 1: passo 3, imagem 1 %32
    • Flip the LCD screen off the midsection plate to gain access to the space around the input button chip.

    Pergunte ao FixBot

    Comentar

  4. Replacing Creative Zen X-Fi Speaker, Button Input Chip: passo 4, imagem 1 %32
    • Using a spudger, pry off the button input chip from the mid-section of the device. To gain best leverage, start at the bottom right corner and level your way up the side of the chip.

    • Be aware that the button input chip is glued to the mid-section, so some extra force may be required.

    Pergunte ao FixBot

    Comentar

  5. Replacing Creative Zen X-Fi Speaker, Access Midsection Plate: passo 5, imagem 1 %32
    • Lift open the LCD screen and button input chip to access the entire midsection plate.

    Pergunte ao FixBot

    Comentar

  6. Replacing Creative Zen X-Fi Speaker, Unscrew below Button Chip: passo 6, imagem 1 %32
    • Use a Phillips Head screwdriver to unscrew the three 3/16 inch screws that were underneath the button input chip.

    Pergunte ao FixBot

    Comentar

  7. Replacing Creative Zen X-Fi Speaker, Unscrew below LCD Screen: passo 7, imagem 1 %32
    • Use a Phillips Head screwdriver to unscrew the three 3/16 inch screws that were underneath the LCD screen.

    Pergunte ao FixBot

    Comentar

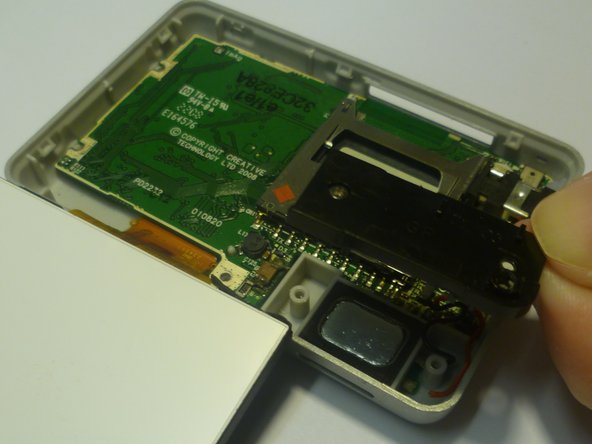
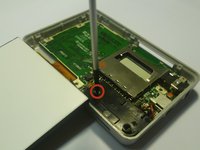
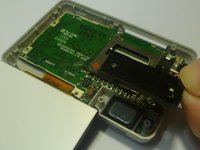
  8. Replacing Creative Zen X-Fi Speaker, Unscrew Speaker's Cover: passo 8, imagem 1 %32 Replacing Creative Zen X-Fi Speaker, Unscrew Speaker's Cover: passo 8, imagem 2 %32
    • Use a Phillips Head screwdriver to unscrew the 3/16 inch screw that attaches the speaker's cover the the back case.

    • Once unscrewed, pick up the case and put it to the side.

    Pergunte ao FixBot

    Comentar

  9. Replacing Creative Zen X-Fi Speaker, Removing the Speaker: passo 9, imagem 1 %32
    Ferramenta utilizada neste passo:
    Tweezers
    $4.99
    • With the speaker exposed, use a pair of tweezers to lift the speaker out of the slot.

    Pergunte ao FixBot

    Comentar

Conclusão

To reassemble your device, follow these instructions in reverse order.

Cancelar: não concluí este guia.

Uma outra pessoa concluiu este guia.

Westley Courchene

Membro desde: 01/13/15

3.410 Reputação

Autoria de 14 guias

0Comentários do guia

Comentar

Visualizações:

Últimas 24 horas: 0

Últimos 7 dias: 6

Últimos 30 dias: 42

Ao todo: 727