Ir para o conteúdo principal
Participe da comunidade de reparos - Criar conta

Removing Olympus FE-210 Rear Casing

O que você precisa

  1. Removing Olympus FE-210 Rear Casing, Battery: passo 1, imagem 1 %32 Removing Olympus FE-210 Rear Casing, Battery: passo 1, imagem 2 %32
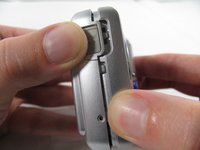
    • The battery compartment is located on the bottom side of the camera. Push the button in, and slide the cover to get access to the batteries.

    Pergunte ao FixBot
  2. Removing Olympus FE-210 Rear Casing: passo 2, imagem 1 %32 Removing Olympus FE-210 Rear Casing: passo 2, imagem 2 %32
    • The batteries will slide right out.

    • When putting new batteries in, make sure they are pointing the right direction.

    Pergunte ao FixBot
  3. Removing Olympus FE-210 Rear Casing, Front Casing: passo 3, imagem 1 %32 Removing Olympus FE-210 Rear Casing, Front Casing: passo 3, imagem 2 %32 Removing Olympus FE-210 Rear Casing, Front Casing: passo 3, imagem 3 %32
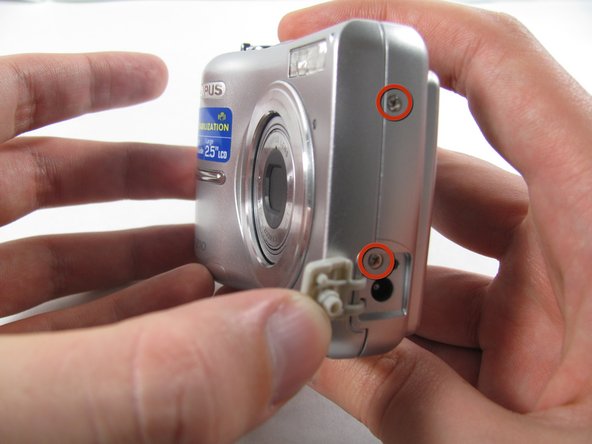
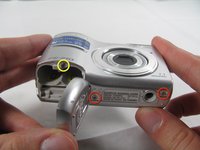
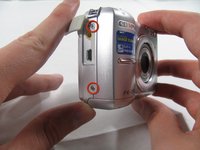
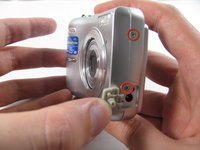
    • Remove the seven screws holding the front case in place, with a #00 screwdriver.

    • Six screws are 3.6 mm.

    • The seventh screw is 3.2 mm.

    Pergunte ao FixBot
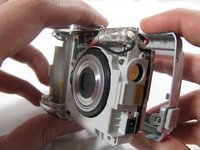
  4. Removing Olympus FE-210 Rear Casing: passo 4, imagem 1 %32 Removing Olympus FE-210 Rear Casing: passo 4, imagem 2 %32 Removing Olympus FE-210 Rear Casing: passo 4, imagem 3 %32
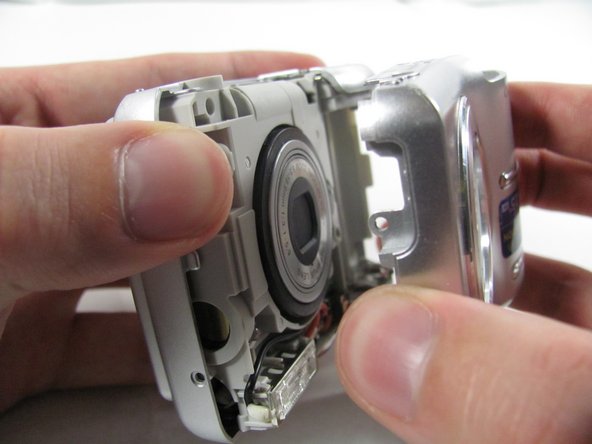
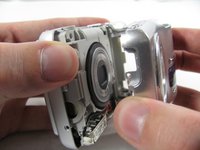
    • Apply enough pressure at the three snappable places to pull the front case off.

    • These three places are located:

    • At the top and bottom of the battery side (opposite of side pictured) of the case.

    • Right in the middle of the DC-in side (side pictured) of the case.

    • Top of the camera, to the left of the power button.

    • Once those places are disconnected, the front case will pop right off.

    • The camera in the first two pictures is upside down. This is the best position to place your thumbs to remove the case.

    Pergunte ao FixBot
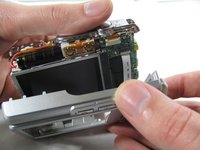
  5. Removing Olympus FE-210 Rear Casing, Rear Casing: passo 5, imagem 1 %32
    • Remove the 3.2 mm screw in the battery compartment using a #00 screwdriver.

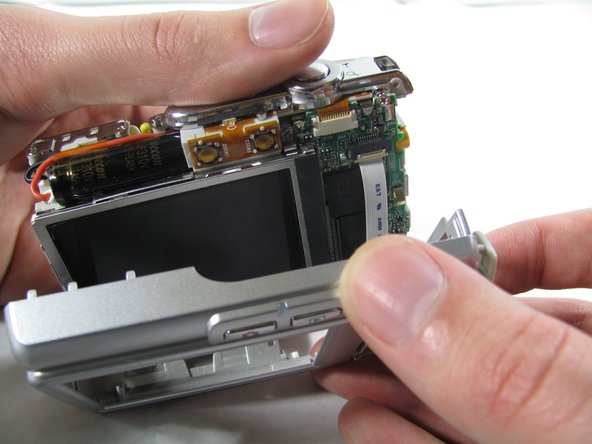
    • After removal of the screw the case will be loose, but do not tug it off. There is a cord connecting the rear controls to the motherboard.

    Pergunte ao FixBot
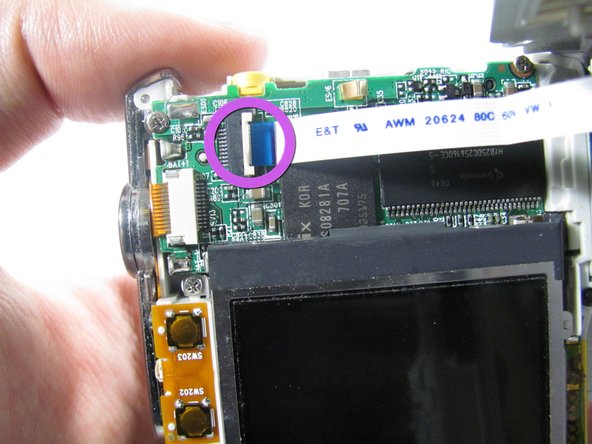
  6. Removing Olympus FE-210 Rear Casing: passo 6, imagem 1 %32 Removing Olympus FE-210 Rear Casing: passo 6, imagem 2 %32 Removing Olympus FE-210 Rear Casing: passo 6, imagem 3 %32
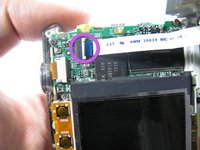
    • Carefully pull the rear case away from the camera until you have access to the cord connected to the motherboard.

    • Lift the white latch using a fingernail or a spudger.

    • Pull the cord from its connector.

    Pergunte ao FixBot
Conclusão

To reassemble your device, follow these instructions in reverse order.

Uma outra pessoa concluiu este guia.

Matt

Membro desde: 01/25/11

826 Reputação

Autoria de 6 guias

Equipe

Cal Poly, Team 4-36, Regan Winter 2011 Membro de Cal Poly, Team 4-36, Regan Winter 2011

CPSU-REGAN-W11S4G36

3 Membros

Autoria de 14 guias

0Comentários do guia

Comentar

Visualizações:

Últimas 24 horas: 0

Últimos 7 dias: 17

Últimos 30 dias: 90

Ao todo: 3,073