Ir para o conteúdo principal
Participe da comunidade de reparos - Criar conta

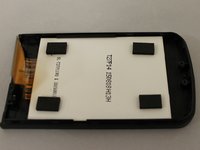
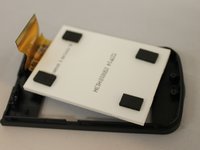
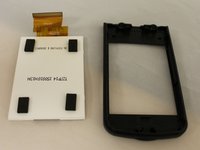
Pyrus PY21S03211 Display Screen Replacement

O que você precisa

  1. Pyrus PY21S03211 Display Screen Replacement, Display Screen: passo 1, imagem 1 %32 Pyrus PY21S03211 Display Screen Replacement, Display Screen: passo 1, imagem 2 %32 Pyrus PY21S03211 Display Screen Replacement, Display Screen: passo 1, imagem 3 %32
    • Find the tab at the bottom covering the battery compartment.

    • Pull back the tab to reveal the battery compartment.

    Pergunte ao FixBot

    Comentar

  2. Pyrus PY21S03211 Display Screen Replacement: passo 2, imagem 1 %32
    • To remove the battery from the device, pull back the tab holding it in place and then remove the battery.

    Pergunte ao FixBot

    Comentar

  3. Pyrus PY21S03211 Display Screen Replacement: passo 3, imagem 1 %32 Pyrus PY21S03211 Display Screen Replacement: passo 3, imagem 2 %32
    Ferramenta utilizada neste passo:
    Tweezers
    $4.99
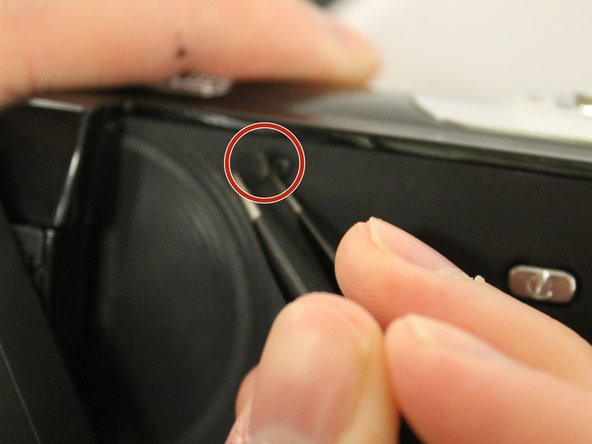
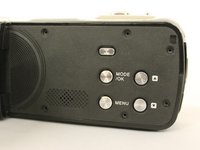
    • Open up the display screen.

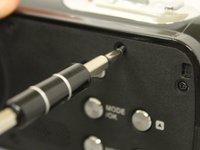
    • Remove the tab covering the battery compartment using a pair of tweezers.

    Pergunte ao FixBot

    Comentar

  4. Pyrus PY21S03211 Display Screen Replacement: passo 4, imagem 1 %32 Pyrus PY21S03211 Display Screen Replacement: passo 4, imagem 2 %32
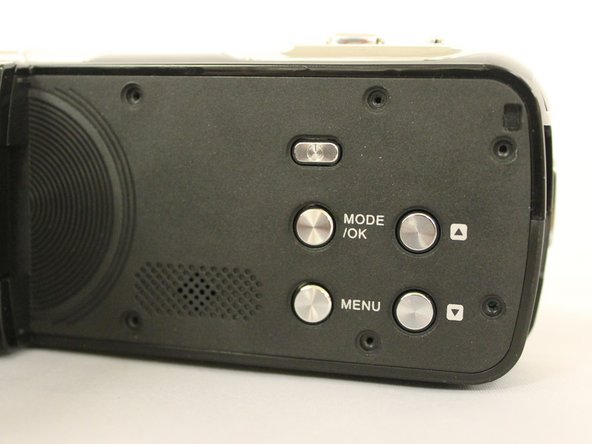
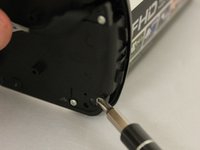
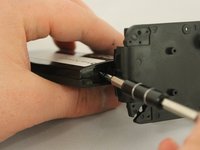
    • Use a #00 screwdriver to remove all six 4 mm screws from the side of the device.

    Pergunte ao FixBot

    Comentar

  5. Pyrus PY21S03211 Display Screen Replacement: passo 5, imagem 1 %32 Pyrus PY21S03211 Display Screen Replacement: passo 5, imagem 2 %32
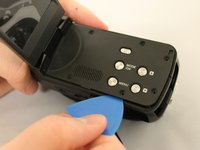
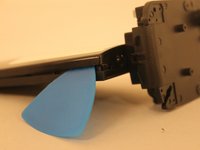
    • To remove the side face of the device, you can use a plastic pick to gently pry it off. Be careful while doing so to avoid potential device damage.

    Pergunte ao FixBot

    Comentar

  6. Pyrus PY21S03211 Display Screen Replacement: passo 6, imagem 1 %32
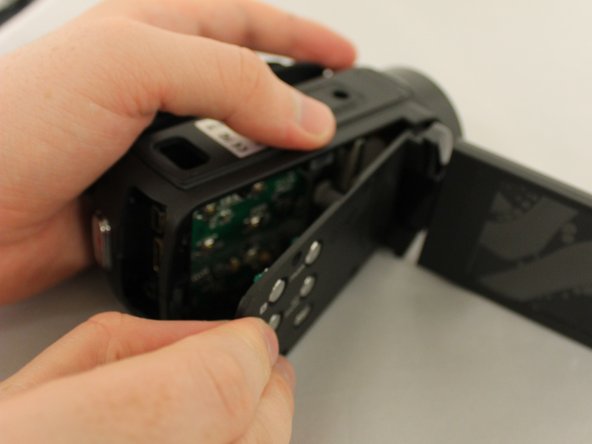
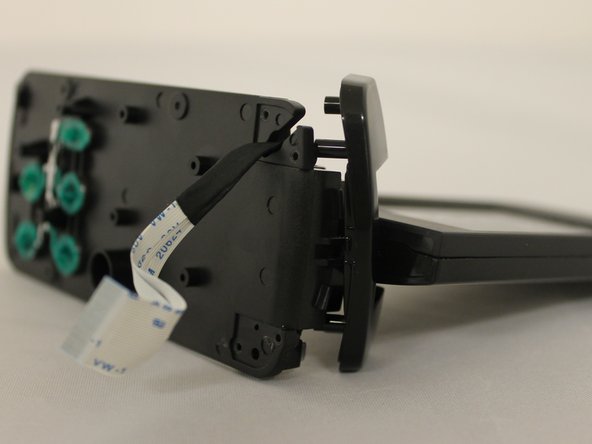
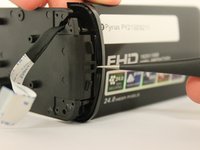
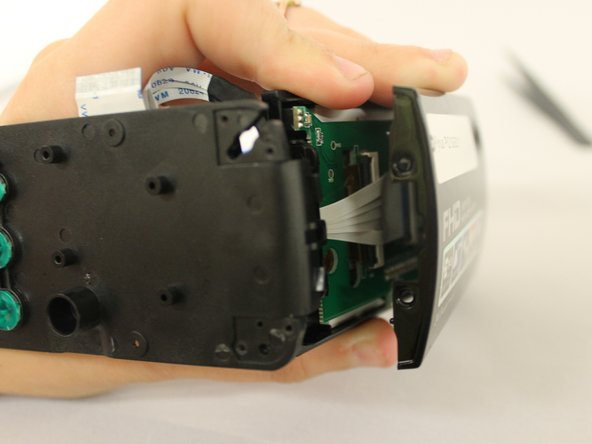
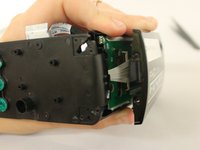
    • Carefully open the side face. Keep the side face close to the body of the device to avoid pulling on the white wires.

    Pergunte ao FixBot

    Comentar

  7. Pyrus PY21S03211 Display Screen Replacement: passo 7, imagem 1 %32 Pyrus PY21S03211 Display Screen Replacement: passo 7, imagem 2 %32
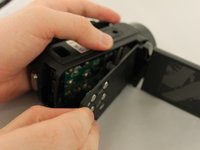
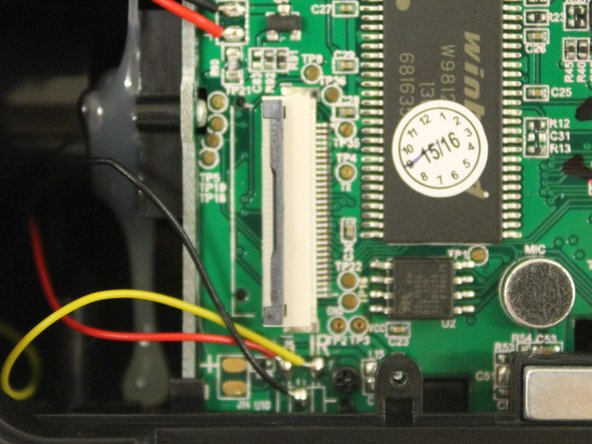
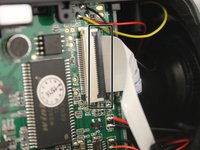
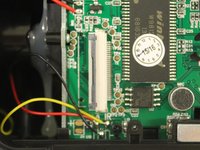
    • To remove the side face completely, locate the big white connector.

    • Lift the grey lip using tweezers. Then, carefully take out the white connector.

    Pergunte ao FixBot

    Comentar

  8. Pyrus PY21S03211 Display Screen Replacement: passo 8, imagem 1 %32 Pyrus PY21S03211 Display Screen Replacement: passo 8, imagem 2 %32 Pyrus PY21S03211 Display Screen Replacement: passo 8, imagem 3 %32
    • Set the device down with the screen facing towards you.

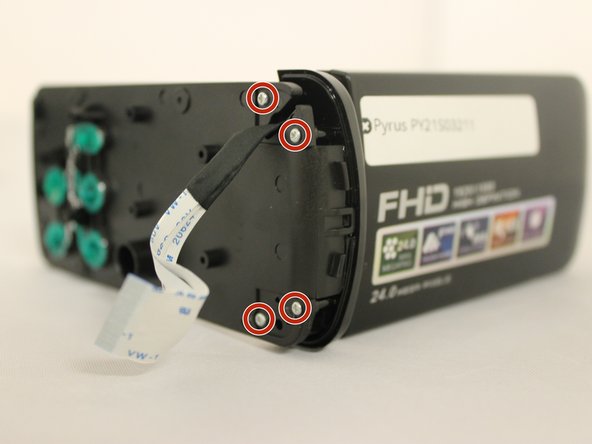
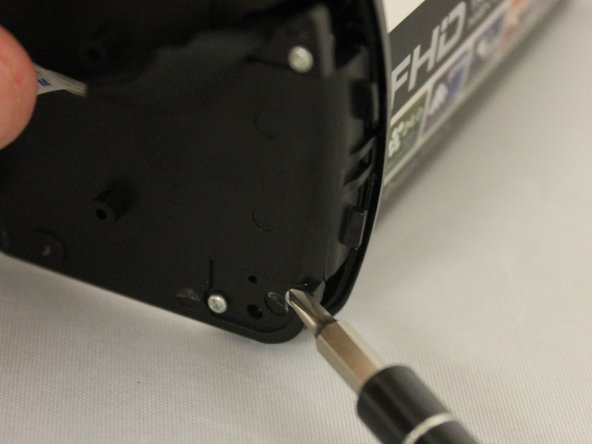
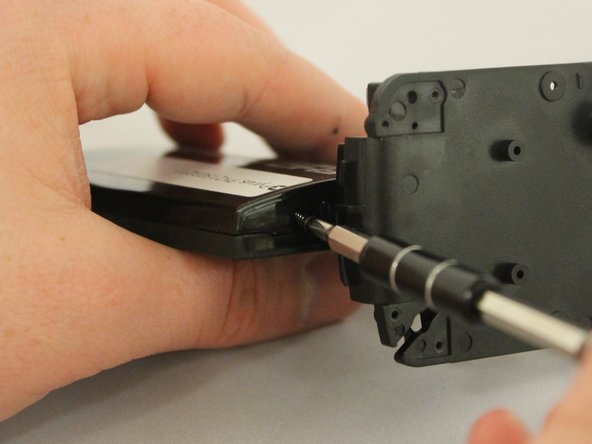
    • Remove the four 4mm silver screws from the back of the side face.

    Pergunte ao FixBot

    Comentar

  9. Pyrus PY21S03211 Display Screen Replacement: passo 9, imagem 1 %32 Pyrus PY21S03211 Display Screen Replacement: passo 9, imagem 2 %32
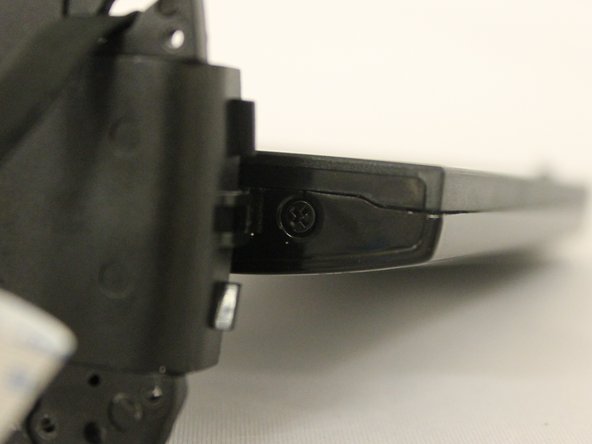
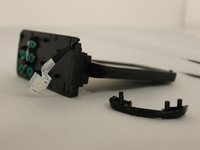
    • Use tweezers to remove the small shiny black plastic corner piece from the side.

    Pergunte ao FixBot

    Comentar

  10. Pyrus PY21S03211 Display Screen Replacement: passo 10, imagem 1 %32 Pyrus PY21S03211 Display Screen Replacement: passo 10, imagem 2 %32 Pyrus PY21S03211 Display Screen Replacement: passo 10, imagem 3 %32
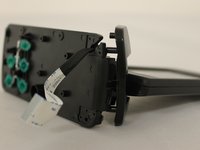
    • Twist the screen to the side to reveal two black 4mm screws.

    • Remove screws from both sides of the screen.

    Pergunte ao FixBot

    Comentar

  11. Pyrus PY21S03211 Display Screen Replacement: passo 11, imagem 1 %32 Pyrus PY21S03211 Display Screen Replacement: passo 11, imagem 2 %32
    • Use a plastic pick to pry off the backside of the screen.

    Pergunte ao FixBot

    Comentar

  12. Pyrus PY21S03211 Display Screen Replacement: passo 12, imagem 1 %32 Pyrus PY21S03211 Display Screen Replacement: passo 12, imagem 2 %32
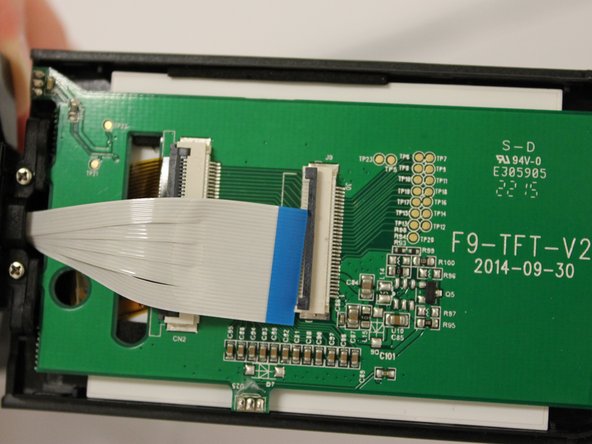
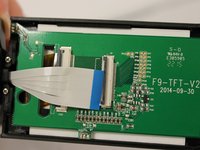
    • Use tweezers to open the gray lip of the large white connector and carefully remove it.

    Pergunte ao FixBot

    Comentar

  13. Pyrus PY21S03211 Display Screen Replacement: passo 13, imagem 1 %32
    • Find two 4mm silver screws at the base of the screen and remove them.

    Pergunte ao FixBot

    Comentar

  14. Pyrus PY21S03211 Display Screen Replacement: passo 14, imagem 1 %32
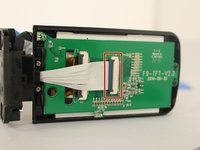
    • To remove the gold transparent connector, gently flip open the grey lip using tweezers.

    Pergunte ao FixBot

    Comentar

  15. Pyrus PY21S03211 Display Screen Replacement: passo 15, imagem 1 %32
    • Locate the two 4mm black screw on top of the display screen and remove them.

    Pergunte ao FixBot

    Comentar

  16. Pyrus PY21S03211 Display Screen Replacement: passo 16, imagem 1 %32 Pyrus PY21S03211 Display Screen Replacement: passo 16, imagem 2 %32
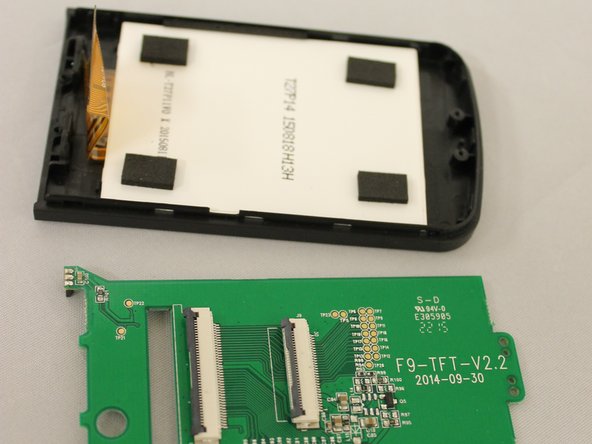
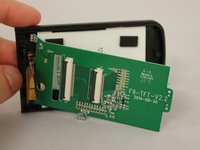
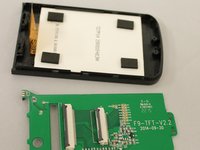
    • Remove green board carefully.

    Pergunte ao FixBot

    Comentar

  17. Pyrus PY21S03211 Display Screen Replacement: passo 17, imagem 1 %32 Pyrus PY21S03211 Display Screen Replacement: passo 17, imagem 2 %32 Pyrus PY21S03211 Display Screen Replacement: passo 17, imagem 3 %32
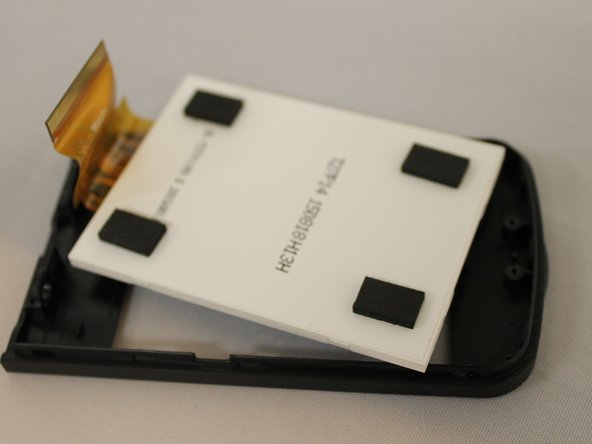
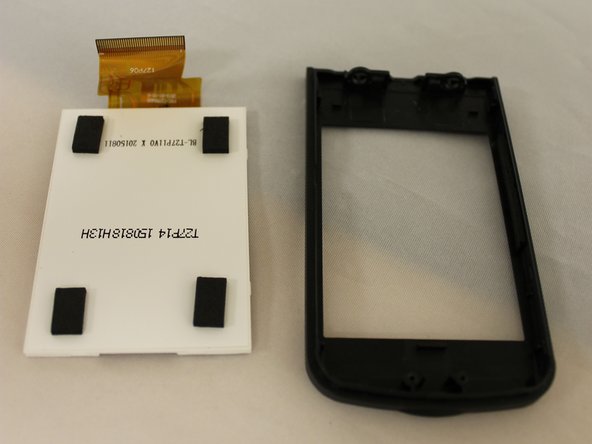
    • Gently remove the white display screen with your hands.

    Pergunte ao FixBot

    Comentar

  18. Pyrus PY21S03211 Display Screen Replacement: passo 18, imagem 1 %32
    • Carefully insert the replacement screen.

    Pergunte ao FixBot

    Comentar

Conclusão

To reassemble your device, follow these instructions in reverse order.

Cancelar: não concluí este guia.

Uma outra pessoa concluiu este guia.

0Comentários do guia

Comentar

Visualizações:

Últimas 24 horas: 1

Últimos 7 dias: 2

Últimos 30 dias: 27

Ao todo: 616