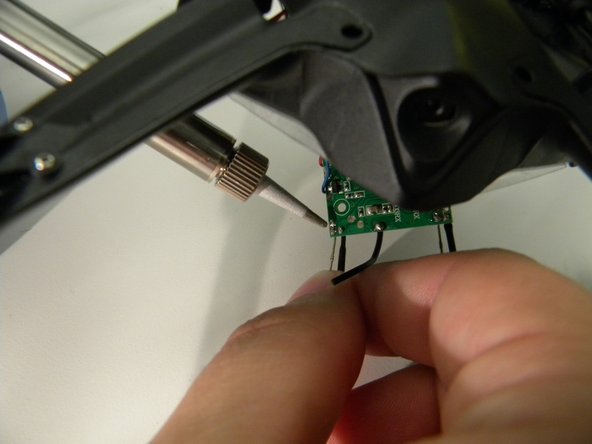
Ir para o conteúdo principal

Protocol Dronium III AP Light Bulb Replacement

O que você precisa

  1. Protocol Dronium III AP Light Bulb Replacement, Drone Battery Pack: passo 1, imagem 1 %32 Protocol Dronium III AP Light Bulb Replacement, Drone Battery Pack: passo 1, imagem 2 %32
    • Ensure the drone is powered off.

    • Press in and lift battery compartment cover.

    • A soft pry tool may be used for easier access.

  2. Protocol Dronium III AP Light Bulb Replacement: passo 2, imagem 1 %32
    • Remove battery pack from body of drone.

  3. Protocol Dronium III AP Light Bulb Replacement: passo 3, imagem 1 %32 Protocol Dronium III AP Light Bulb Replacement: passo 3, imagem 2 %32
    • Disconnect white connectors between the battery pack and drone.

  4. Protocol Dronium III AP Light Bulb Replacement, L.E.D. Bulb(s): passo 4, imagem 1 %32
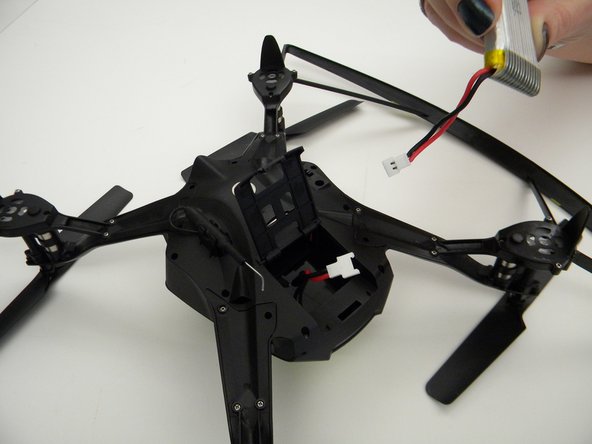
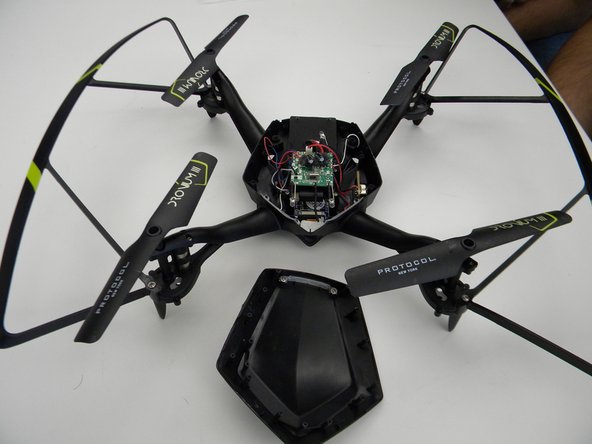
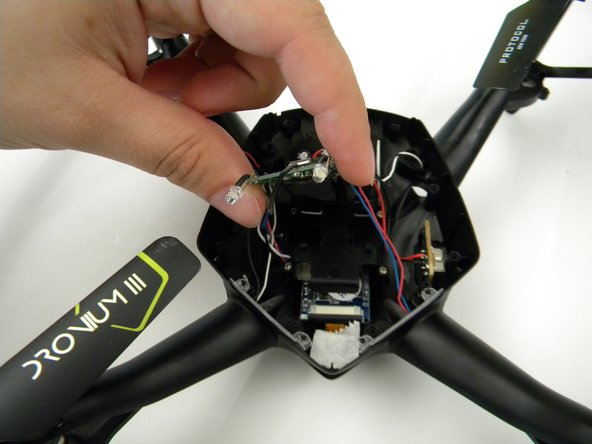
    • Remove the eight (8) 5mm Philips screws attaching the motor arms to the body using a Philips J00 screwdriver.

  5. Protocol Dronium III AP Light Bulb Replacement: passo 5, imagem 1 %32 Protocol Dronium III AP Light Bulb Replacement: passo 5, imagem 2 %32
    • Remove the six (6) 5mm Philips screws attaching the Body Cover to the Body of the drone using a Philips J00 screwdriver.

    • Remove the Body Cover.

  6. Protocol Dronium III AP Light Bulb Replacement: passo 6, imagem 1 %32 Protocol Dronium III AP Light Bulb Replacement: passo 6, imagem 2 %32
    • Remove the two (2) 5mm Philips screws attaching the Motherboard to the body of the drone using a Philips J00 screwdriver.

    • Lift the Motherboard off the mounting position.

    • Do not pull hard on the Motherboard as solder connections are fragile.

  7. Protocol Dronium III AP Light Bulb Replacement: passo 7, imagem 1 %32 Protocol Dronium III AP Light Bulb Replacement: passo 7, imagem 2 %32
    • This step contains a tool that can present a potential burn hazard.

    • Prepare and warm up a soldering iron.

    • Position Motherboard so that the L.E.D. bulb solder joints are accessible.

    • Use the soldering iron to melt the solder joints.

    • For more detailed instructions on how to solder, visit out How to Solder and Desolder Connections guide.

    • Remove the L.E.D. bulb from the Motherboard

Conclusão

To reassemble your device, follow these instructions in reverse order.

Steven Mooers

Membro desde: 10/18/17

401 Reputação

Autoria de 4 guias

Equipe

UW Tacoma, Team S1-G1, Rose Fall 2017 Membro de UW Tacoma, Team S1-G1, Rose Fall 2017

UWT-ROSE-F17S1G1

Membros da 4

Autoria de 4 guias

0 comentários

Adicione um comentário

Exibir estatísticas:

Últimas 24 horas: 0

Últimos 7 dias: 1

Últimos 30 dias: 3

Duração total: 211