Ir para o conteúdo principal
Participe da comunidade de reparos - Criar conta

Propel Gyro-X Drive Gears Replacement

O que você precisa

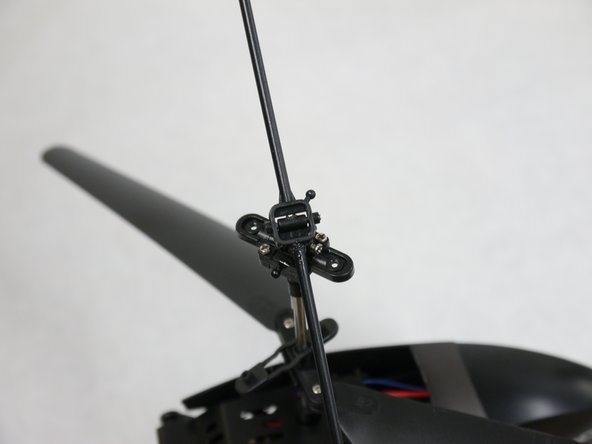
  1. Propel Gyro-X Drive Gears Replacement, Top Propellor Blades: passo 1, imagem 1 %32
    Ferramenta utilizada neste passo:
    Tweezers
    $4.99
    • Stabilizing links are easy to break. Be gentle when prying them off.

    • Place the tweezers on the sides of the links and pull straight away from the top point of connection.

    Pergunte ao FixBot
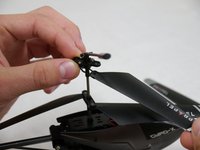
  2. Propel Gyro-X Drive Gears Replacement: passo 2, imagem 1 %32 Propel Gyro-X Drive Gears Replacement: passo 2, imagem 2 %32
    • Remove the two 6.0 mm Phillips #00 screws from the rotors.

    Pergunte ao FixBot
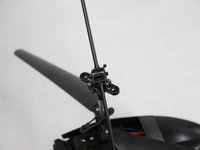
  3. Propel Gyro-X Drive Gears Replacement: passo 3, imagem 1 %32 Propel Gyro-X Drive Gears Replacement: passo 3, imagem 2 %32
    • Pull the rotors away from the mounting brackets.

    Pergunte ao FixBot
  4. Propel Gyro-X Drive Gears Replacement, Bottom Propellor Blades: passo 4, imagem 1 %32
    • Remove the two 5.0 mm Phillips #00 screws from the rotors.

    • The blades will fall off when the screws have been removed.

    Pergunte ao FixBot
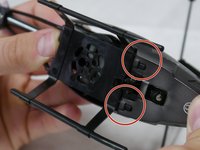
  5. Propel Gyro-X Drive Gears Replacement, Outer Shell: passo 5, imagem 1 %32
    • Locate the nubs on either side of the helicopter.

    Pergunte ao FixBot
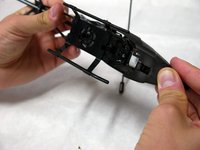
  6. Propel Gyro-X Drive Gears Replacement: passo 6, imagem 1 %32
    • Pull the body shell off of the nubs on both sides.

    Pergunte ao FixBot
  7. Propel Gyro-X Drive Gears Replacement: passo 7, imagem 1 %32 Propel Gyro-X Drive Gears Replacement: passo 7, imagem 2 %32
    • Push the front of the nose back towards the tail of the helicopter.

    • Push down on the shell and pull it away from the body, so that both slots pass over the hooks on the bottom of the helicopter.

    Pergunte ao FixBot
  8. Propel Gyro-X Drive Gears Replacement, Drive Gears: passo 8, imagem 1 %32
    • Remove the two 8 mm Phillips #00 screws between the motor casing and the body.

    Pergunte ao FixBot
  9. Propel Gyro-X Drive Gears Replacement: passo 9, imagem 1 %32
    • Remove the 4 mm Phillips #00 screw from the tail.

    Pergunte ao FixBot
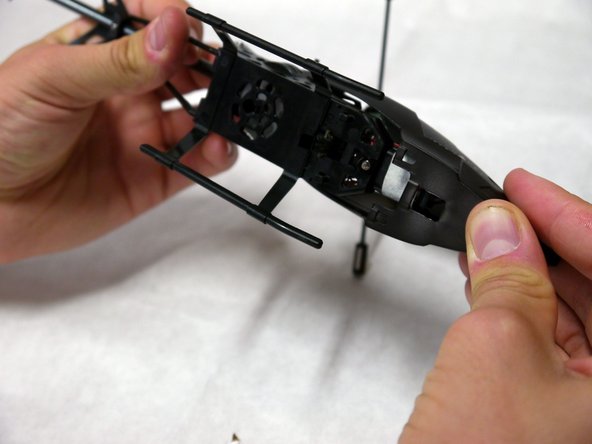
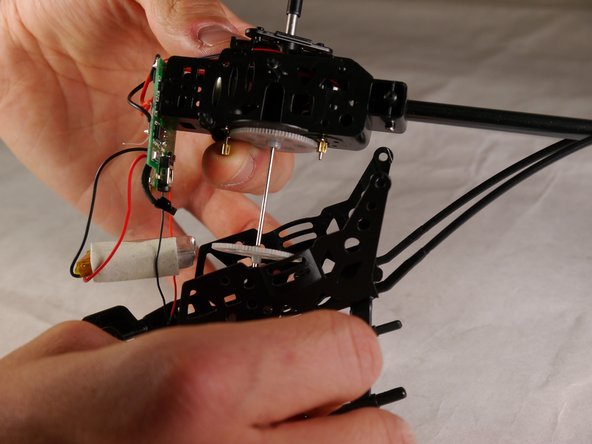
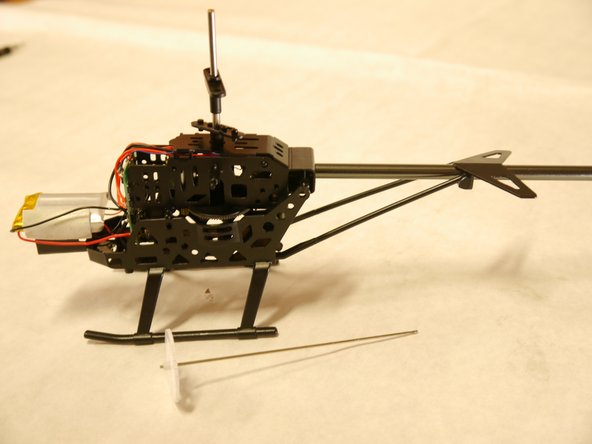
  10. Propel Gyro-X Drive Gears Replacement: passo 10, imagem 1 %32 Propel Gyro-X Drive Gears Replacement: passo 10, imagem 2 %32 Propel Gyro-X Drive Gears Replacement: passo 10, imagem 3 %32
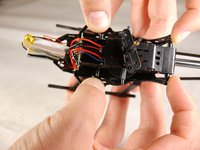
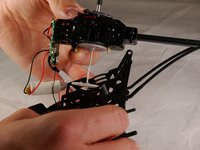
    • Use your fingers to free the motor casing from the body, by bending the plastic body casing outwards at each of the four nubs.

    • Pull the motor casing upwards from the body.

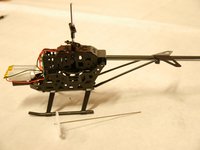
    • The drive gear will slide out when you lift the motor casing.

    Pergunte ao FixBot
Conclusão

To reassemble your device, follow these instructions in reverse order.

2 outras pessoas executaram este guia.

Jack Jenner

Membro desde: 04/08/15

293 Reputação

Autoria de 2 guias

Equipe

Cal Poly, Team 17-2, Forte Spring 2015 Membro de Cal Poly, Team 17-2, Forte Spring 2015

CPSU-FORTE-S15S17G2

4 Membros

Autoria de 7 guias

0Comentários do guia

Comentar

Visualizações:

Últimas 24 horas: 4

Últimos 7 dias: 11

Últimos 30 dias: 58

Ao todo: 3,455