Ir para o conteúdo principal

PowerA Fusion Controller For Xbox One Buttons Replacement

O que você precisa

  1. PowerA Fusion Controller For Xbox One Buttons Replacement, Buttons: passo 1, imagem 1 %32 PowerA Fusion Controller For Xbox One Buttons Replacement, Buttons: passo 1, imagem 2 %32 PowerA Fusion Controller For Xbox One Buttons Replacement, Buttons: passo 1, imagem 3 %32
    • Remove the (9) nine 9.2mm screws with a JIS #1 screwdriver.

    • Remove the two bottom plastic grip covers.

  2. PowerA Fusion Controller For Xbox One Buttons Replacement: passo 2, imagem 1 %32 PowerA Fusion Controller For Xbox One Buttons Replacement: passo 2, imagem 2 %32
    • Remove the (2) two 9.2mm screws with a JIS #1 screwdriver.

    • Remove the back cover of the controller.

    Would have been a better guide if you actually used a power a fusion controller.

    This is just a normal power a controller.

    Fusion has detachable cable and 4 detachable paddles on the back.

    Lol

    Qyuubix - Responder

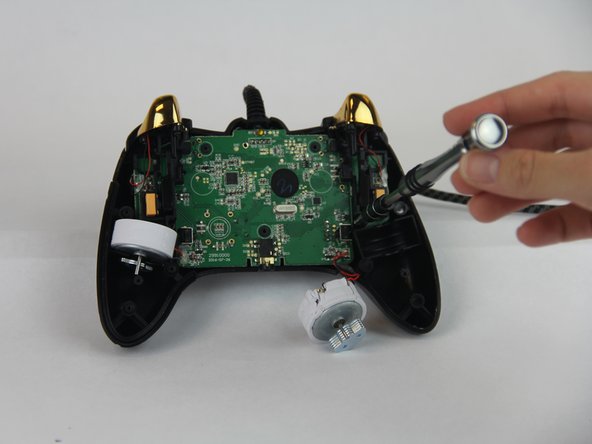
  3. PowerA Fusion Controller For Xbox One Buttons Replacement: passo 3, imagem 1 %32 PowerA Fusion Controller For Xbox One Buttons Replacement: passo 3, imagem 2 %32 PowerA Fusion Controller For Xbox One Buttons Replacement: passo 3, imagem 3 %32
    • Remove the (5) five 9.2mm screws with a JIS #1 screwdriver.

    • Lift the motherboard and let it hang.

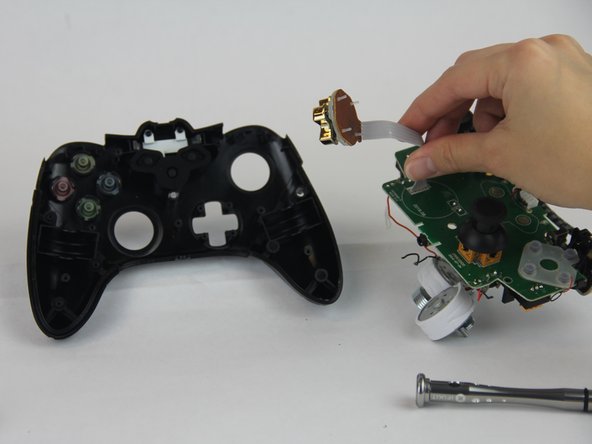
  4. PowerA Fusion Controller For Xbox One Buttons Replacement: passo 4, imagem 1 %32 PowerA Fusion Controller For Xbox One Buttons Replacement: passo 4, imagem 2 %32
    • Remove the (4) four 9.2mm screws that are holding the motherboard to the controller.

    • Put the motherboard aside.

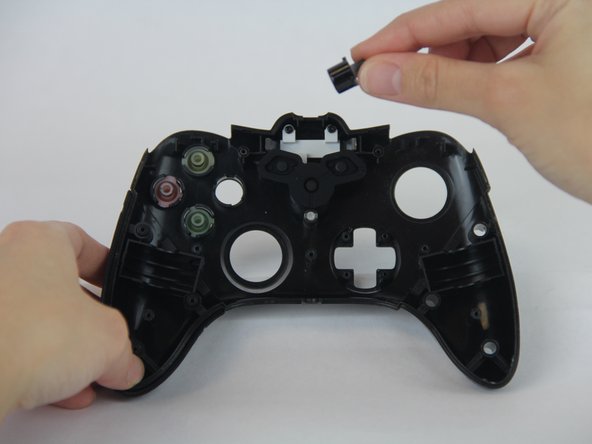
  5. PowerA Fusion Controller For Xbox One Buttons Replacement: passo 5, imagem 1 %32 PowerA Fusion Controller For Xbox One Buttons Replacement: passo 5, imagem 2 %32
    • Remove the buttons.

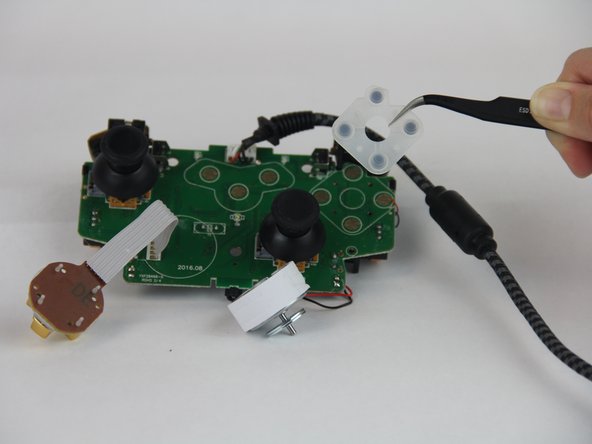
  6. PowerA Fusion Controller For Xbox One Buttons Replacement: passo 6, imagem 1 %32 PowerA Fusion Controller For Xbox One Buttons Replacement: passo 6, imagem 2 %32
    • Go back to the motherboard, and remove the buttons' gasket with a tweezler.

    What do you do after you remove the button gasket

    AcridAssassin - Responder

    Do the buttons come with the gasket? Also the buttons are for an Xbox One controller. Does that mean they are compatible?

    Alexi Macias - Responder

Conclusão

To reassemble your device, follow these instructions in reverse order.

8 outras pessoas executaram este guia.

Andrea

Membro desde: 09/26/17

623 Reputação

Autoria de 4 guias

Equipe

USF Tampa, Team S14-G4, Boczar Fall 2017 Membro de USF Tampa, Team S14-G4, Boczar Fall 2017

USFT-BOCZAR-F17S14G4

Membros da 4

Autoria de 5 guias

2 comentários

Okay so what do you do if by any chance one of the links that are sawdered to the mother board for the D Pad Connection cable breaks… Then what? How would I go about fixing that????

Heather Jesse - Responder

is there a guide to clean the bumpers out? my RB became less consistent and i'm hoping it's just because they're gunked up

urmum - Responder

Adicione um comentário

Exibir estatísticas:

Últimas 24 horas: 2

Últimos 7 dias: 14

Últimos 30 dias: 77

Duração total: 18,426