Ir para o conteúdo principal
Participe da comunidade de reparos - Criar conta

PlayStation Move Battery Replacement

O que você precisa

  1. PlayStation Move Battery Replacement, Case: passo 1, imagem 1 %32 PlayStation Move Battery Replacement, Case: passo 1, imagem 2 %32
    • Turn the controller over and unscrew the four 10mm screws with a PH #00 screwdriver.

    Pergunte ao FixBot

    Comentar

  2. PlayStation Move Battery Replacement: passo 2, imagem 1 %32 PlayStation Move Battery Replacement: passo 2, imagem 2 %32 PlayStation Move Battery Replacement: passo 2, imagem 3 %32
    • Pinch the sides of the back panel to remove it and set it aside.

    Pergunte ao FixBot

    Comentar

  3. PlayStation Move Battery Replacement: passo 3, imagem 1 %32 PlayStation Move Battery Replacement: passo 3, imagem 2 %32
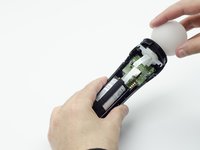
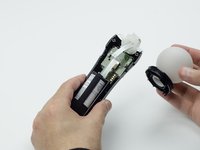
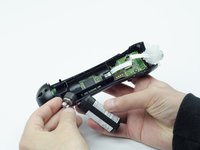
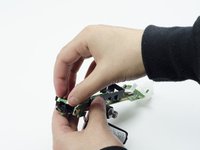
    • Hold the base of the controller with one hand and with the other carefully pull up on the white spherical piece to remove it.

    Pergunte ao FixBot

    Comentar

  4. PlayStation Move Battery Replacement: passo 4, imagem 1 %32 PlayStation Move Battery Replacement: passo 4, imagem 2 %32
    • Push the Lithium Ion battery from its slot to remove it.

    • Be mindful not to damage the wires or wired components, as the battery will still be attached via its connector.

    Pergunte ao FixBot

    Comentar

  5. PlayStation Move Battery Replacement: passo 5, imagem 1 %32
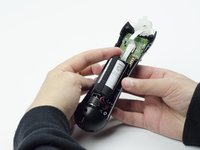
    • Unscrew the 9mm screw in the battery slot with a PH #00 screwdriver.

    Pergunte ao FixBot

    Comentar

  6. PlayStation Move Battery Replacement: passo 6, imagem 1 %32 PlayStation Move Battery Replacement: passo 6, imagem 2 %32
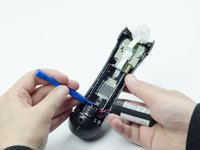
    • Using a plastic opening tool, carefully pry the rumble motor free.

    Pergunte ao FixBot

    Comentar

  7. PlayStation Move Battery Replacement: passo 7, imagem 1 %32
    • Unscrew the 9mm screw behind the rumble motor slot with a PH #00 screwdriver.

    Pergunte ao FixBot

    Comentar

  8. PlayStation Move Battery Replacement: passo 8, imagem 1 %32 PlayStation Move Battery Replacement: passo 8, imagem 2 %32 PlayStation Move Battery Replacement: passo 8, imagem 3 %32
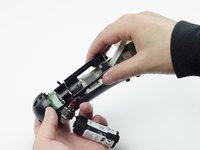
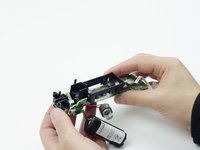
    • Carefully pinch the plastic sides of the battery slot and lift it (along with the circuit board) from the plastic shell of the move controller.

    Pergunte ao FixBot

    Comentar

  9. PlayStation Move Battery Replacement: passo 9, imagem 1 %32 PlayStation Move Battery Replacement: passo 9, imagem 2 %32
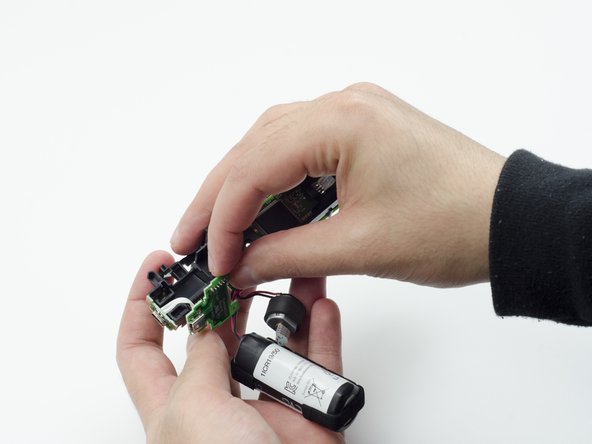
    • Using your fingers, carefully pry the square green piece beneath the battery slot free.

    • It is attached via white ribbons which need to be kept intact.

    Pergunte ao FixBot

    Comentar

  10. PlayStation Move Battery Replacement: passo 10, imagem 1 %32 PlayStation Move Battery Replacement: passo 10, imagem 2 %32 PlayStation Move Battery Replacement: passo 10, imagem 3 %32
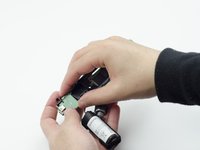
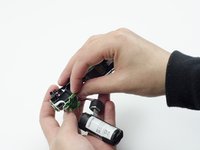
    • Follow the white ribbon attached to the part you just removed to a smaller, more rectangular piece.

    • Lift the rectangular piece from its slot to free it.

    Pergunte ao FixBot

    Comentar

  11. PlayStation Move Battery Replacement: passo 11, imagem 1 %32 PlayStation Move Battery Replacement: passo 11, imagem 2 %32 PlayStation Move Battery Replacement: passo 11, imagem 3 %32
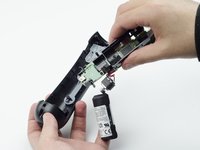
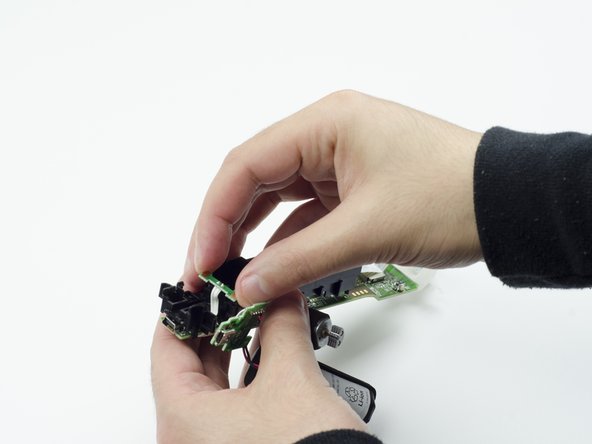
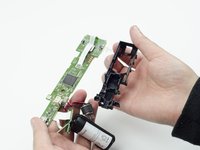
    • Carefully lift the entire circuit board from the black plastic encasing it.
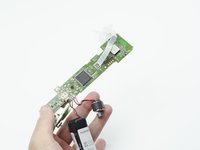
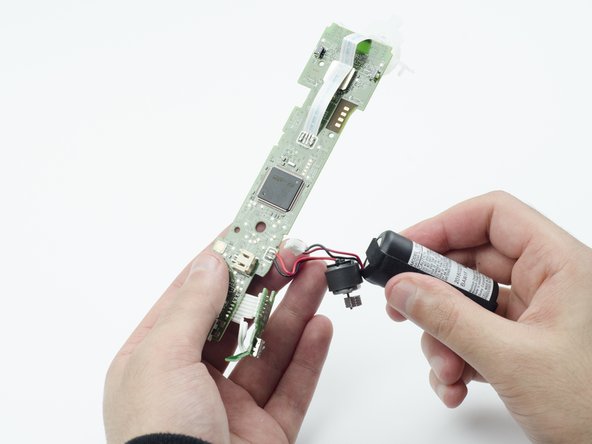
    • Take extra care not to damage any of the wired components.

    Pergunte ao FixBot

    Comentar

  12. PlayStation Move Battery Replacement, Battery: passo 12, imagem 1 %32 PlayStation Move Battery Replacement, Battery: passo 12, imagem 2 %32
    Ferramenta utilizada neste passo:
    Tweezers
    $4.99
    • Using tweezers, carefully pull the power cable from its port on the circuit board.

    Pergunte ao FixBot

    Comentar

Conclusão

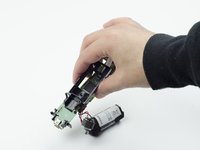
To reassemble your device, follow these instructions in reverse order.

Cancelar: não concluí este guia.

9 outras pessoas executaram este guia.

Sarah Shand

Membro desde: 02/20/17

1.996 Reputação

Autoria de 7 guias

Equipe

USF Tampa, Team S3-G1, Sullivan Spring 2017 Membro de USF Tampa, Team S3-G1, Sullivan Spring 2017

USFT-SULLIVAN-S17S3G1

3 Membros

Autoria de 14 guias

2Comentários do guia

No need to remove the the rumble motor, if you are careful and gentle and have some good tweezers you can unplug the battery cable after step 4, but it’s safer to do all steps

Andrew S. - Responder Compartilhar

Is it the same process for the nav move controller?

GP Severo - Responder Compartilhar

Comentar

Visualizações:

Últimas 24 horas: 5

Últimos 7 dias: 47

Últimos 30 dias: 228

Ao todo: 25,941