Ir para o conteúdo principal
Participe da comunidade de reparos - Criar conta

Panasonic Lumix DMC-ZS25 Lens Replacement

O que você precisa

    1. Panasonic Lumix DMC-ZS25  Lens  Replacement, Camera lens: passo 1, imagem 1 %32 Panasonic Lumix DMC-ZS25  Lens  Replacement, Camera lens: passo 1, imagem 2 %32 Panasonic Lumix DMC-ZS25  Lens  Replacement, Camera lens: passo 1, imagem 3 %32
      • Open the four 3.40 mm screws from the right and left sides of your Panasonic Lumix Camera.

      • Remove the two 2.60 mm screws located next to the battery.

      Pergunte ao FixBot

      Comentar

    2. Panasonic Lumix DMC-ZS25  Lens  Replacement: passo 2, imagem 1 %32
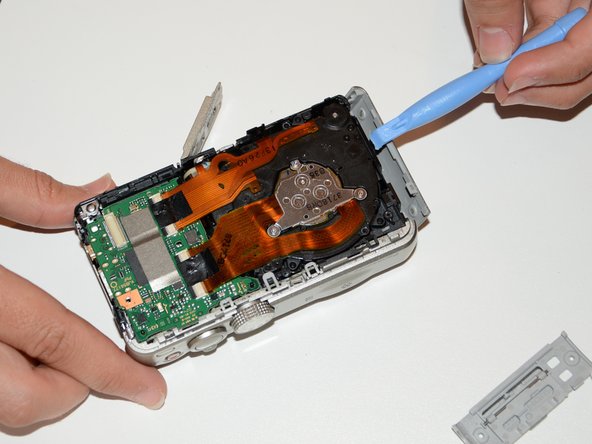
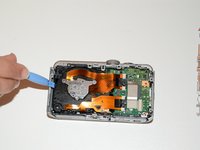
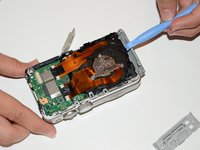
      • Use the iFixit opening tool to open the outer cover of your device.

      • The easiest place to open your device is from the HDMI port.

      • Gently open it to avoid breaking the cover.

      Pergunte ao FixBot

      Comentar

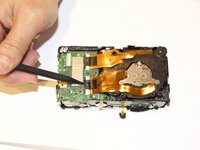
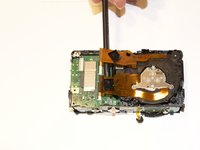
    3. Panasonic Lumix DMC-ZS25  Lens  Replacement: passo 3, imagem 1 %32 Panasonic Lumix DMC-ZS25  Lens  Replacement: passo 3, imagem 2 %32 Panasonic Lumix DMC-ZS25  Lens  Replacement: passo 3, imagem 3 %32
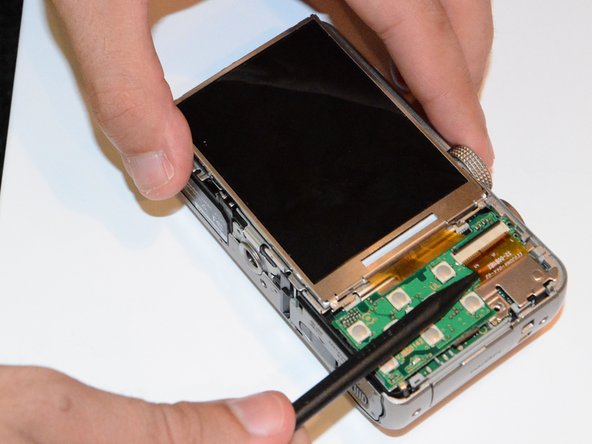
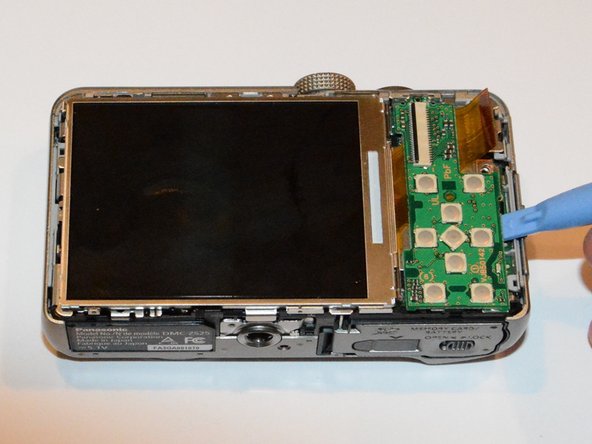
      • Use a spudger to detach the ribbon cable.

      • Be careful when using the spudger, as it can cause damage to the ribbon.

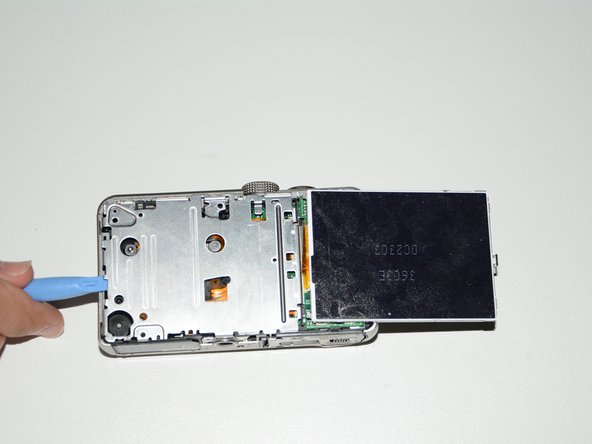
      • After releasing the screen cable, use the iFixit opening tool to lift the button board.

      • Once you hear a "click" sound, you have successfully opened the buttons board.

      Pergunte ao FixBot

      Comentar

    4. Panasonic Lumix DMC-ZS25  Lens  Replacement: passo 4, imagem 1 %32 Panasonic Lumix DMC-ZS25  Lens  Replacement: passo 4, imagem 2 %32
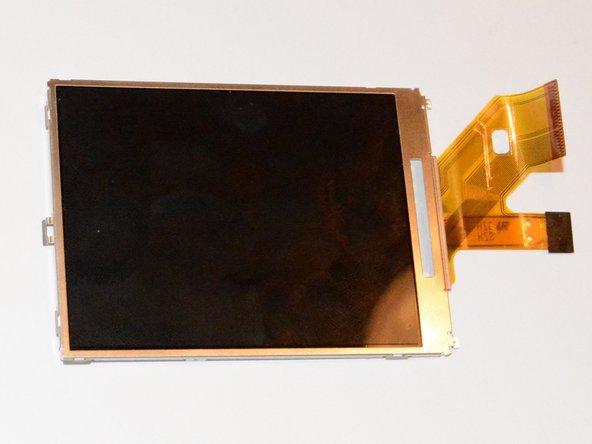
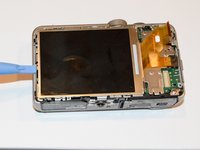
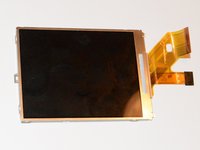
      • Remove the screen using the iFixit opening tool.

      Pergunte ao FixBot

      Comentar

    5. Panasonic Lumix DMC-ZS25  Lens  Replacement: passo 5, imagem 1 %32 Panasonic Lumix DMC-ZS25  Lens  Replacement: passo 5, imagem 2 %32
      • Open the two 4.20 mm screws to remove the inner cover located beneath the screen.

      • Use the iFixit opening tool to assist in safely removing the inner cover.

      Pergunte ao FixBot

      Comentar

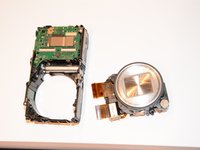
    6. Panasonic Lumix DMC-ZS25  Lens  Replacement: passo 6, imagem 1 %32 Panasonic Lumix DMC-ZS25  Lens  Replacement: passo 6, imagem 2 %32
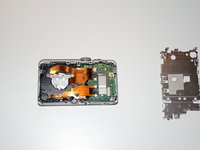
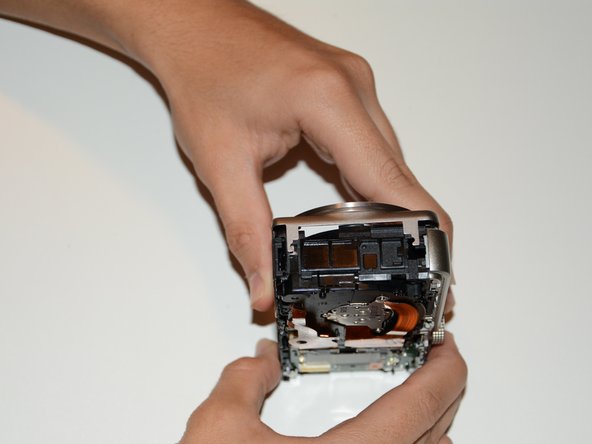
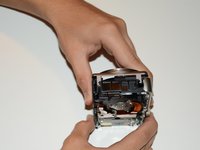
      • Separate the device into two pieces as shown.

      Pergunte ao FixBot

      Comentar

    7. Panasonic Lumix DMC-ZS25  Lens  Replacement: passo 7, imagem 1 %32 Panasonic Lumix DMC-ZS25  Lens  Replacement: passo 7, imagem 2 %32 Panasonic Lumix DMC-ZS25  Lens  Replacement: passo 7, imagem 3 %32
      • Remove the side cover using the iFixit opening tool.

      • Exercise caution when you remove the front cover as damage to the device can occur.

      Pergunte ao FixBot

      Comentar

    8. Panasonic Lumix DMC-ZS25  Lens  Replacement: passo 8, imagem 1 %32 Panasonic Lumix DMC-ZS25  Lens  Replacement: passo 8, imagem 2 %32 Panasonic Lumix DMC-ZS25  Lens  Replacement: passo 8, imagem 3 %32
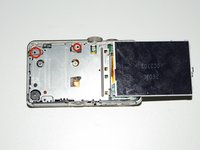
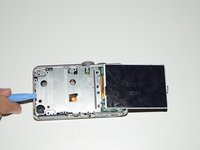
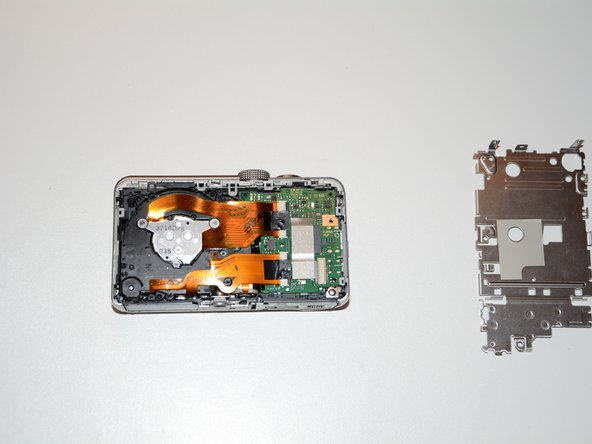
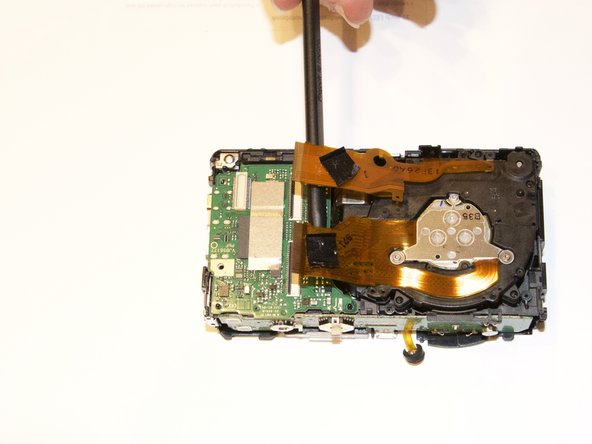
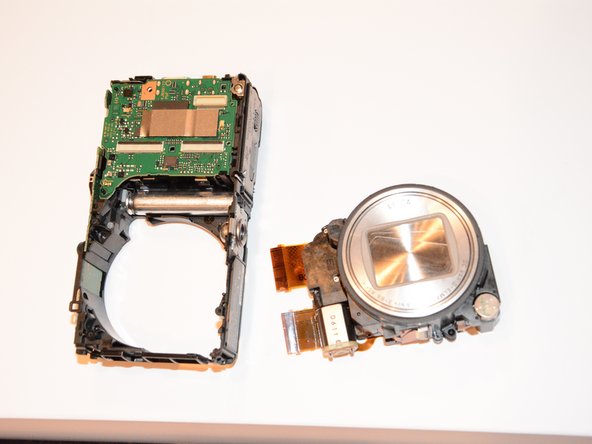
      • Use the spudger to unlock the screen cables from the circuit bored. Carefully, lift up the black clip up to release the cables.

      • Use your hands to remove the lens.

      Pergunte ao FixBot

      Comentar

Conclusão

To reassemble your device, follow these instructions in reverse order.

Cancelar: não concluí este guia.

2 outras pessoas executaram este guia.

Abbas Khan

Membro desde: 01/21/15

482 Reputação

Autoria de 4 guias

Equipe

USF Tampa, Team 9-5, Brown Winter 2015 Membro de USF Tampa, Team 9-5, Brown Winter 2015

USFT-BROWN-W15S9G5

3 Membros

Autoria de 17 guias

0Comentários do guia

Comentar

Visualizações:

Últimas 24 horas: 0

Últimos 7 dias: 18

Últimos 30 dias: 54

Ao todo: 3,067