Ir para o conteúdo principal
Participe da comunidade de reparos - Criar conta

Panasonic Lumix DMC-GF2 Back Panel Buttons Replacement

O que você precisa

    1. Panasonic Lumix DMC-GF2 Back Panel Buttons Replacement, Battery: passo 1, imagem 1 %32
      • On the bottom of the camera, use your finger to push the lock button to the open position which will cause the hinged door to swing open.

      Pergunte ao FixBot

      Comentar

    2. Panasonic Lumix DMC-GF2 Back Panel Buttons Replacement: passo 2, imagem 1 %32 Panasonic Lumix DMC-GF2 Back Panel Buttons Replacement: passo 2, imagem 2 %32
      • Push the small black tab that holds the battery with your finger to release the battery.

      • Use your fingers to pull the battery out of the camera.

      Pergunte ao FixBot

      Comentar

    1. Panasonic Lumix DMC-GF2 Back Panel Buttons Replacement, Back Cover: passo 3, imagem 1 %32 Panasonic Lumix DMC-GF2 Back Panel Buttons Replacement, Back Cover: passo 3, imagem 2 %32 Panasonic Lumix DMC-GF2 Back Panel Buttons Replacement, Back Cover: passo 3, imagem 3 %32
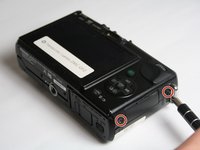
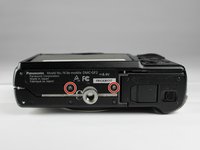
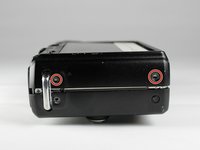
      • Using a Phillips #00 screwdriver, remove six 2.69mm, silver screws located on the two short sides of the camera and the bottom side.

      Pergunte ao FixBot

      Comentar

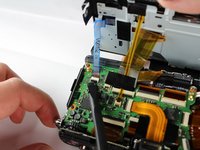
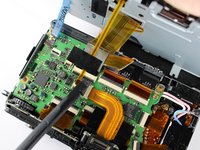
    2. Panasonic Lumix DMC-GF2 Back Panel Buttons Replacement: passo 4, imagem 1 %32 Panasonic Lumix DMC-GF2 Back Panel Buttons Replacement: passo 4, imagem 2 %32 Panasonic Lumix DMC-GF2 Back Panel Buttons Replacement: passo 4, imagem 3 %32
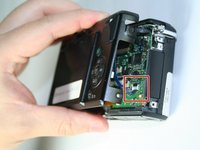
      • Gently lift up the back cover to access the ZIF connectors for the blue and yellow ribbons.

      • To unlock the ZIF connectors, gently push the black portion of the lock from a flat position to an upright position using a spudger.

      • Take caution not to rip the ribbons out of the ZIF connectors when lifting the back panel.

      Pergunte ao FixBot

      Comentar

    3. Panasonic Lumix DMC-GF2 Back Panel Buttons Replacement: passo 5, imagem 1 %32
      • Gently push the blue and yellow ribbons out of the unlocked ZIF connectors using your fingers.

      Pergunte ao FixBot

      Comentar

    4. Panasonic Lumix DMC-GF2 Back Panel Buttons Replacement: passo 6, imagem 1 %32
      • Using a Phillips #00 screwdriver, remove the 3.5 mm silver screw from the upper left hand corner of the back cover.

      Pergunte ao FixBot

      Comentar

    5. Panasonic Lumix DMC-GF2 Back Panel Buttons Replacement: passo 7, imagem 1 %32
      • Using a spudger, lift up and remove the plastic cover piece from the back cover.

      • Plastic cover may fall off without prying.

      Pergunte ao FixBot

      Comentar

    6. Panasonic Lumix DMC-GF2 Back Panel Buttons Replacement: passo 8, imagem 1 %32
      • Using a Phillips #00 screwdriver, remove the 2.69 mm silver screw located beneath the plastic piece that was previously removed.

      Pergunte ao FixBot

      Comentar

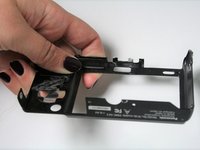
    7. Panasonic Lumix DMC-GF2 Back Panel Buttons Replacement: passo 9, imagem 1 %32
      • Using a spudger, lift up and separate the heavier metal cover from the light, plastic back cover.

      • Metal cover may fall off without prying.

      Pergunte ao FixBot

      Comentar

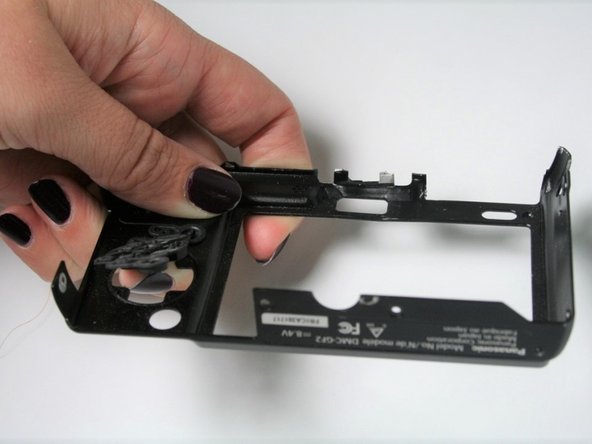
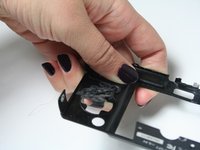
    1. Panasonic Lumix DMC-GF2 Back Panel Buttons Replacement, Back Panel Buttons: passo 10, imagem 1 %32 Panasonic Lumix DMC-GF2 Back Panel Buttons Replacement, Back Panel Buttons: passo 10, imagem 2 %32
      • Push on the back panel buttons from the frontside of the back cover.

      • There might be some adhesives holding the back panel buttons to the cover. Extra force may be necessary.

      Pergunte ao FixBot

      Comentar

Conclusão

To reassemble your device, follow these instructions in reverse order.

Cancelar: não concluí este guia.

Kingsley East

Membro desde: 10/30/16

474 Reputação

Autoria de 4 guias

Equipe

Baylor, Team 5-9, Williams Fall 2016 Membro de Baylor, Team 5-9, Williams Fall 2016

BU-WILLIAMS-F16S5G9

3 Membros

Autoria de 11 guias

0Comentários do guia

Comentar

Visualizações:

Últimas 24 horas: 2

Últimos 7 dias: 7

Últimos 30 dias: 26

Ao todo: 1,213