Introdução
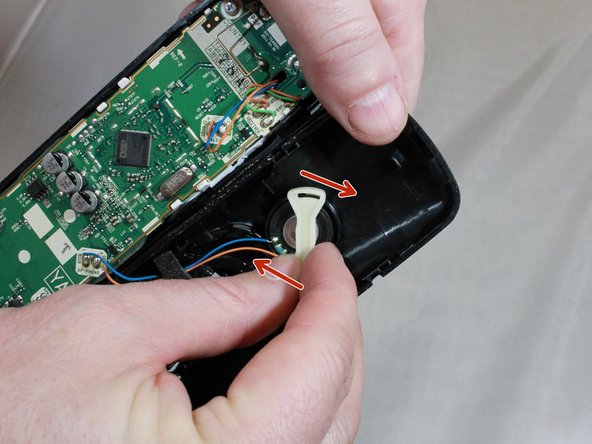
Use this guide to correctly replace the earpiece in one of the handsets in your Panasonic phone. Replacing the earpiece can result in better quality sound being transmitted through the handset as well as reduced static. This repair will require soldering.
This procedure applies to all handsets that are given with the device.
If you need help with soldering, review how to solder and desolder connections.
O que você precisa
-
-
-
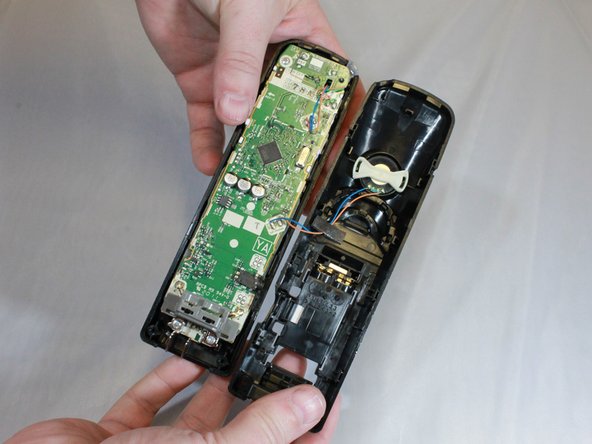
In order to remove the back of the phone, unscrew the two screws at the bottom corners on the back of the phone.
-


To reassemble your device, follow these instructions in reverse order.
To reassemble your device, follow these instructions in reverse order.
Cancelar: não concluí este guia.
Uma outra pessoa concluiu este guia.
Equipe

Eastern Washington University, Team S1-G2, Rowley Spring 2019 Membro de Eastern Washington University, Team S1-G2, Rowley Spring 2019
EWU-ROWLEY-S19S1G2
Membros da 4
Autoria de 5 guias