Ir para o conteúdo principal
Participe da comunidade de reparos - Criar conta

Panasonic HDC-TM90 LCD Screen Replacement

O que você precisa

  1. Panasonic HDC-TM90 LCD Screen Replacement, Battery: passo 1, imagem 1 %32
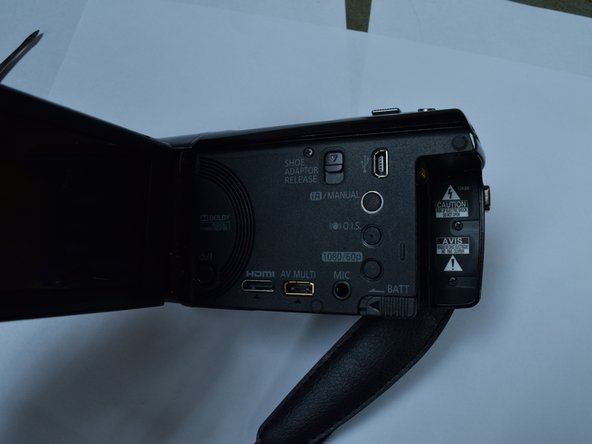
    • Open the LCD screen.

    Pergunte ao FixBot

    Comentar

  2. Panasonic HDC-TM90 LCD Screen Replacement: passo 2, imagem 1 %32
    • Slide the battery release switch away from the battery.

    Pergunte ao FixBot

    Comentar

  3. Panasonic HDC-TM90 LCD Screen Replacement: passo 3, imagem 1 %32
    • While holding the switch away from the battery, push the battery out of the slot.

    Pergunte ao FixBot

    Comentar

  4. Panasonic HDC-TM90 LCD Screen Replacement: passo 4, imagem 1 %32
    • Remove the battery from the camera.

    Pergunte ao FixBot
    Comentar

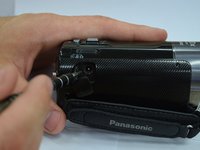
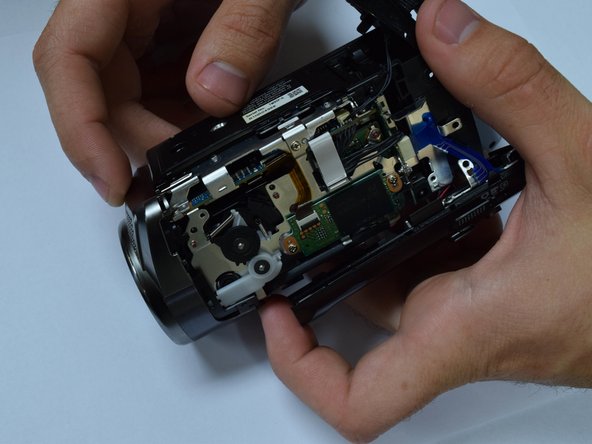
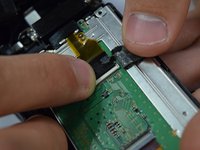
  5. Panasonic HDC-TM90 LCD Screen Replacement, Lens: passo 5, imagem 1 %32 Panasonic HDC-TM90 LCD Screen Replacement, Lens: passo 5, imagem 2 %32 Panasonic HDC-TM90 LCD Screen Replacement, Lens: passo 5, imagem 3 %32
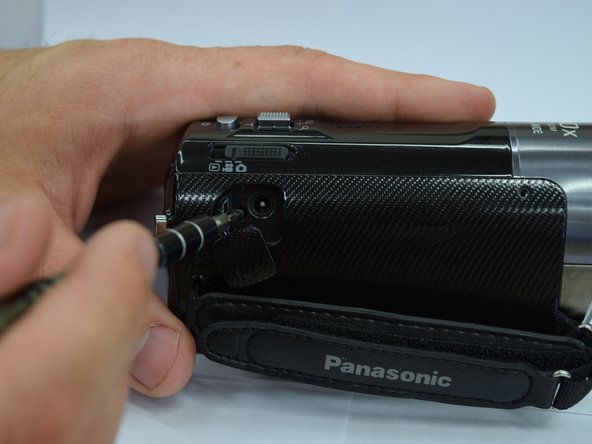
    • Remove 5 screws from the side panel body of the camcorder.

    • Use the spudger to remove the top of the camcorder.

    Pergunte ao FixBot
    Comentar

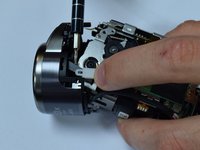
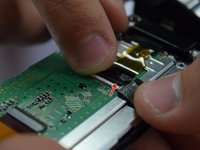
  6. Panasonic HDC-TM90 LCD Screen Replacement: passo 6, imagem 1 %32 Panasonic HDC-TM90 LCD Screen Replacement: passo 6, imagem 2 %32
    • Unscrew three screws to remove the lens rim on the front of the camcorder.

    • Be aware of the wires attaching the lens rim to the body of the camcorder. You will not be able to separate the lens rim completely.

    • Use caution when separating the shutter lever.

    Pergunte ao FixBot
    Comentar

  7. Panasonic HDC-TM90 LCD Screen Replacement: passo 7, imagem 1 %32
    • Remove the rubber ring around the lens.

    Pergunte ao FixBot

    Comentar

  8. Panasonic HDC-TM90 LCD Screen Replacement: passo 8, imagem 1 %32
    • Unscrew the lens by removing the three screws connected to it.

    Pergunte ao FixBot

    Comentar

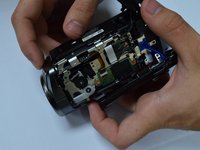
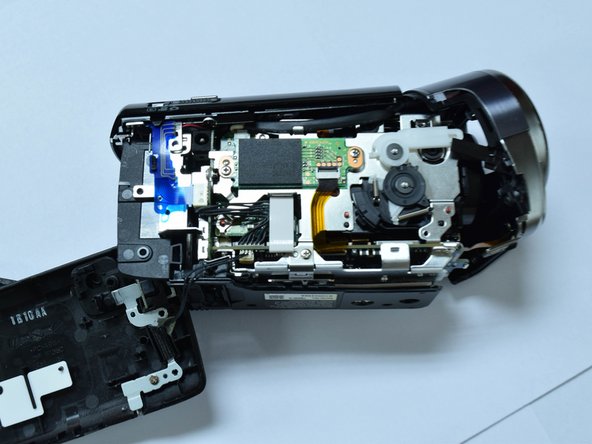
  9. Panasonic HDC-TM90 LCD Screen Replacement, LCD Screen: passo 9, imagem 1 %32 Panasonic HDC-TM90 LCD Screen Replacement, LCD Screen: passo 9, imagem 2 %32
    • Remove the side panel of the camcorder.

    • Remove the top panel of the camcorder.

    • For help with this step see prerequisite guide: Lens Clean.

    Pergunte ao FixBot

    Comentar

  10. Panasonic HDC-TM90 LCD Screen Replacement: passo 10, imagem 1 %32
    • Open camcorder screen.

    Pergunte ao FixBot

    Comentar

  11. Panasonic HDC-TM90 LCD Screen Replacement: passo 11, imagem 1 %32
    • Turn the LCD screen perpendicular to the camcorder.

    • Remove the screws.

    • Have caution when you remove the screen. There is a wire connecting it to the rest of the camera that should not be detached.

    Pergunte ao FixBot

    Comentar

  12. Panasonic HDC-TM90 LCD Screen Replacement: passo 12, imagem 1 %32
    • Carefully pry the plastic backing on the screen using a metal spudger.

    Pergunte ao FixBot

    Comentar

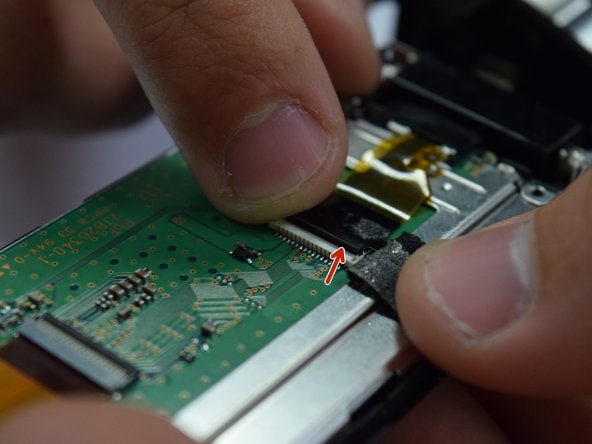
  13. Panasonic HDC-TM90 LCD Screen Replacement: passo 13, imagem 1 %32 Panasonic HDC-TM90 LCD Screen Replacement: passo 13, imagem 2 %32
    • Peel back the black tape holding the wire strip to the camcorder screen.

    • Unclip the small latch from the wire strip.

    Pergunte ao FixBot

    Comentar

  14. Panasonic HDC-TM90 LCD Screen Replacement: passo 14, imagem 1 %32
    • Remove the screws from the metal frame.

    • Be careful when holding the screen after the frame has been unscrewed. The screen and all of its components are unattached and can fall apart.

    Pergunte ao FixBot

    Comentar

Conclusão

To reassemble your device, follow these instructions in reverse order.

Cancelar: não concluí este guia.

Equipe

Baylor, Team 8-4, Whitney Spring 2017 Membro de Baylor, Team 8-4, Whitney Spring 2017

BU-WHITNEY-S17S8G4

3 Membros

Autoria de 5 guias

1Comentário do guia

Steps 1-4 are good pre-reqs.

Are all of steps 5-8 absolutely necessary for LCD screen replacement?

Step 9-bullet 3: Change to 'note' rather than bullet point and put it first.

Step 11-bullet 2: List the # of screws to be removed and with what screwdriver. Show 2nd picture of screws to remove on actual LCD door.

Step 11-bullet 3: Change to a "caution" rather than just a bullet. Also we had a spring fall out at this step with no idea where it came from. Perhaps you could address this.

Step 12- We actually had to use a 2nd spudger to pry it apart. One as a wedge and one as a lever to separate.

Step 14-bullet 2: change to a "Warning" symbol.

Seems to be an incomplete guide, as the LCD screen is still affixed to the device.

Rene Klopf - Responder Compartilhar

Comentar

Visualizações:

Últimas 24 horas: 0

Últimos 7 dias: 3

Últimos 30 dias: 32

Ao todo: 847