Ir para o conteúdo principal

Palm TX Motherboard Replacement

O que você precisa

  1. Palm TX Motherboard Replacement, Back Panel: passo 1, imagem 1 %32 Palm TX Motherboard Replacement, Back Panel: passo 1, imagem 2 %32
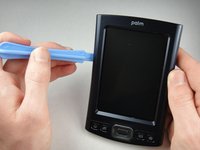
    • Orient the device so that the display faces forward.

    • Remove the stylus from the right side.

  2. Palm TX Motherboard Replacement: passo 2, imagem 1 %32
    • Turn over the device so that the back panel faces forward.

    • Use a T5 Torx screwdriver to remove the four 6.35mm corner screws.

  3. Palm TX Motherboard Replacement: passo 3, imagem 1 %32 Palm TX Motherboard Replacement: passo 3, imagem 2 %32
    • Rotate the device so that the display faces forward.

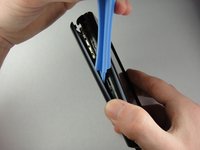
    • Insert a plastic opening tool with the angled tip pointing downward into the crevice on the left side of the device.

    • Pry along the crevice to loosen the back panel.

    • Repeat this process for the right side.

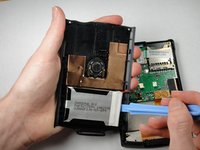
  4. Palm TX Motherboard Replacement: passo 4, imagem 1 %32 Palm TX Motherboard Replacement: passo 4, imagem 2 %32
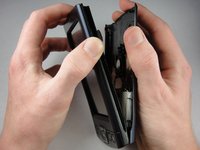
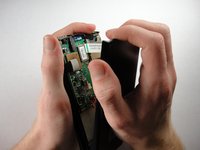
    • Carefully pry the back panel to open the device.

    • Be careful not to break the wire that connects the battery pack to the motherboard.

    • When reassembling, snap the back panel back into place and then insert the top cover.

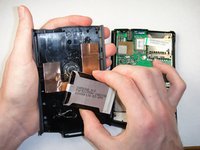
  5. Palm TX Motherboard Replacement: passo 5, imagem 1 %32 Palm TX Motherboard Replacement: passo 5, imagem 2 %32
    • Use a plastic opening tool to peel the battery pack from the back panel.

    • The battery pack is glued to the back panel so removing it may require considerable effort.

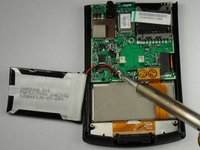
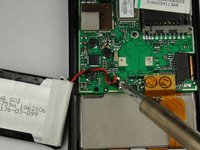
  6. Palm TX Motherboard Replacement, Battery Pack: passo 6, imagem 1 %32 Palm TX Motherboard Replacement, Battery Pack: passo 6, imagem 2 %32
    • Use a soldering iron to disconnect the battery wires from the motherboard.

    • For soldering instructions, you can view the Soldering Guide.

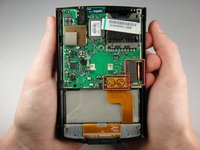
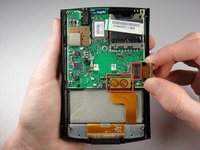
  7. Palm TX Motherboard Replacement, Motherboard: passo 7, imagem 1 %32 Palm TX Motherboard Replacement, Motherboard: passo 7, imagem 2 %32
    • Pull straight up on the ribbon cables located on the bottom right of the motherboard to disconnect them.

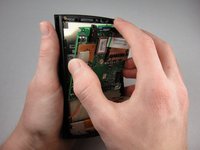
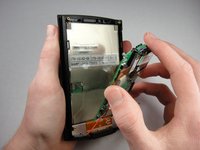
  8. Palm TX Motherboard Replacement: passo 8, imagem 1 %32 Palm TX Motherboard Replacement: passo 8, imagem 2 %32
    • Lift the mother board out of the device.

    • A weak adhesive attaches the motherboard to the device.

    • The red wire in the picture will not be attached to your device at this point.

Conclusão

To reassemble your device, follow these instructions in reverse order.

Spencer Lewson

Membro desde: 01/19/11

793 Reputação

Autoria de 6 guias

Equipe

Cal Poly, Team 1-15, Amido Winter 2011 Membro de Cal Poly, Team 1-15, Amido Winter 2011

CPSU-AMIDO-W11S1G15

Membros da 4

Autoria de 7 guias

Um comentário

Adicione um comentário

Exibir estatísticas:

Últimas 24 horas: 0

Últimos 7 dias: 0

Últimos 30 dias: 2

Duração total: 3,426