Ir para o conteúdo principal
Participe da comunidade de reparos - Criar conta

Palm Centro Speakers Replacement

O que você precisa

  1. Palm Centro Speakers Replacement, Disassembling Palm Centro Battery: passo 1, imagem 1 %32 Palm Centro Speakers Replacement, Disassembling Palm Centro Battery: passo 1, imagem 2 %32
    • Press and slide open the battery cover.

    Pergunte ao FixBot
  2. Palm Centro Speakers Replacement: passo 2, imagem 1 %32
    • Caution: Turn cell phone off before removing battery!

    • Press battery to the right.

    • Then lift up battery pack to remove.

    Pergunte ao FixBot
  3. Palm Centro Speakers Replacement: passo 3, imagem 1 %32
    • Phone with battery removed

    Pergunte ao FixBot
  4. Palm Centro Speakers Replacement, Back Housing: passo 4, imagem 1 %32
    • Remove the touchpad pen from the top left corner on the back to reveal the last of 6 screws to be removed.

    Pergunte ao FixBot
  5. Palm Centro Speakers Replacement: passo 5, imagem 1 %32
    • Lift the rubber cap at the top right to reveal the sixth screw.

    • Caution: There is a small Palm sticker under the rubber cap. Tampering with or removing this sticker will void your warranty!

    • Remove the six screws using the T5 Torx screwdriver.

    Pergunte ao FixBot
  6. Palm Centro Speakers Replacement: passo 6, imagem 1 %32 Palm Centro Speakers Replacement: passo 6, imagem 2 %32
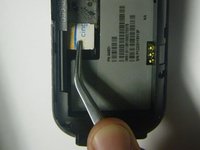
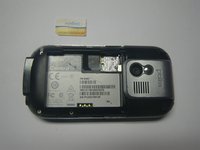
    • Remove the SIM card so housing can be separated.

    Pergunte ao FixBot
  7. Palm Centro Speakers Replacement: passo 7, imagem 1 %32 Palm Centro Speakers Replacement: passo 7, imagem 2 %32
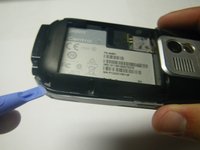
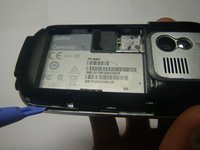
    • Use a plastic pry tool to separate the bottom of the case to remove the small plastic insert.

    Pergunte ao FixBot
  8. Palm Centro Speakers Replacement: passo 8, imagem 1 %32 Palm Centro Speakers Replacement: passo 8, imagem 2 %32
    • Remove the small plastic insert at the bottom of the phone.

    Pergunte ao FixBot
  9. Palm Centro Speakers Replacement: passo 9, imagem 1 %32 Palm Centro Speakers Replacement: passo 9, imagem 2 %32
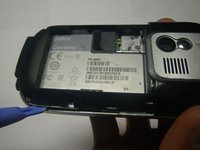
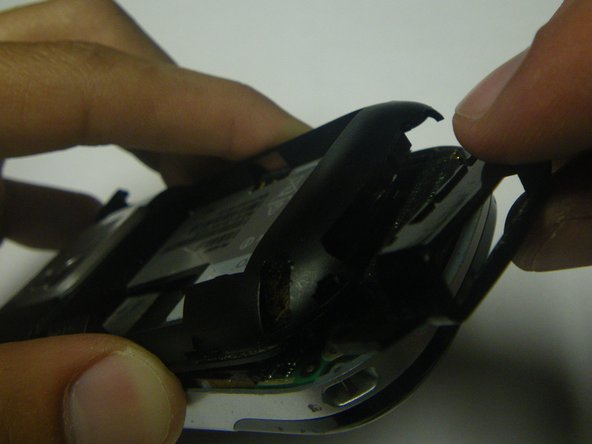
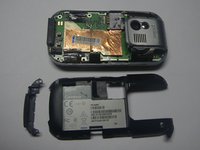
    • Continue with plastic pry tool all the way around the phone to remove the back housing.

    Pergunte ao FixBot
  10. Palm Centro Speakers Replacement, Logic Board: passo 10, imagem 1 %32
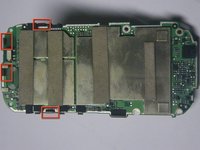
    • Carefully peel back the tape holding the speaker (left) and keyboard (right) connection tabs in place.

    Pergunte ao FixBot
  11. Palm Centro Speakers Replacement: passo 11, imagem 1 %32
    • Using the plastic prying tool, lift the tabs and carefully pull the contact connections out on both sides.

    • Be very careful, these electronics are delicate!

    Pergunte ao FixBot
  12. Palm Centro Speakers Replacement: passo 12, imagem 1 %32
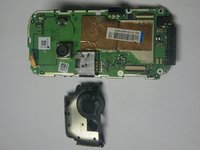
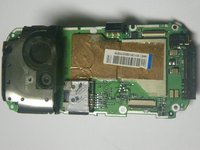
    • Separate the logic board from the case by lifting and pulling out the bottom.

    Pergunte ao FixBot
  13. Palm Centro Speakers Replacement, Speakers: passo 13, imagem 1 %32 Palm Centro Speakers Replacement, Speakers: passo 13, imagem 2 %32 Palm Centro Speakers Replacement, Speakers: passo 13, imagem 3 %32
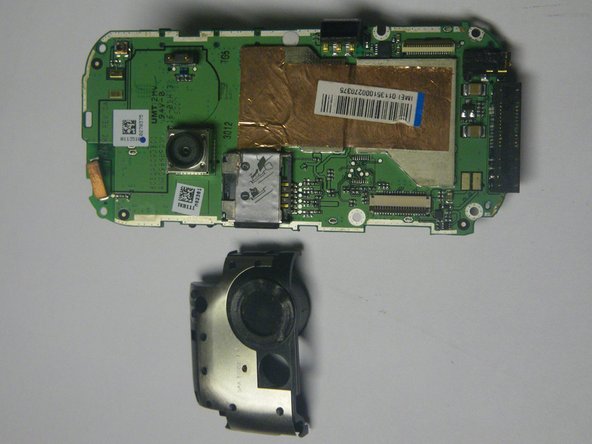
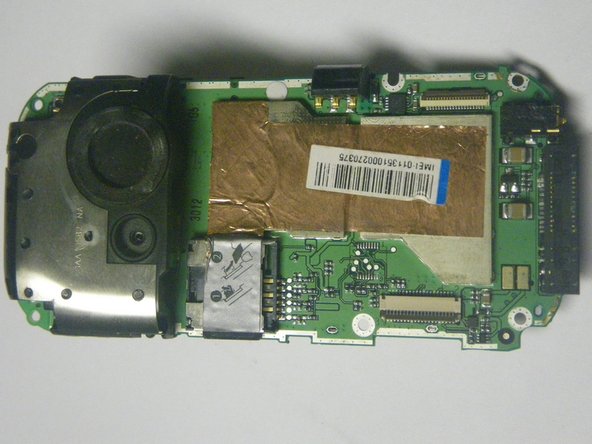
    • Pry the four plastic latches free that connect the antenna to the logic board.

    • Excessive force may damage your logic board!

    • Remove the antenna from the logic board.

    Pergunte ao FixBot
  14. Palm Centro Speakers Replacement: passo 14, imagem 1 %32
    • The internal speaker is attached to the antenna. To remove it, pry the speaker from the antenna using the tip of your screwdriver.

    • The speaker should be placed back into its spot in the correct position. Take notice of the gold connectors

    Pergunte ao FixBot
Conclusão

To reassemble your device, follow these instructions in reverse order.

Uma outra pessoa concluiu este guia.

Kevin

Membro desde: 04/12/10

31 Reputação

Autoria de 1 guia

Equipe

Cal Poly, Team 15-49, Garner Spring 2010 Membro de Cal Poly, Team 15-49, Garner Spring 2010

CPSU-GARNER-S10S15G49

5 Membros

Autoria de 12 guias

0Comentários do guia

Comentar

Visualizações:

Últimas 24 horas: 1

Últimos 7 dias: 8

Últimos 30 dias: 60

Ao todo: 1,703