Ir para o conteúdo principal
Participe da comunidade de reparos - Criar conta

PDP Rematch Advanced Trigger Springs Replacement

O que você precisa

    1. PDP Rematch Advanced Trigger Springs Replacement, Trigger Springs: passo 1, imagem 1 %32 PDP Rematch Advanced Trigger Springs Replacement, Trigger Springs: passo 1, imagem 2 %32
      • Orient the controller so the back side is facing you.

      • Use a Phillips #000 screwdriver to remove the seven 9 mm screws that secure the back shell.

      Pergunte ao FixBot

      Comentar

    2. PDP Rematch Advanced Trigger Springs Replacement: passo 2, imagem 1 %32 PDP Rematch Advanced Trigger Springs Replacement: passo 2, imagem 2 %32 PDP Rematch Advanced Trigger Springs Replacement: passo 2, imagem 3 %32
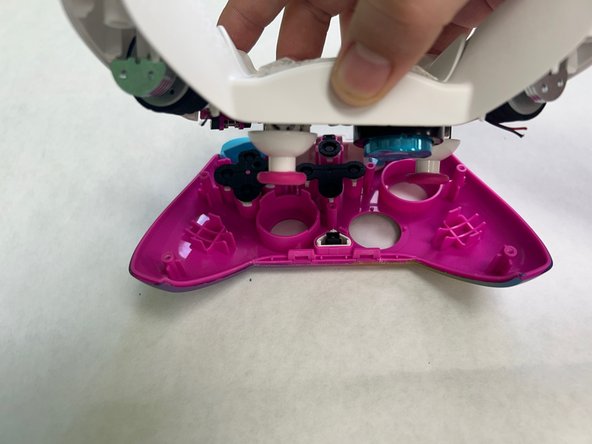
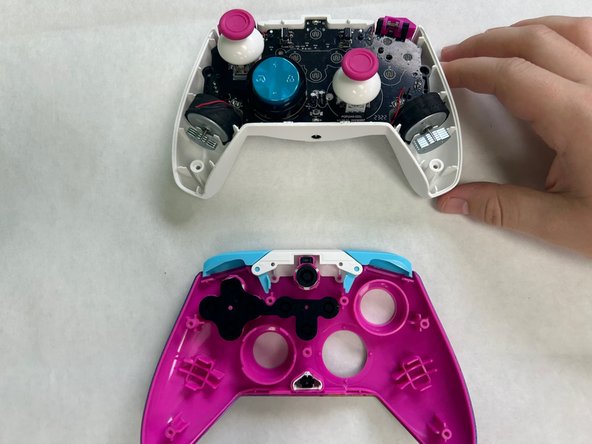
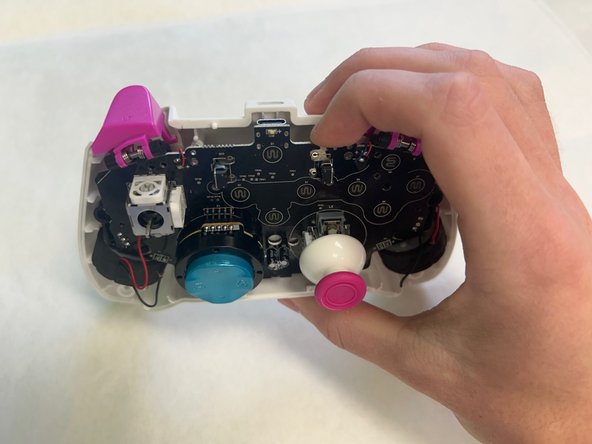
      • Pull apart the controller's front and back shells with moderate force.

      • Orient the controller so that the front shell is facing the floor to prevent the face buttons from falling out.

      Pergunte ao FixBot

      Comentar

    3. PDP Rematch Advanced Trigger Springs Replacement: passo 3, imagem 1 %32 PDP Rematch Advanced Trigger Springs Replacement: passo 3, imagem 2 %32
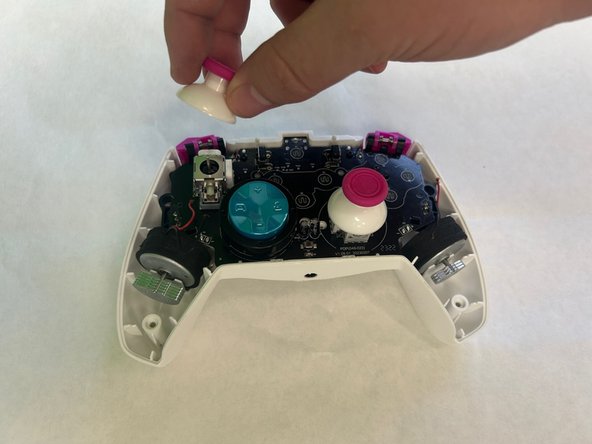
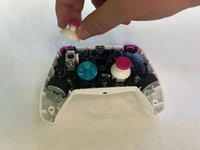
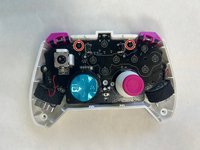
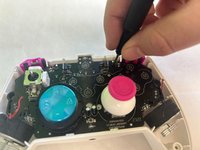
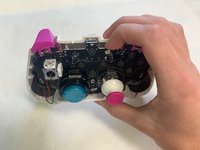
      • Twist the thumbstick to remove it from the motherboard.

      Pergunte ao FixBot

      Comentar

    4. PDP Rematch Advanced Trigger Springs Replacement: passo 4, imagem 1 %32 PDP Rematch Advanced Trigger Springs Replacement: passo 4, imagem 2 %32 PDP Rematch Advanced Trigger Springs Replacement: passo 4, imagem 3 %32
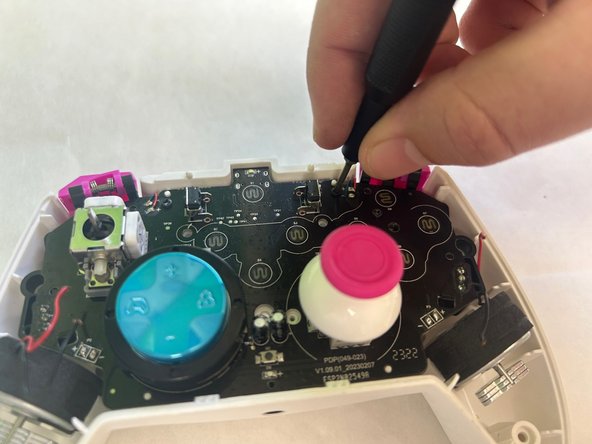
      • Use a Phillips #000 screwdriver to remove the two 5 mm screws that secure the motherboard.

      • Remove the motherboard from the back shell using moderate force.

      Pergunte ao FixBot

      Comentar

    5. PDP Rematch Advanced Trigger Springs Replacement: passo 5, imagem 1 %32 PDP Rematch Advanced Trigger Springs Replacement: passo 5, imagem 2 %32 PDP Rematch Advanced Trigger Springs Replacement: passo 5, imagem 3 %32
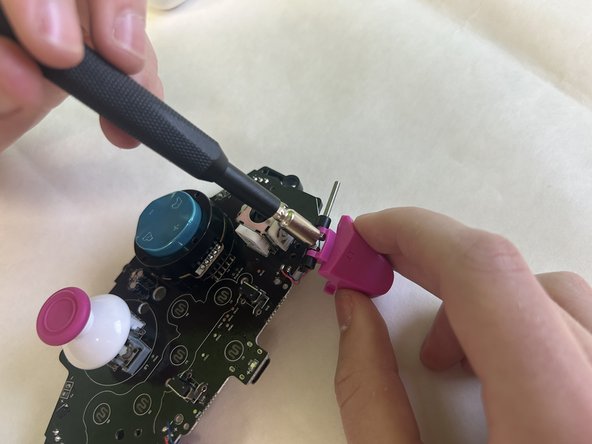
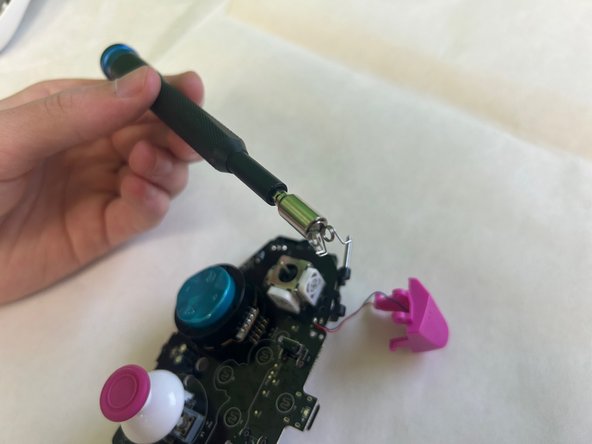
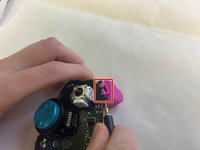
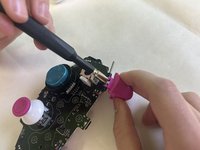
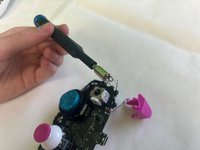
      • Punch out the metal pin holding in the trigger and the trigger spring. Repeat for both triggers.

      • Remove the trigger and the trigger springs.

      • Using a punch or a small tool allows pin removal to be easier.

      Pergunte ao FixBot

      Comentar

Conclusão

To reassemble your device, follow these instructions in reverse order.

Cancelar: não concluí este guia.

Jacob Thomas Wolgamott

Membro desde: 09/23/24

121 Reputação

Autoria de 1 guia

0Comentários do guia

Comentar

Visualizações:

Últimas 24 horas: 1

Últimos 7 dias: 3

Últimos 30 dias: 41

Ao todo: 648