Ir para o conteúdo principal
Participe da comunidade de reparos - Criar conta

Oregon Scientific Meep! X2 Screen Replacement

O que você precisa

    1. Oregon Scientific Meep! X2 Screen Replacement, Rear Casing: passo 1, imagem 1 %32
      • Remove the orange covers from the left and right sides of the device by sliding up against the tabs.

      Pergunte ao FixBot

      Comentar

    2. Oregon Scientific Meep! X2 Screen Replacement: passo 2, imagem 1 %32 Oregon Scientific Meep! X2 Screen Replacement: passo 2, imagem 2 %32 Oregon Scientific Meep! X2 Screen Replacement: passo 2, imagem 3 %32
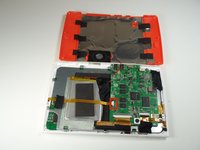
      • You can remove the rear casing by unscrewing all six phillips #00(3.5mm x 4.5mm)screws from the left and right side of the device.

      Pergunte ao FixBot

      Comentar

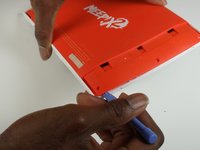
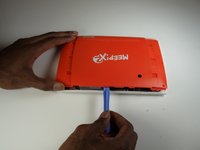
    3. Oregon Scientific Meep! X2 Screen Replacement: passo 3, imagem 1 %32 Oregon Scientific Meep! X2 Screen Replacement: passo 3, imagem 2 %32 Oregon Scientific Meep! X2 Screen Replacement: passo 3, imagem 3 %32
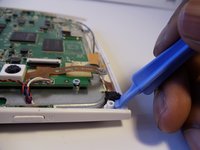
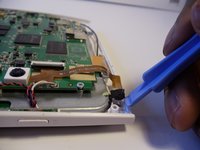
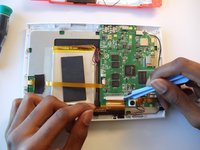
      • Use the plastic opening tools to undo the clips around the edges of the device.

      Pergunte ao FixBot

      Comentar

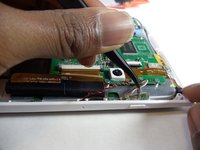
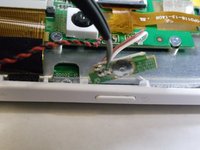
    1. Oregon Scientific Meep! X2 Screen Replacement, Power Button: passo 4, imagem 1 %32 Oregon Scientific Meep! X2 Screen Replacement, Power Button: passo 4, imagem 2 %32
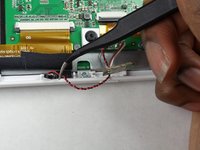
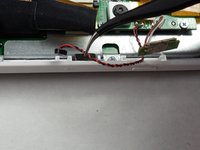
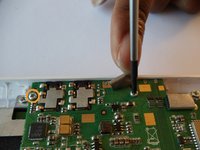
      • Use a tweezer to gently pull the power button sensor out of the case's slot.

      Pergunte ao FixBot

      Comentar

    2. Oregon Scientific Meep! X2 Screen Replacement: passo 5, imagem 1 %32 Oregon Scientific Meep! X2 Screen Replacement: passo 5, imagem 2 %32
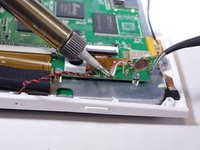
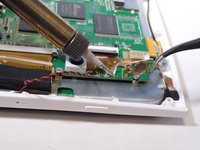
      • Use the soldering station to unsolder and remove the power button from the motherboard.

      • In the case of screen or screen sensor replacement, disregard desoldering steps.

      Pergunte ao FixBot

      Comentar

    1. Oregon Scientific Meep! X2 Screen Replacement, Microphone: passo 6, imagem 1 %32 Oregon Scientific Meep! X2 Screen Replacement, Microphone: passo 6, imagem 2 %32
      Ferramenta utilizada neste passo:
      Tweezers
      $4.99
      • Use your tweezers to gently remove the microphone from the slot in the casing.

      Pergunte ao FixBot

      Comentar

    2. Oregon Scientific Meep! X2 Screen Replacement: passo 7, imagem 1 %32 Oregon Scientific Meep! X2 Screen Replacement: passo 7, imagem 2 %32
      • Unsolder the microphone unit from the motherboard using the soldering station.

      • In the case of screen or screen sensor replacement, disregard desoldering steps.

      Pergunte ao FixBot

      Comentar

    1. Oregon Scientific Meep! X2 Screen Replacement, Cameras: passo 8, imagem 1 %32 Oregon Scientific Meep! X2 Screen Replacement, Cameras: passo 8, imagem 2 %32
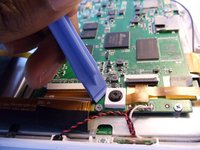
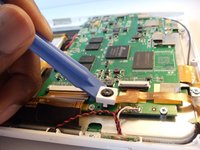
      • Slip the plastic opening tool under the white, square enclosure of the camera and lift upward to unhook the camera unit from the motherboard.

      Pergunte ao FixBot

      Comentar

    2. Oregon Scientific Meep! X2 Screen Replacement: passo 9, imagem 1 %32 Oregon Scientific Meep! X2 Screen Replacement: passo 9, imagem 2 %32
      • Pry the second camera out of its slot with one of the plastic opening tools.

      • Be sure to undo the black adhesive foam from the metal casing in order to remove the camera properly.

      Pergunte ao FixBot

      Comentar

    3. Oregon Scientific Meep! X2 Screen Replacement: passo 10, imagem 1 %32
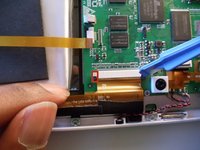
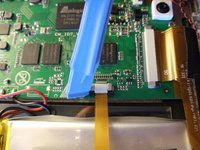
      • Release the black security clip on the ribbon cable with your plastic opening tool.

      • Gently disconnect the gold ribbon cable from the motherboard. The two cameras will remain attached to the ribbon cable.

      Pergunte ao FixBot

      Comentar

    1. Oregon Scientific Meep! X2 Screen Replacement, Motherboard: passo 11, imagem 1 %32 Oregon Scientific Meep! X2 Screen Replacement, Motherboard: passo 11, imagem 2 %32
      • Undo the security clips on the ribbon cable connection by placing the plastic opening tool between the black and white parts of the clip. Pull downard toward the gold ribbon cable.

      • Once the left and right clips are undone, remove the gold ribbon cable from that connection by gently pulling it out.

      Pergunte ao FixBot

      Comentar

    2. Oregon Scientific Meep! X2 Screen Replacement: passo 12, imagem 1 %32 Oregon Scientific Meep! X2 Screen Replacement: passo 12, imagem 2 %32
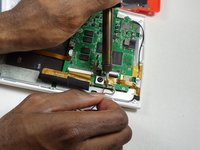
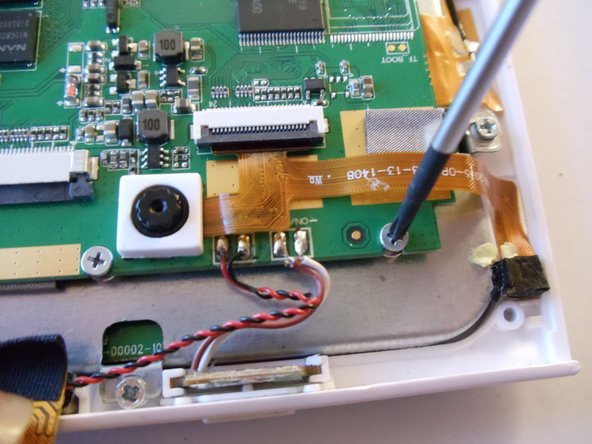
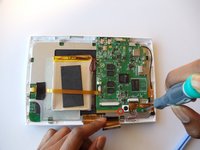
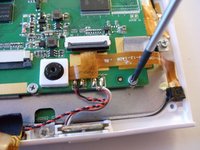
      • Remove the two phillips #00 (4.5mm x 3mm)screws located on the motherboard.

      Pergunte ao FixBot

      Comentar

    3. Oregon Scientific Meep! X2 Screen Replacement: passo 13, imagem 1 %32 Oregon Scientific Meep! X2 Screen Replacement: passo 13, imagem 2 %32
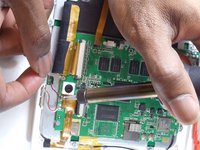
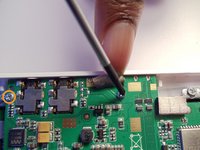
      • Lift the silver, rectangular blocker in order to expose the right phillips screw #00 (4mm x 3.5mm).

      • Unscrew the left and right phillips #00 (4mm x 3.5mm)screws.

      • Once unscrewed, gently lift the motherboard from the rest of the device.

      Pergunte ao FixBot

      Comentar

    1. Oregon Scientific Meep! X2 Screen Replacement, Remove the ribbon cable.: passo 14, imagem 1 %32 Oregon Scientific Meep! X2 Screen Replacement, Remove the ribbon cable.: passo 14, imagem 2 %32 Oregon Scientific Meep! X2 Screen Replacement, Remove the ribbon cable.: passo 14, imagem 3 %32
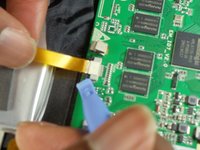
      • Gently unhook the black security clips to loosen the ribbon cable. Use one of the plastic opening tools.

      • Pull lightly on the ribbon cable to remove it.

      Pergunte ao FixBot

      Comentar

    2. Oregon Scientific Meep! X2 Screen Replacement, Sever the adhesive glue on the battery.: passo 15, imagem 1 %32 Oregon Scientific Meep! X2 Screen Replacement, Sever the adhesive glue on the battery.: passo 15, imagem 2 %32
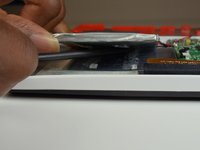
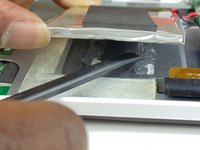
      • Use your spudger to separate the battery from the adhesive glue strips and plastic film.

      Pergunte ao FixBot

      Comentar

    3. Oregon Scientific Meep! X2 Screen Replacement: passo 16, imagem 1 %32 Oregon Scientific Meep! X2 Screen Replacement: passo 16, imagem 2 %32
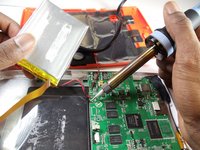
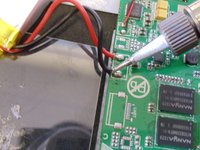
      • Use a soldering station to unsolder the battery wires from the motherboard.

      • In the case of screen or screen sensor replacement, disregard desoldering steps.

      Pergunte ao FixBot

      Comentar

    1. Oregon Scientific Meep! X2 Screen Replacement, Screen: passo 17, imagem 1 %32 Oregon Scientific Meep! X2 Screen Replacement, Screen: passo 17, imagem 2 %32
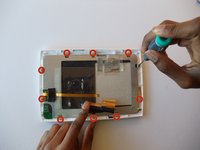
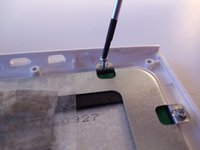
      • Remove the 10 phillips #00(3.5mm x 4mm) screws around the metal framing of the screen.

      • Leave the clear tape on the back of the screen until you are ready to remove it from the white plastic casing.

      Pergunte ao FixBot

      Comentar

    2. Oregon Scientific Meep! X2 Screen Replacement: passo 18, imagem 1 %32 Oregon Scientific Meep! X2 Screen Replacement: passo 18, imagem 2 %32
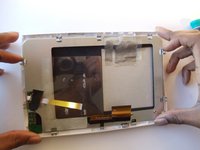
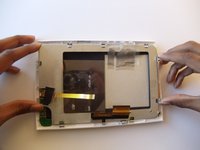
      • Slowly remove the metal frame and screen from the white casing by gently pulling up on the ends of the metal frame.

      Pergunte ao FixBot

      Comentar

    3. Oregon Scientific Meep! X2 Screen Replacement: passo 19, imagem 1 %32
      • Remove the plastic tape from the back of the screen.

      • Carefully separate the screen from the metal framing.

      Pergunte ao FixBot

      Comentar

Conclusão

To reassemble your device, follow these instructions in reverse order.

Cancelar: não concluí este guia.

Equipe

USF Tampa, Team 9-1, Blackwell Winter 2015 Membro de USF Tampa, Team 9-1, Blackwell Winter 2015

USFT-BLACKWELL-W15S9G1

3 Membros

Autoria de 16 guias

0Comentários do guia

Comentar

Visualizações:

Últimas 24 horas: 2

Últimos 7 dias: 8

Últimos 30 dias: 30

Ao todo: 1,268