Introdução
This guide covers the steps to remove and replace the broken screen on your Orbic wonder. Some steps are repeated, as this is a guide made up of other guides.
O que você precisa
-
-
Remove two 2mm TR9 Torx screws from the bottoms of the device.
 Pergunte ao FixBot
-
-
-
There is a border between the black phone backing and the silver screen.
-
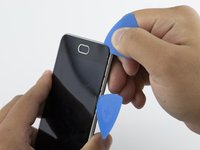
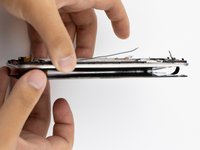
Place the Jimmy in this border, and cautiously torque it back and forth to part the two halves.
-
When the halves are parted correctly, the gap should look like this.
-
-
Ferramenta utilizada neste passo:Anti-Static Wrist Strap$7.95
-
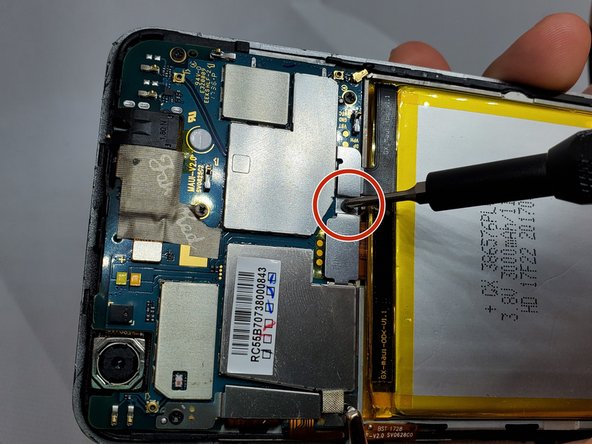
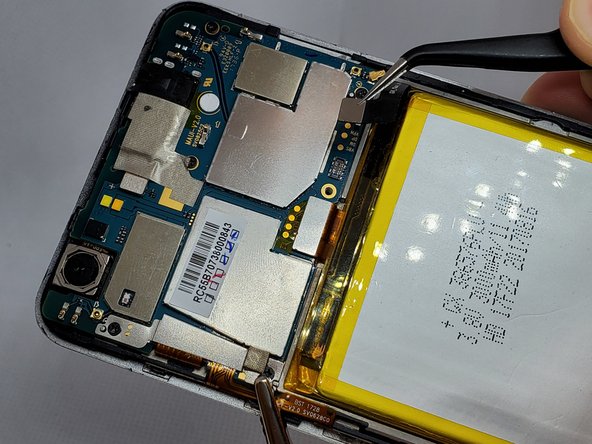
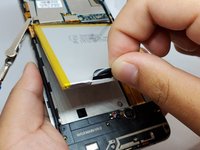
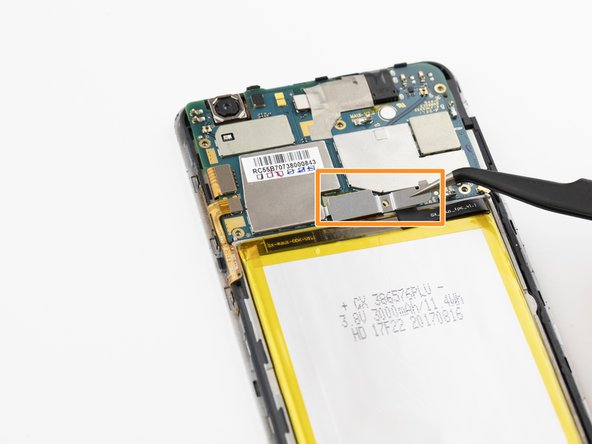
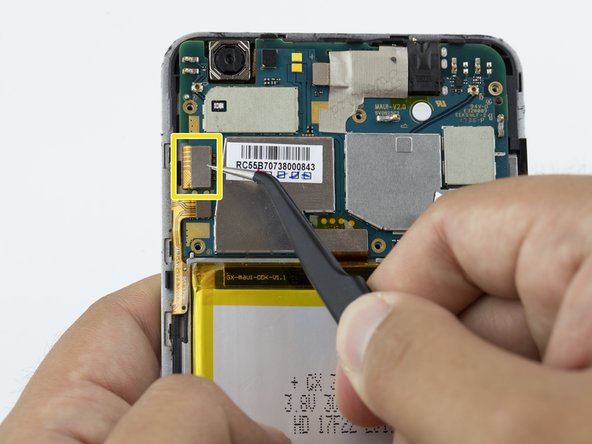
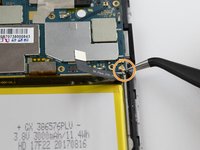
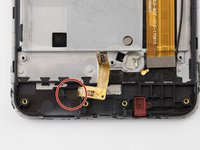
On the upper right side, there is a black ribbon cable in the shape of an “L”. Remove the single 1 mm Phillips #000 screw on the left side of the ribbon cable.
-
-
Ferramenta utilizada neste passo:Tweezers$3.99
-
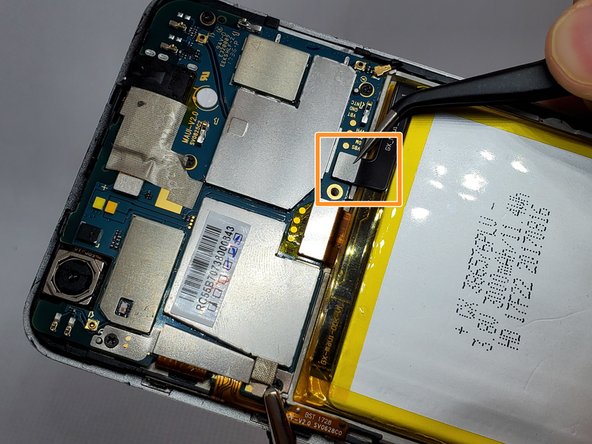
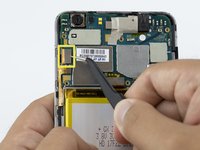
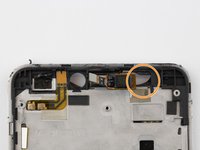
Use a pair of angled tweezers to carefully remove the metal casing of the ribbon cable.
-
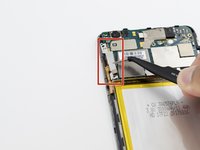
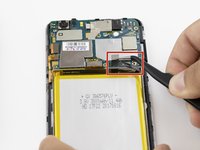
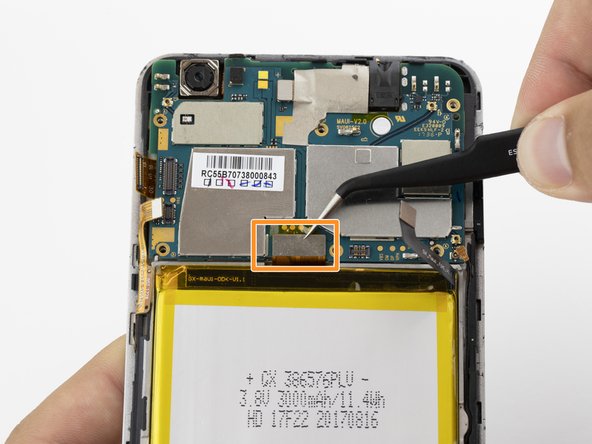
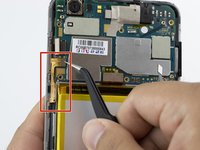
Use a pair of angled tweezers to detach the black ribbon cable. This is done to unplug the battery.
-
-
-
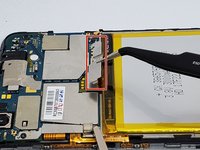
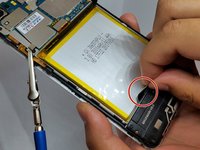
There is a black flap on the bottom of the battery.
-
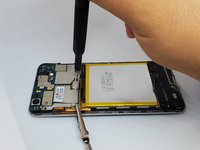
Using your fingers, pinch this flap and carefully pull the battery up and out of the phone.
-
-
Ferramenta utilizada neste passo:Anti-Static Wrist Strap$7.95
-
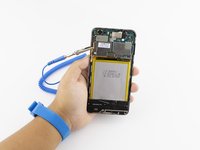
Remove the anti-static wrist strap.
-
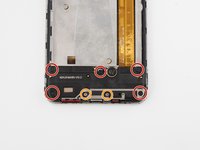
Use the Phillips #000 screwdriver to remove the five black 2 mm screws.
-
Use the Phillips #000 screwdriver to remove the two grey 2 mm screws.
-
-
Ferramenta utilizada neste passo:Tweezers$3.99
-
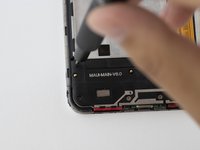
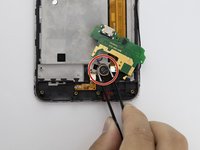
Use a pair of angled tweezers to remove the speaker housing.
-
-
-
Ferramenta utilizada neste passo:Tweezers$3.99
-
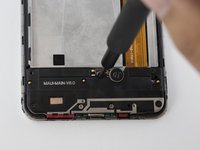
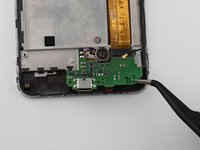
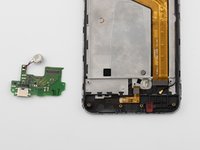
Detach the metal casing at the bottom of the phone.
-
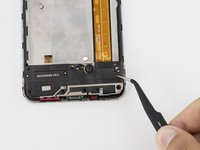
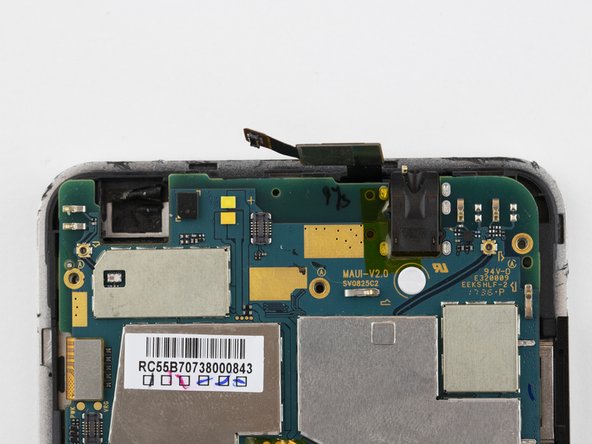
Unplug the cable connector.
-
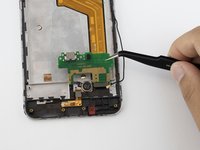
Use a pair of angled tweezers to unplug the black wire.
-
-
-
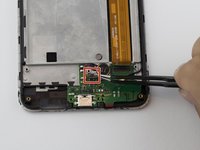
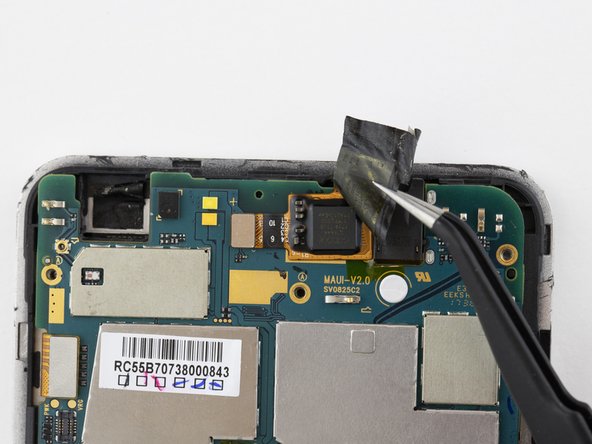
Using a pair of angled tweezers, disconnect the connector chip.
-
With the angled tweezers, gently lift (but do not remove) the green circuit board from the phone.
-
-
-
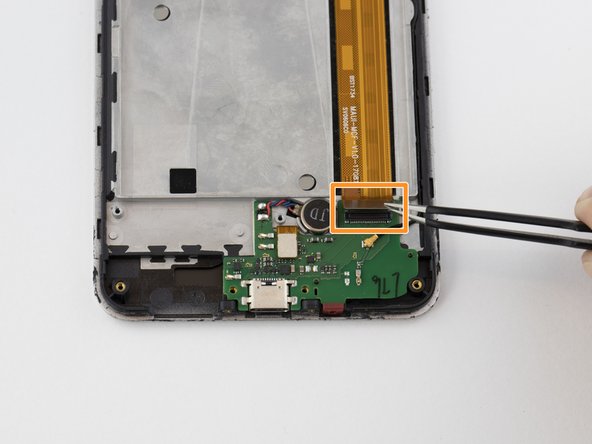
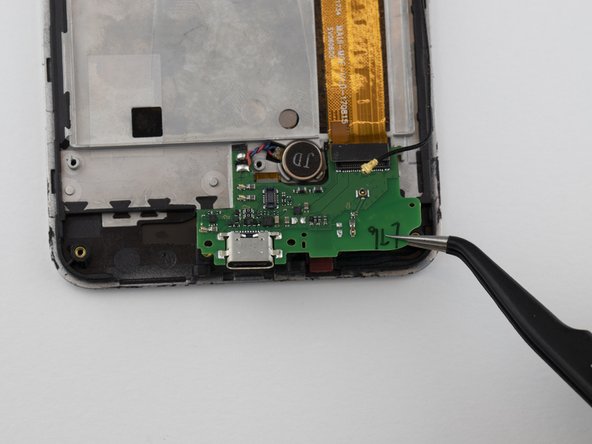
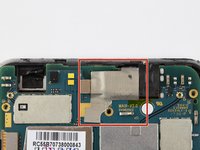
Using a pair of angled tweezers, disconnect the attachment to the microphone labeled "JD," and completely remove the circuit board.
-
-
-
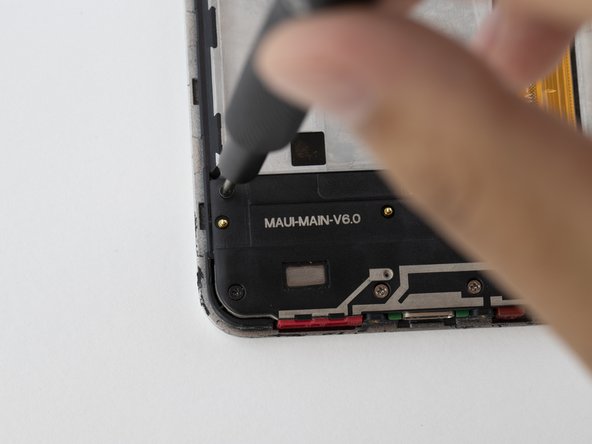
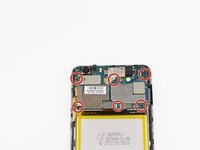
Remove the six 2mm Phillips #000 screws from the motherboard.
-
-
Ferramenta utilizada neste passo:Tweezers$4.99
-
Use a pair of tweezers to remove the leftmost metal protector.
-
Repeat this process for the other metal protector directly above the battery.
-
-
-
Disconnect the "L" shaped plug connecting the battery to the circuit board.
-
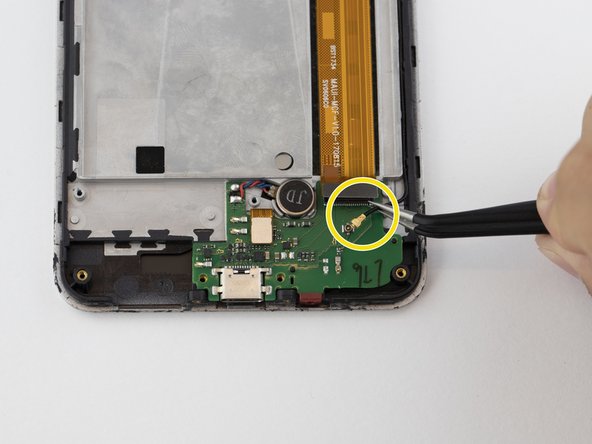
Carefully disconnect the small gold connecting wire.
-
Disconnect the rectangular piece.
-
-
-
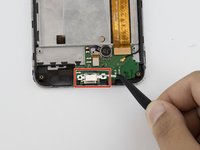
Unplug the power button connector.
-
Unplug the circuit connector above the battery.
-
-
-
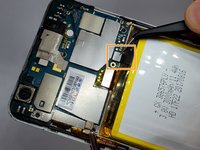
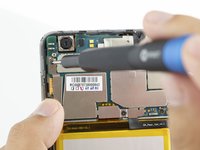
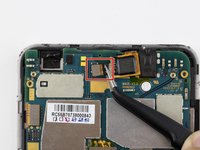
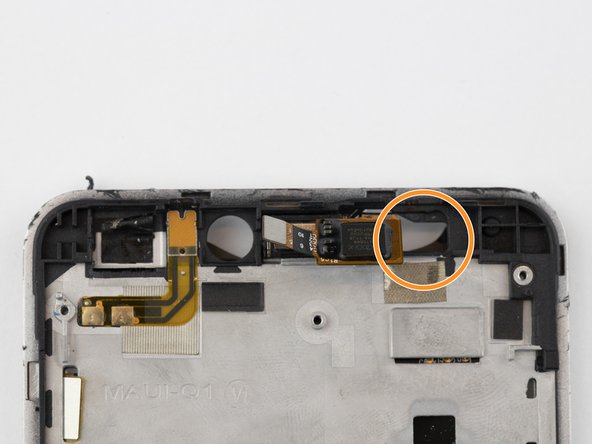
Carefully remove the protective sticker. This will expose the camera and its connector.
-
-
-
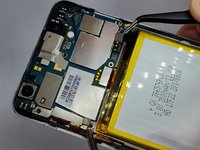
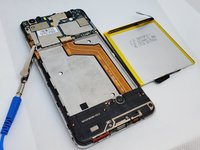
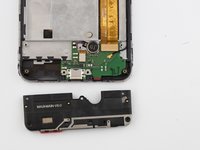
The circuit board should now be loose. Disconnect it, and remove it from the phone housing.
-
-
-
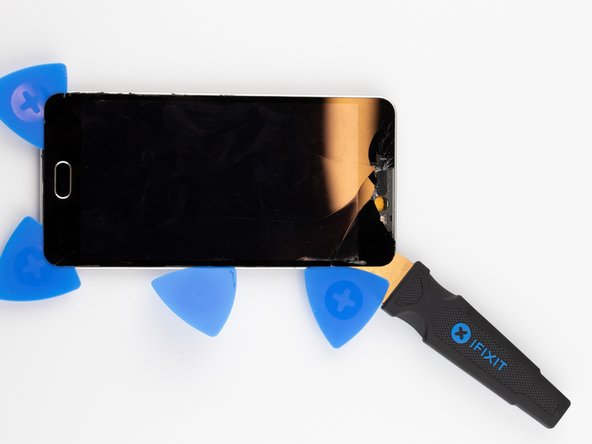
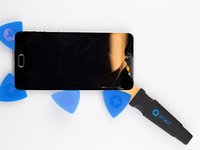
Using the iOpener, heat the screen's edges to loosen the adhesive holding the screen in place.
-
Using the Jimmy and opening picks, gently pry the screen from the phone housing.
-
-
-
Push the gold lower screen connector wire through the hole.
-
Do the same to the gold upper screen connector wire.
-
-
-
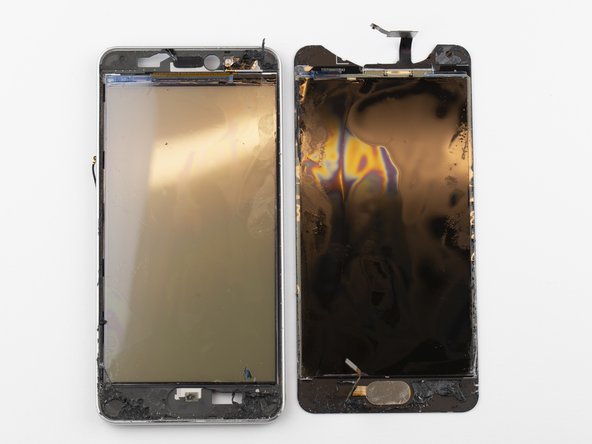
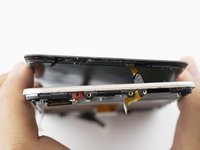
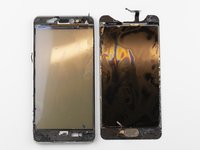
Using your hands, separate the screen from the rest of the phone, ensuring that the connector wires go through the openings without ripping.
-


To reassemble your device, follow these instructions in reverse order.
Cancelar: não concluí este guia.
Uma outra pessoa concluiu este guia.
Equipe

Embry-Riddle Aeronautical University, Team S20-G1, Branham Fall 2019 Membro de Embry-Riddle Aeronautical University, Team S20-G1, Branham Fall 2019
ERAU-BRANHAM-F19S20G1
4 Membros
Autoria de 11 guias
3Comentários do guia
how can and or can I swap media files from orbic wonder “with damaged screen “ to a gaxalxy a01
My orbic was over amped.7 volts burned something out.it turns on but nothing works.and the screen is light grey.how do i repair this plz thank you. 209crazo
I need orbic lcd