Introdução
Use este guia para substituir a lâmpada de projeção do Optoma HD72. Uma lâmpada de projeção é uma lâmpada muito potente usada para projetar imagens ou vídeos. A lâmpada de projeção precisará ser substituída se você estiver enfrentando algum dos seguintes sintomas.
- A luz da lâmpada de projeção está ficando fraca
- A lâmpada queimou completamente
- Uma conexão ficou frouxa
Um aviso importante ao substituir a lâmpada é ter cuidado com qualquer carga eletrostática. Certifique-se de usar equipamentos de proteção individual (EPI) adequados, como luvas de borracha, e verifique se o dispositivo foi desligado por pelo menos 5 a 10 minutos antes de desmontá-lo.
O que você precisa
-
-
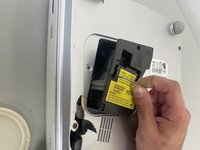
Use uma chave Phillips para soltar o único parafuso imperdível de 2 mm que prende o pequeno painel da lâmpada na carcaça inferior.
-
Remova o painel.
 Pergunte ao FixBot
-
-
-
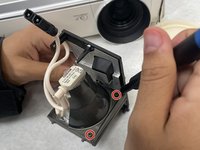
Use uma chave Phillips para soltar os dois parafusos de 2 mm na parte inferior da carcaça da lâmpada de projeção.
-
-
-
-
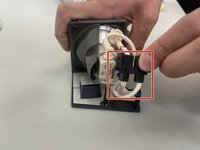
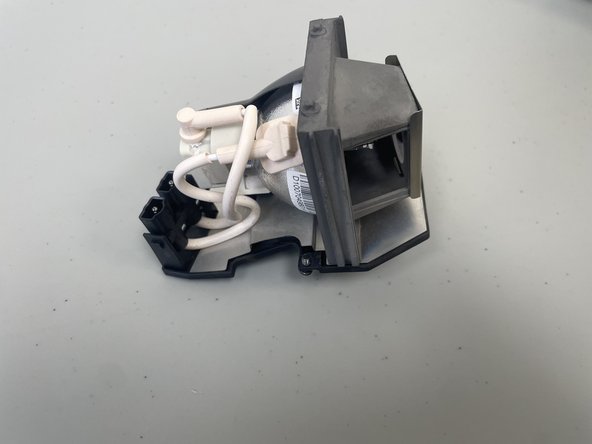
Levante o painel do dispositivo usando a alça de metal.
-
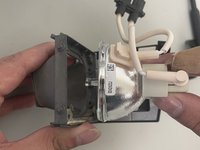
Desconecte a fiação rosa da carcaça de plástico preta.
-
-
-
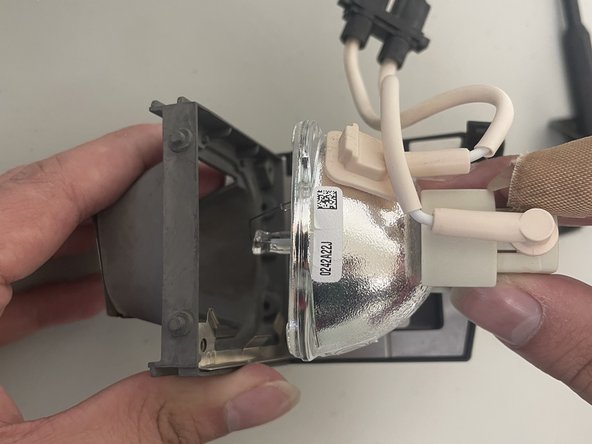
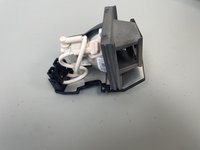
Use uma chave Phillips #2 para remover os quatro parafusos de 2 mm que prendem a lâmpada à carcaça.
-
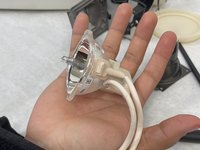
Remova a carcaça da lâmpada de projeção levantando suavemente a lâmpada de seu compartimento.
-


Para a remontagem de seu dispositivo, siga estas instruções na ordem inversa.
Um agradecimento especial a esses tradutores:
100%

Translation Bot está nos ajudando a consertar o mundo! Quer contribuir?
Comece a traduzir ›

Equipe

University of North Texas, Team 2-5, Kilpatrick Spring 2024 Membro de University of North Texas, Team 2-5, Kilpatrick Spring 2024
UNT-KILPATRICK-S24S2G5
3 Membros
Autoria de 10 guias