Introdução
Use this guide to remove the light bulb from your Optoma HD20.
O que você precisa
-
-
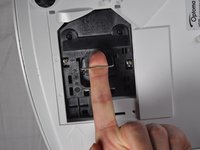
Use a Phillips #1 screwdriver to loosen the screws that secure the panel on the bottom of the Optoma HD20.
 Pergunte ao FixBot
-
-
-
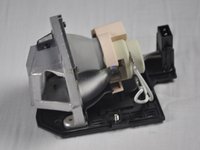
Use a Phillips #1 screwdriver to loosen the two screws securing the black casing.
-
-
-
-
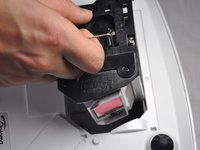
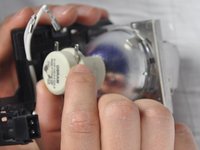
Carefully remove the light bulb insulator from the light bulb casing.
-
-
Ferramenta utilizada neste passo:Tweezers$4.99
-
Gently pull the wires off of the pins using tweezers.
-
-
-
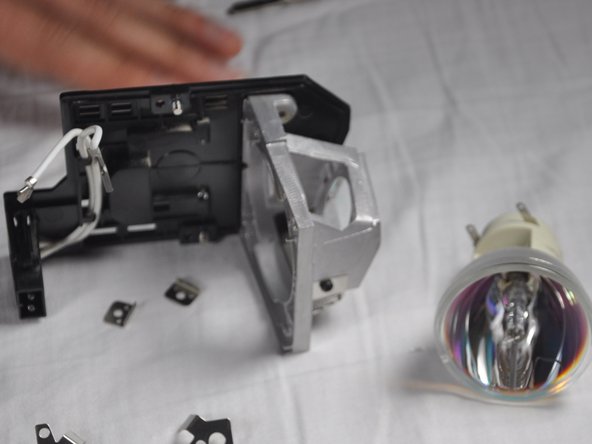
Remove the 4 screws on the back of the light bulb casing using a Phillips #1 screwdriver.
-
-
-
Remove the casing, then gently pull out the old light bulb and replace it with the new one.
-


To reassemble your device, follow these instructions in reverse order.
Cancelar: não concluí este guia.
7 outras pessoas executaram este guia.
Equipe

Cal Poly, Team 21-23, Maness Winter 2015 Membro de Cal Poly, Team 21-23, Maness Winter 2015
CPSU-MANESS-W15S21G23
4 Membros
Autoria de 6 guias
5Comentários do guia
I recently replaced my bulb for the third time and the insulator had grown brittle I am guessing from the heat and it broke. I can't seem to find this part for sale anywhere. Does anyone know if is possible to purchase it?
The screws in step 8 are extremely hard to get off. I went and bought proper screwdrivers before even attempting since theyre small, but in a day I've only managed to get one off and I'm having to resort to other tactics, even using a drill to just grind the heads off.
king@okinlamps.com
Need LAD60 20PCS
The manual says the new light won’t come back on until a lamp reset I’d done via menu , but how can you see the text if the light isn’t on?????
my hd 20 projects dull images i recently replaced my bulb for the first time successfully and i followed as per menu trying to bulb reset but it is not working and still image is dull how to solve the problem