Ir para o conteúdo principal
Participe da comunidade de reparos - Criar conta

One Education Infinity:One Display Assembly Replacement

O que você precisa

  1. One Education Infinity:One Display Assembly Replacement, Top Case: passo 1, imagem 1 %32 One Education Infinity:One Display Assembly Replacement, Top Case: passo 1, imagem 2 %32 One Education Infinity:One Display Assembly Replacement, Top Case: passo 1, imagem 3 %32
    • Insert a Jimmy or other prying tool into the seam between the screen and back case.

    • Trace around the edges until all clips are released.

    • Lift the back case away from the tablet.

    Pergunte ao FixBot

    Comentar

  2. One Education Infinity:One Display Assembly Replacement, Speaker: passo 2, imagem 1 %32 One Education Infinity:One Display Assembly Replacement, Speaker: passo 2, imagem 2 %32
    • Use a spudger to release the speaker wires by pushing the bundled cabled connector away from the motherboard.

    • Be sure to pull out the white connector instead of the individual wires to avoid damage to the device.

    Pergunte ao FixBot

    Comentar

  3. One Education Infinity:One Display Assembly Replacement: passo 3, imagem 1 %32
    • Use a spudger to lift the speakers out of the device.

    Pergunte ao FixBot

    Comentar

  4. One Education Infinity:One Display Assembly Replacement, Battery: passo 4, imagem 1 %32 One Education Infinity:One Display Assembly Replacement, Battery: passo 4, imagem 2 %32
    • Use a spudger to disconnect the black bundled cable connector from the motherboard.

    Pergunte ao FixBot

    Comentar

  5. One Education Infinity:One Display Assembly Replacement: passo 5, imagem 1 %32 One Education Infinity:One Display Assembly Replacement: passo 5, imagem 2 %32 One Education Infinity:One Display Assembly Replacement: passo 5, imagem 3 %32
    • Use a spudger to lift the black tab on top of the ZIF connector.

    • Slide the ribbon cable out of the connector.

    Pergunte ao FixBot

    Comentar

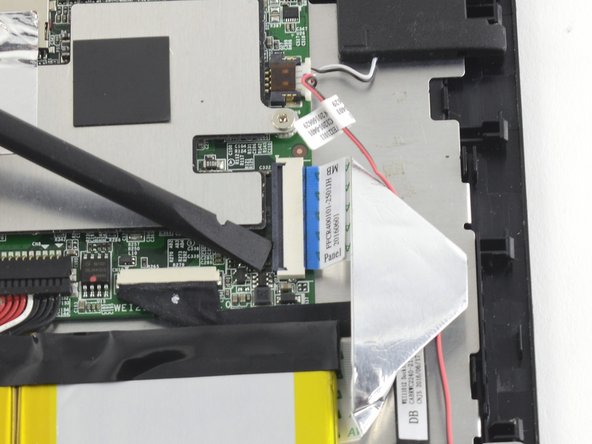
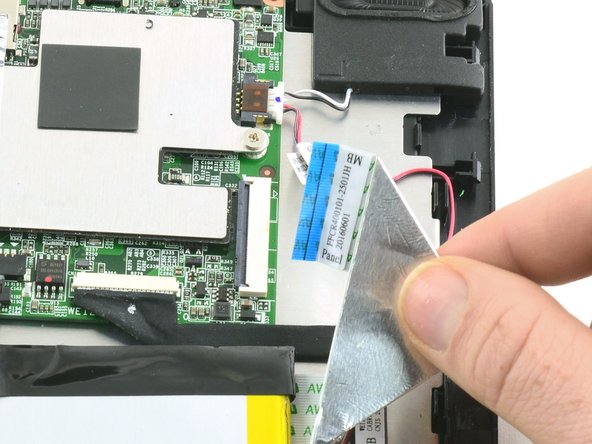
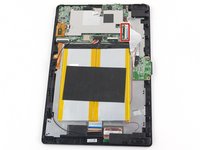
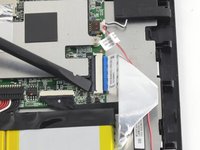
  6. One Education Infinity:One Display Assembly Replacement: passo 6, imagem 1 %32 One Education Infinity:One Display Assembly Replacement: passo 6, imagem 2 %32 One Education Infinity:One Display Assembly Replacement: passo 6, imagem 3 %32
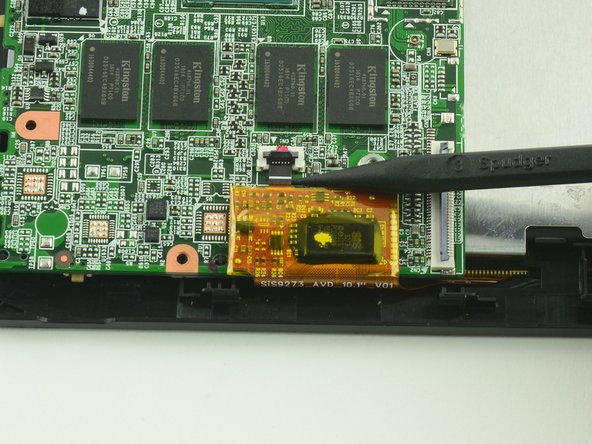
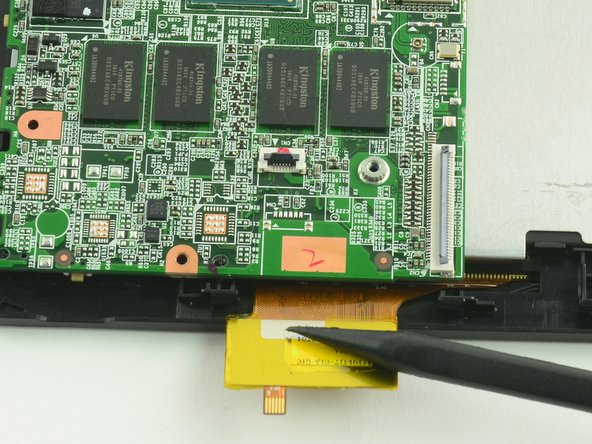
    • Use a spudger to flip up the black retaining flap on the ZIF connector.

    • Pull the folded ribbon cable straight out of the connector.

    • This ribbon cable must be disconnected before removing the battery because it is attached to the battery with adhesive.

    Pergunte ao FixBot

    Comentar

  7. One Education Infinity:One Display Assembly Replacement: passo 7, imagem 1 %32
    • Use a spudger to pry the battery away from the device.

    • Always use ESD safe tools when working with delicate electrical components.

    Pergunte ao FixBot

    Comentar

  8. One Education Infinity:One Display Assembly Replacement, Antenna: passo 8, imagem 1 %32 One Education Infinity:One Display Assembly Replacement, Antenna: passo 8, imagem 2 %32
    Ferramenta utilizada neste passo:
    Tweezers
    $4.99
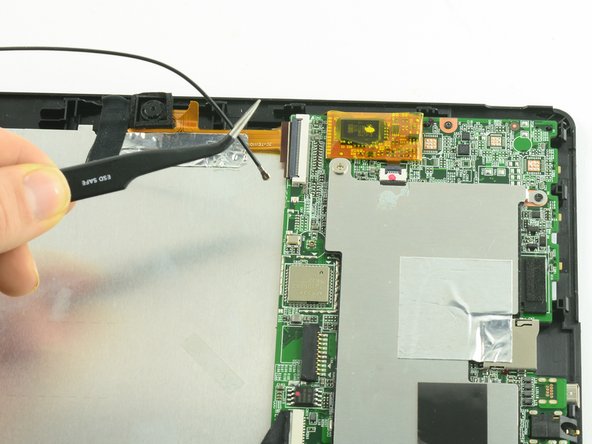
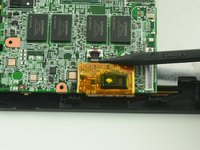
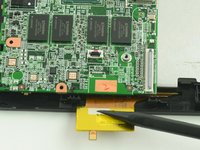
    • Use ESD safe tweezers to disconnect the antenna from the motherboard.

    Pergunte ao FixBot

    Comentar

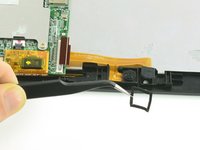
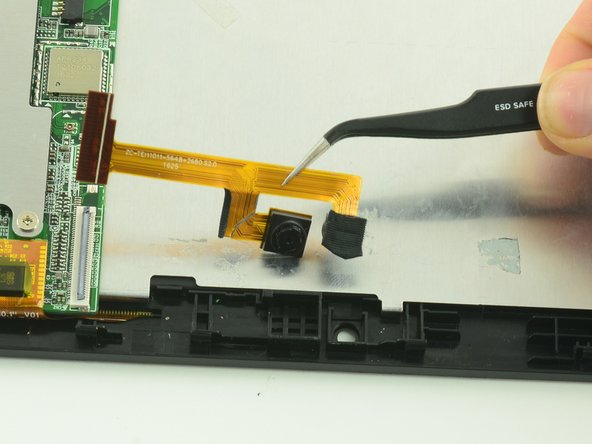
  9. One Education Infinity:One Display Assembly Replacement, Camera Assembly: passo 9, imagem 1 %32 One Education Infinity:One Display Assembly Replacement, Camera Assembly: passo 9, imagem 2 %32 One Education Infinity:One Display Assembly Replacement, Camera Assembly: passo 9, imagem 3 %32
    • Use a spudger to flip up the black flap on the camera's ZIF connector.

    • Pull the ribbon cable straight out of the connector.

    Pergunte ao FixBot

    Comentar

  10. One Education Infinity:One Display Assembly Replacement: passo 10, imagem 1 %32 One Education Infinity:One Display Assembly Replacement: passo 10, imagem 2 %32
    Ferramenta utilizada neste passo:
    Tweezers
    $4.99
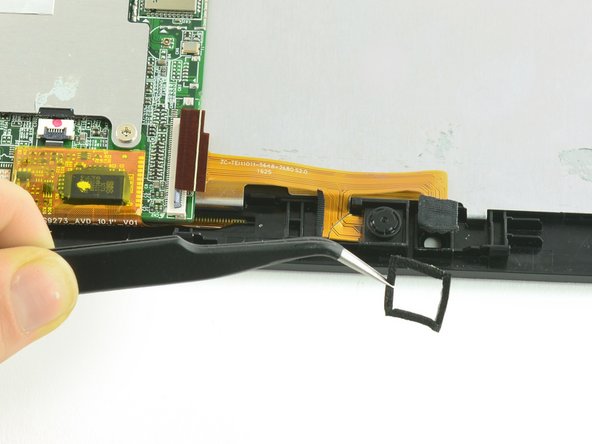
    • Use tweezers to remove the black cushion surrounding the camera lens.

    Pergunte ao FixBot

    Comentar

  11. One Education Infinity:One Display Assembly Replacement: passo 11, imagem 1 %32 One Education Infinity:One Display Assembly Replacement: passo 11, imagem 2 %32
    • Use tweezers to lift the camera assembly away from the device.

    • Lift straight up to avoid tearing the delicate ribbon cable on the retaining wall.

    Pergunte ao FixBot

    Comentar

  12. One Education Infinity:One Display Assembly Replacement, Motherboard: passo 12, imagem 1 %32 One Education Infinity:One Display Assembly Replacement, Motherboard: passo 12, imagem 2 %32 One Education Infinity:One Display Assembly Replacement, Motherboard: passo 12, imagem 3 %32
    • Use a spudger to flip up the black flap on the camera's ZIF connector.

    • Pull the ribbon cable straight out of the connector.

    Pergunte ao FixBot

    Comentar

  13. One Education Infinity:One Display Assembly Replacement: passo 13, imagem 1 %32
    Ferramenta utilizada neste passo:
    Tweezers
    $4.99
    • Use tweezers to pull the dock connection cable away from the motherboard.

    Pergunte ao FixBot

    Comentar

  14. One Education Infinity:One Display Assembly Replacement: passo 14, imagem 1 %32
    • Use a Phillips #00 screwdriver to unscrew the two 3.4 mm screws.

    • Use a Phillips #000 screwdriver to unscrew the one 4.2mm screw.

    Pergunte ao FixBot

    Comentar

  15. One Education Infinity:One Display Assembly Replacement: passo 15, imagem 1 %32
    • Lift the protective shield away from the motherboard.

    Pergunte ao FixBot

    Comentar

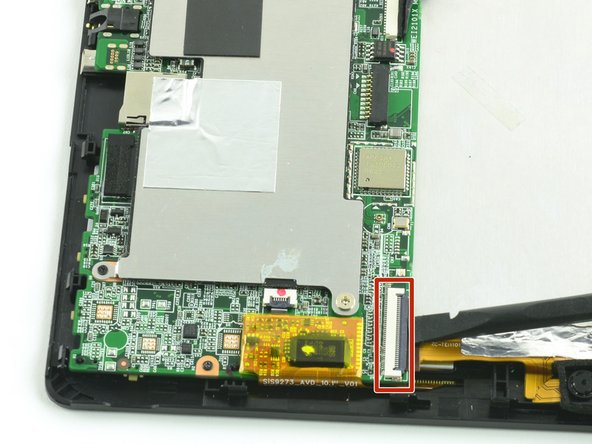
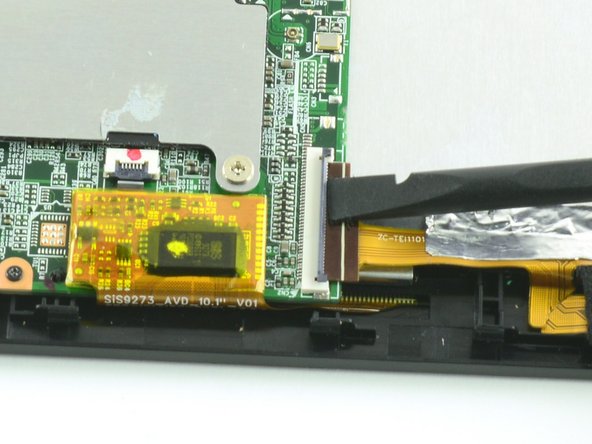
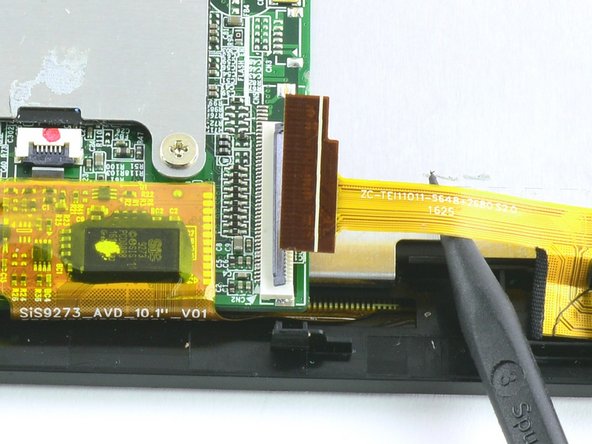
  16. One Education Infinity:One Display Assembly Replacement: passo 16, imagem 1 %32 One Education Infinity:One Display Assembly Replacement: passo 16, imagem 2 %32 One Education Infinity:One Display Assembly Replacement: passo 16, imagem 3 %32
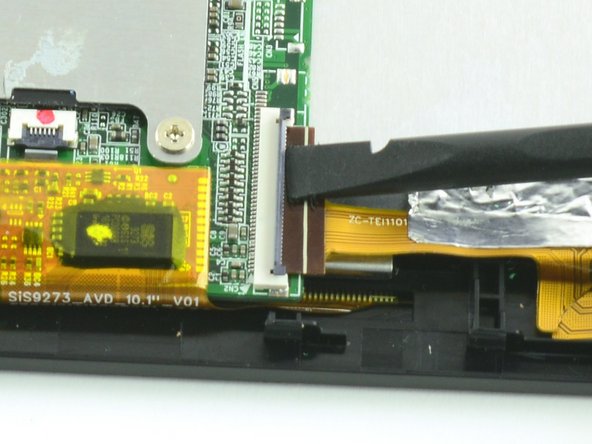
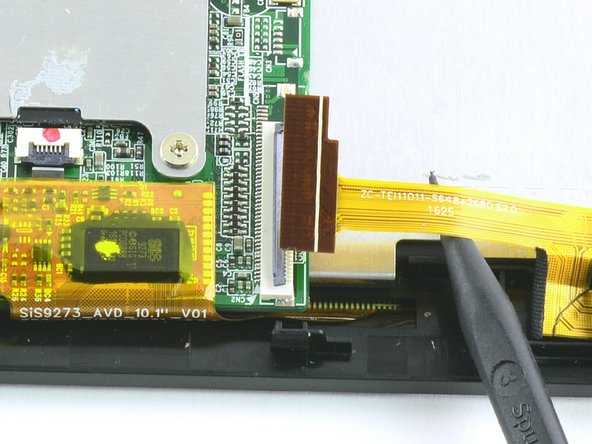
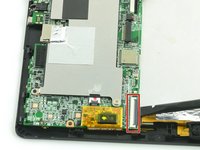
    • With the flat end of a spudger, flip up the black flap on the display's ZIF connector.

    • Insert the pointed end of the spudger between the cable and the motherboard and gently pull the cable straight out of the connector.

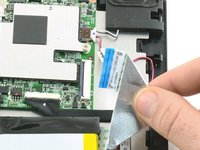
    • During reassembly, be sure to insert the cable into the connector up to the white line on the cable and then close the retaining flap.

    Pergunte ao FixBot

    Comentar

  17. One Education Infinity:One Display Assembly Replacement: passo 17, imagem 1 %32
    • Gently lift the motherboard away from the display assembly.

    Pergunte ao FixBot

    Comentar

  18. One Education Infinity:One Display Assembly Replacement, Display Assembly: passo 18, imagem 1 %32
    • Unscrew the five 4.2mm screws with a Phillips #000 screwdriver.

    Pergunte ao FixBot

    Comentar

  19. One Education Infinity:One Display Assembly Replacement: passo 19, imagem 1 %32 One Education Infinity:One Display Assembly Replacement: passo 19, imagem 2 %32
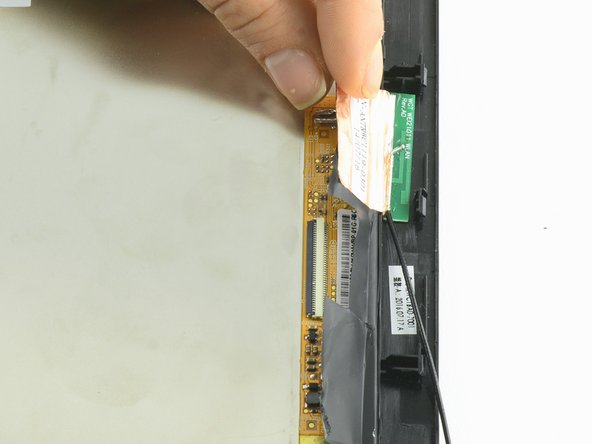
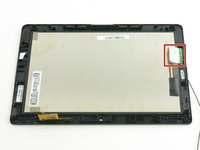
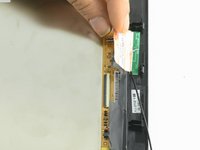
    • Peel the protective flap away from the display.

    Pergunte ao FixBot

    Comentar

  20. One Education Infinity:One Display Assembly Replacement: passo 20, imagem 1 %32 One Education Infinity:One Display Assembly Replacement: passo 20, imagem 2 %32
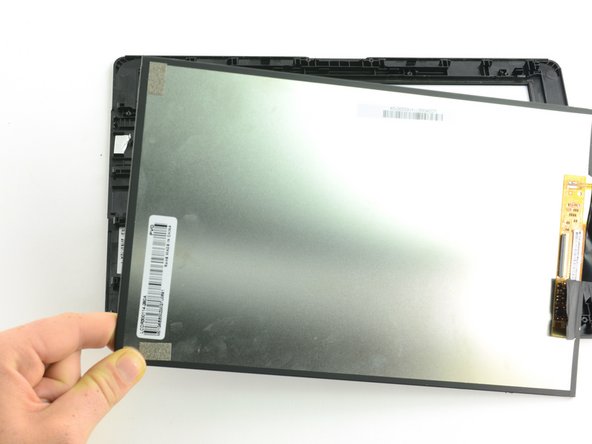
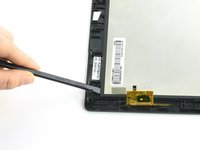
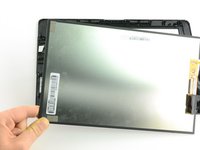
    • Use a spudger to lift the digitizer away from the screen.

    • Grasp the edge of the digitizer and lift straight up to remove.

    Pergunte ao FixBot

    Comentar

Conclusão

To reassemble your device, follow these instructions in reverse order.

Cancelar: não concluí este guia.

Taylor Bratsch

Membro desde: 09/06/16

6.159 Reputação

Autoria de 14 guias

0Comentários do guia

Comentar

Visualizações:

Últimas 24 horas: 0

Últimos 7 dias: 3

Últimos 30 dias: 19

Ao todo: 616