Introdução
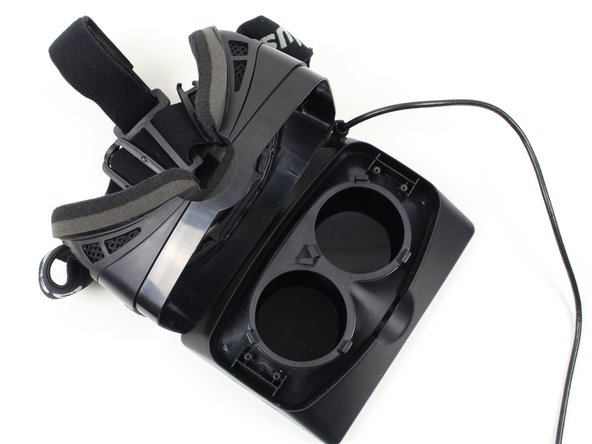
The following steps will guide you through the process of taking apart the Oculus Rift headset to replace the LCD (Liquid Crystal Display) screen. You may need to replace the display because it has cracks, dents, or warping. Cracks, dents, or warping can be caused by dropping the display, applying high amounts of pressure to the display, or putting the display in extreme temperatures.
O que você precisa
-
-
To remove the lenses, turn the right lens clockwise a quarter turn and the left lens counter-clockwise a quarter turn.
 Pergunte ao FixBot
-
-
-
Use a Phillips #01 screwdriver to unscrew the four 9 mm Phillips #01 screws. (Two screws are shown in the picture, and two more screws are on the left side across from the right screws.)
-
-
-
-
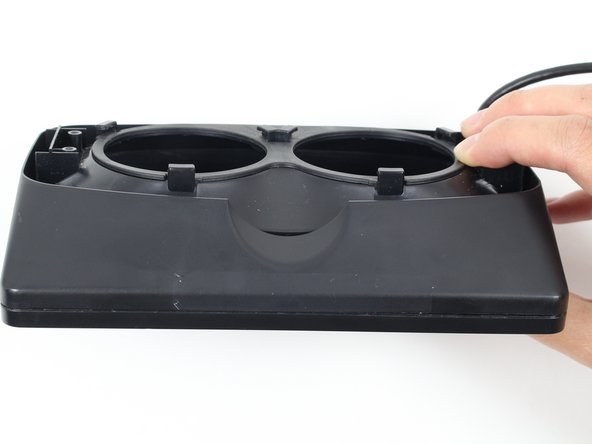
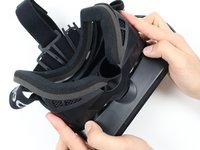
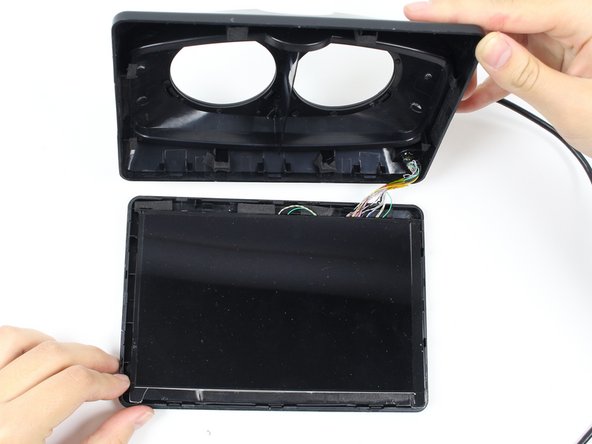
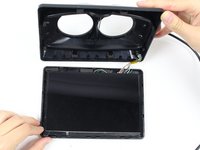
Carefully lift the headstrap from the display. The two parts should separate easily enough with some force.
-
-
-
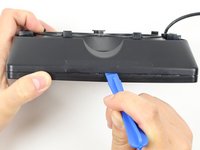
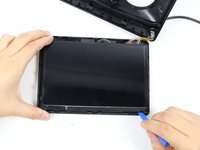
Using the plastic opening tool, pry open the display box to reveal the LCD (Liquid Crystal Display) screen. Run the plastic opening tool around all four edges. Prying open the box may take a good amount of force.
-
-
-
Run the plastic opening tool along the bottom edge under the LCD screen to separate the adhesive holding the LCD to the display box.
-
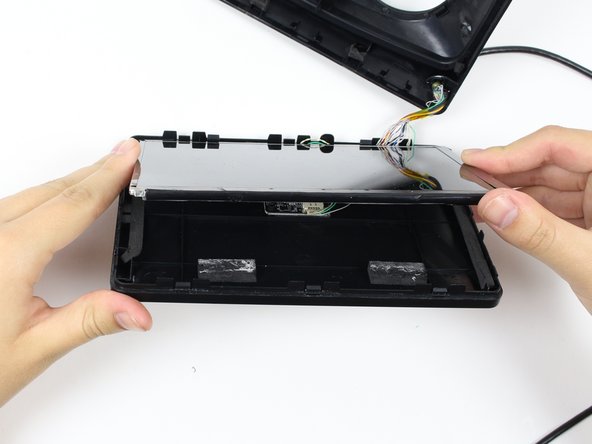
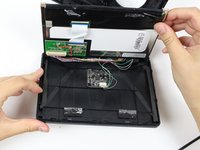
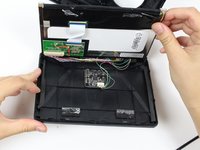
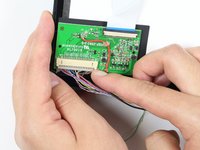
Lift the screen up to reveal the wires and circuit board.
-
-
-
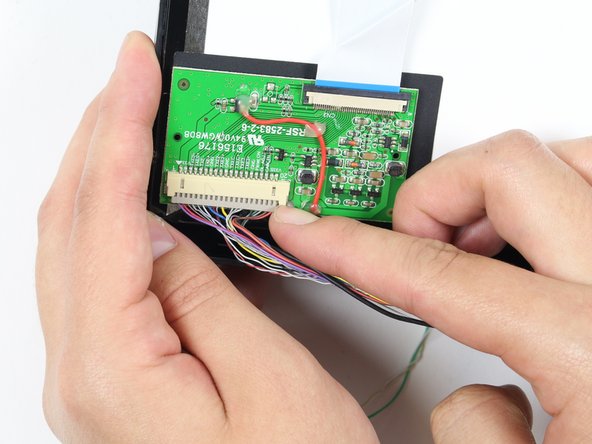
Remove the wires from the circuit board on the LCD display using your fingernail or a plastic opening tool. This may take some pushing and pulling of the plastic piece.
-
You can now completely separate the LCD screen from the rest of the device!
-


To reassemble your device, follow these instructions in reverse order.
Cancelar: não concluí este guia.
5 outras pessoas executaram este guia.
Equipe

Cal Poly, Team 70-5, Forte Winter 2015 Membro de Cal Poly, Team 70-5, Forte Winter 2015
CPSU-FORTE-W15S70G5
4 Membros
Autoria de 6 guias