Introdução
You will need to replace the battery in your controller if it is not holding a charge or your controller is not turning on. When taking apart the controller, be careful as the buttons are not held in place by anything and can easily fall out.
O que você precisa
-
-
Remove the indicated six screws using the T6 Torx screwdriver.
 Pergunte ao FixBot
-
-
-
Use the plastic opening tool to pry the face of the controller away from the body.
-
-
-
-
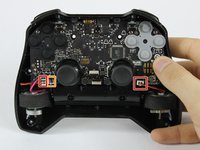
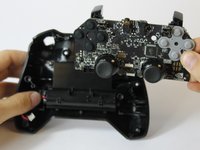
Carefully remove the indicated ribbon wires from the face of the controller.
-
-
Ferramenta utilizada neste passo:Tweezers$3.99
-
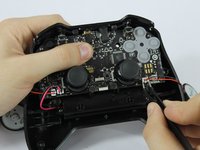
Use the angled tweezers to remove the vibration motor cable, moving it upward from its socket.
-
Lift the vibration motor out of the front case.
-
Repeat for the other side.
-
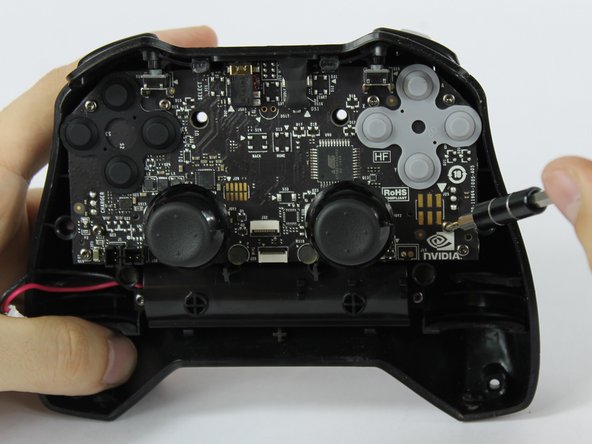
Use the angled tweezers to remove the battery cable, moving it upward from its socket.
-
-
-
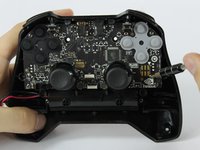
Using the T6 Torx screwdriver, remove the indicated eight screws from the logic board.
-
Lift the logic board away from the front case.
-
-
-
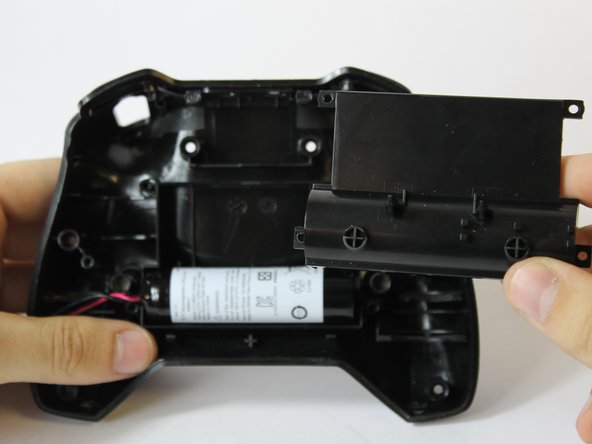
Using the T6 Torx screwdriver, remove the indicated four screws from the panel.
-
Remove the panel from the front case.
-
Lift the battery from the front case to remove it.
-


To reassemble your device, follow these instructions in reverse order.
Cancelar: não concluí este guia.
12 outras pessoas executaram este guia.
Equipe

USF Tampa, Team S16-G6, Eyestone Fall 2017 Membro de USF Tampa, Team S16-G6, Eyestone Fall 2017
USFT-EYESTONE-F17S16G6
3 Membros
Autoria de 8 guias
8Comentários do guia
Where can i buy the replacement Battery? What tags should i use to find it?
LC18650 Remote Control accu
Are battery packs available for the 2017 controller?
Simply reconnecting the battery fixed my issues