Introdução
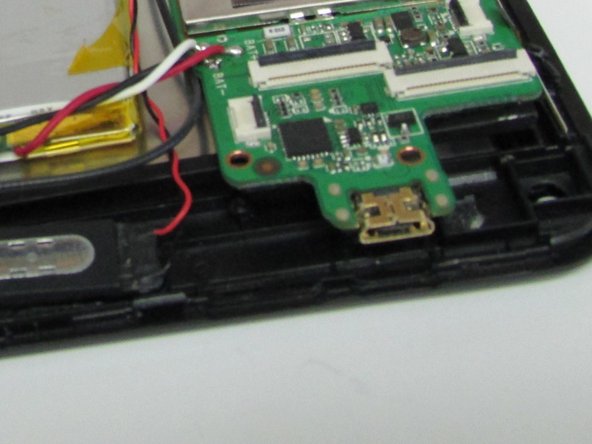
Your time will be split between removing the back from the device and de-soldering. The charging port itself is actually soldered onto the bottom of the motherboard. To access it, it is best to remove the motherboard from the device.
O que você precisa
-
-
-
Use a Heat Gun to loosen the adhesive on the underside of the back cover.
-
Use some prying tools to lift the back cover off of the device.
 Pergunte ao FixBot
-
-
-
-
Desolder the Motherboard- this will make it easier to get to the charging port without breaking any cords.
-
Flip the Motherboard over and desolder the charging port from Motherboard.
-
-


To reassemble your device, follow these instructions in reverse order.

Equipe

University of Illinois Urbana-Champaign, Team 1-1, Scrogum Spring 2017 Membro de University of Illinois Urbana-Champaign, Team 1-1, Scrogum Spring 2017
UICU-SCROGUM-S17S1G1
3 Membros
Autoria de 95 guias
