Introdução
Nokia Lumia 530 - RM-1017, RM-1019
How to disassemble / take apart the phone and change broken Display or Touch screen Glass Digitizer.
________________________ Video tutorial: ________________________
O que você precisa
Vídeo de Apresentação
-
-
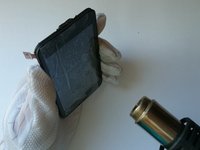
Turn off the phone.
-
Remove the battery and any installed SIM and memory cards. There are two tapes screws:
-
4x Torx T6
-
5x Torx T5
-
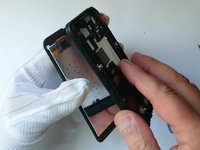
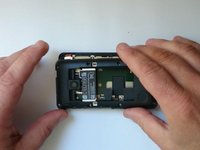
Remove the middle bezel.
-
Earpiece
-
Earpiece Flex Cable
-
Loudspeaker / Ringer
-
-
-
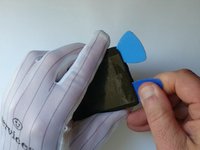
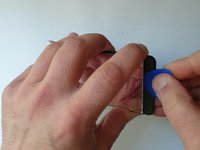
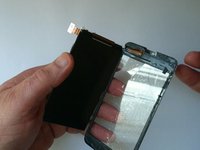
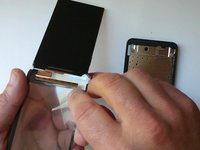
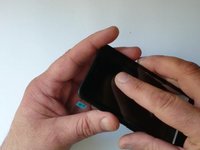
If the glass is broken, put some scotch tape to prevent it breake to pieces.
-
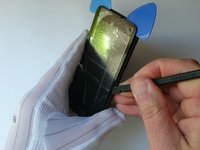
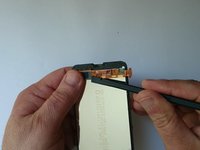
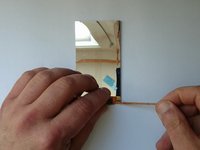
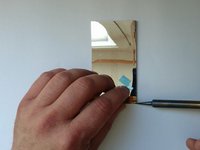
Use a hot air to make adhesive tape more soften.
-
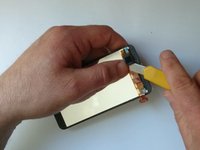
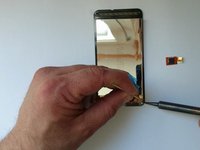
Use a cutter and make small room to insert a plastic pick.
-
-


To reassemble your device, follow these instructions in reverse order.
To reassemble your device, follow these instructions in reverse order.
Cancelar: não concluí este guia.
15 outras pessoas executaram este guia.

Equipe

10Comentários do guia
What did you apply in the first frame of step 7? 4:15 in the video.
soldering flux
ZFix -
Thanks for confirming
I didn't end up doing it correctly - it didn't work.
I think the mistake I made was not heating the old flex cable off the connector. I didn't follow instructions correctly and I pulled it off. I was able to heat the leftover connectors off but after soldering the new flex onto the board and sealing up it didnt work - screen still unresponsive :-(
It was my first attempt at replacing a screen (and I don't have any experience) so I'm not too bummed.
I just ordered a complete LCD and digitizer instead :-)
Failed miserably... Soldering iron not adapted. Might want to emphasise that is critical. At least I tried...
I think there is more to soldering on the connector. Before I started, I had a broken screen which was still working in the top half. After replacing the screen, now it doesn't work at all. I suspect the soldering on and off of the little connector on the screen is not as easy as suggested by many how-to videos. I see no way to make sure each finger of the connector is isolated from the next one. How do you make sure old solder is not shorting out some terminals? This part needs more explanation I think.
I succesfully replaced the digitizer thanks to your instructions. The hard part is the soldering of the new part to one of the phone boards. Try to do it right the first time because although the plastic is quite heat-tolerant, the more attempts at soldering you make, the less the plastic is usable and will hold the copper tracks. I suggest using a magnifying glass, a toothpick (to hold the tracks in contact after applying heat). Go slowly, only take care of one track at a time and all should be well. One problem I had is that the screen would stay white sometimes, so I guess my attempt is not 100% successful. However, I don't see happen now so I'm okay.
Thanks, I could follow your steps and do it myself. The guide is perfect!
PD: I noticed that the screws are T6 and T4 (instead of T5)
i just bought the lcd , digitizer and frame for £10. it took 5 minutes to unscrew the motherboard, swap the ear speaker and re assemble. Its not worth doing the soldering, just buy the frame.