Ir para o conteúdo principal
Participe da comunidade de reparos - Criar conta

Nintendo Wii 2011 DVD Reader Data Cable Replacement

O que você precisa

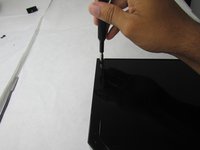
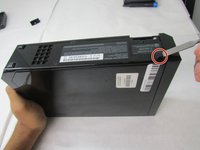
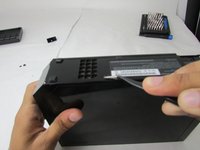
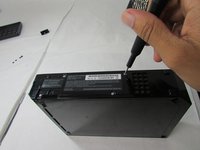
  1. Nintendo Wii 2011 DVD Reader Data Cable Replacement, Nintendo Wii 2011 Disassembly: passo 1, imagem 1 %32 Nintendo Wii 2011 DVD Reader Data Cable Replacement, Nintendo Wii 2011 Disassembly: passo 1, imagem 2 %32 Nintendo Wii 2011 DVD Reader Data Cable Replacement, Nintendo Wii 2011 Disassembly: passo 1, imagem 3 %32
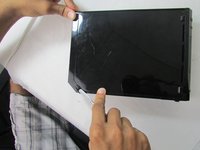
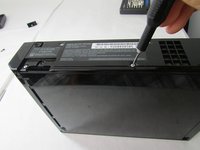
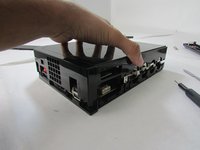
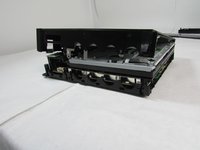
    • Using the Phillips #0 screwdriver, remove the single screw from the bottom of the device.

    • Pull out the slot with the battery (pictured in the third photo). Leave both the battery and the slot organized on the side with the removed screw.

    Pergunte ao FixBot

    Comentar

  2. Nintendo Wii 2011 DVD Reader Data Cable Replacement: passo 2, imagem 1 %32 Nintendo Wii 2011 DVD Reader Data Cable Replacement: passo 2, imagem 2 %32
    Ferramenta utilizada neste passo:
    Tweezers
    $4.99
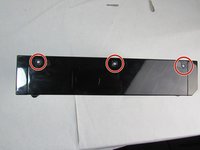
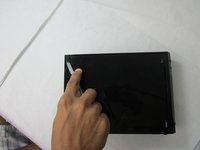
    • Use tweezers to remove the three black square stickers on the top of the console by prying under and gently pulling up to expose three screws.

    Pergunte ao FixBot

    Comentar

  3. Nintendo Wii 2011 DVD Reader Data Cable Replacement: passo 3, imagem 1 %32 Nintendo Wii 2011 DVD Reader Data Cable Replacement: passo 3, imagem 2 %32
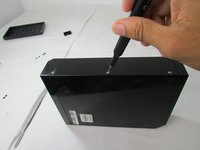
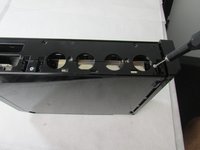
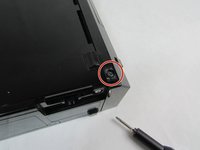
    • Use the Phillips #0 screwdriver to unscrew all three of the 4.1mm screws underneath the rubber feet.

    • Leave the screws in their holes and remove this plate.

    Pergunte ao FixBot

    Comentar

  4. Nintendo Wii 2011 DVD Reader Data Cable Replacement: passo 4, imagem 1 %32 Nintendo Wii 2011 DVD Reader Data Cable Replacement: passo 4, imagem 2 %32
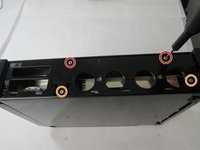
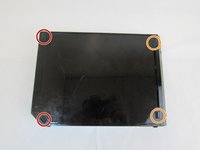
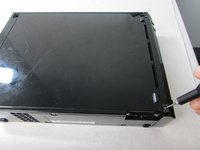
    • Remove the two 5.9 mm screws using the Phillips #0 screwdriver.

    • Remove the two 8.3mm screws using the Y1 Tri-point screwdriver.

    Pergunte ao FixBot

    Comentar

  5. Nintendo Wii 2011 DVD Reader Data Cable Replacement: passo 5, imagem 1 %32 Nintendo Wii 2011 DVD Reader Data Cable Replacement: passo 5, imagem 2 %32 Nintendo Wii 2011 DVD Reader Data Cable Replacement: passo 5, imagem 3 %32
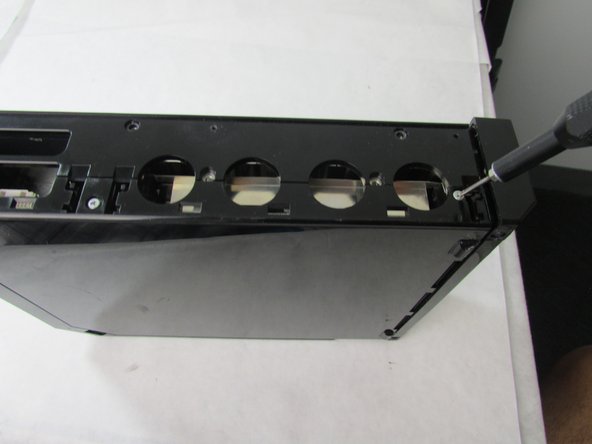
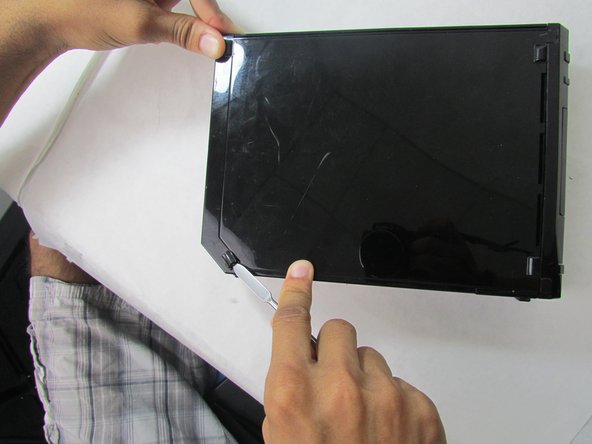
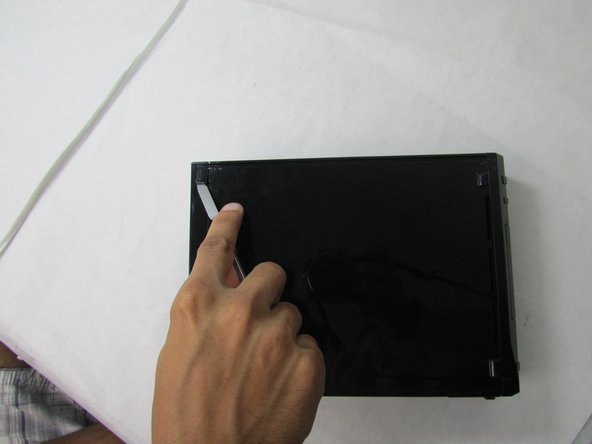
    • Remove the two half-cylinder stickers from the back left side of the Wii using the spudger.

    • Remove the two rectangular size stickers closest to the front of the Wii using the tweezers. Ignore the other two half-cylinder stickers.

    Pergunte ao FixBot

    Comentar

  6. Nintendo Wii 2011 DVD Reader Data Cable Replacement: passo 6, imagem 1 %32 Nintendo Wii 2011 DVD Reader Data Cable Replacement: passo 6, imagem 2 %32 Nintendo Wii 2011 DVD Reader Data Cable Replacement: passo 6, imagem 3 %32
    • Use the Y1 Tri-point screwdriver to remove all four Y screws on the left facing side of the console.

    • The two 8.3 mm Y screws closest to the rear ports will require the extension for the screwdriver to make contact with the screws.

    Pergunte ao FixBot

    Comentar

  7. Nintendo Wii 2011 DVD Reader Data Cable Replacement: passo 7, imagem 1 %32 Nintendo Wii 2011 DVD Reader Data Cable Replacement: passo 7, imagem 2 %32
    • On the bottom of the console, use the spudger tool to remove the one square rubber pad.

    • Then use tweezers to take off three flat square stickers covering screws.

    Pergunte ao FixBot

    Comentar

  8. Nintendo Wii 2011 DVD Reader Data Cable Replacement: passo 8, imagem 1 %32 Nintendo Wii 2011 DVD Reader Data Cable Replacement: passo 8, imagem 2 %32 Nintendo Wii 2011 DVD Reader Data Cable Replacement: passo 8, imagem 3 %32
    • Use the Phillips #0 screwdriver to remove three screws.

    • Use the Y1 Tri-point screwdriver to remove two screws.

    Pergunte ao FixBot

    Comentar

  9. Nintendo Wii 2011 DVD Reader Data Cable Replacement: passo 9, imagem 1 %32
    • Carefully pull off the front cover (the one with the disc drive hole). You will expose a red and black wire.

    Pergunte ao FixBot

    Comentar

  10. Nintendo Wii 2011 DVD Reader Data Cable Replacement: passo 10, imagem 1 %32 Nintendo Wii 2011 DVD Reader Data Cable Replacement: passo 10, imagem 2 %32
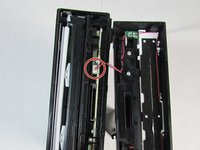
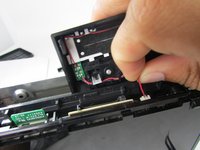
    • Pinch the red and black wire at the same time and pull perpendicular to the port. The wire will come out of the port.

    • Make sure to pinch both wires when you pull to prevent damage to the wires.

    Pergunte ao FixBot

    Comentar

  11. Nintendo Wii 2011 DVD Reader Data Cable Replacement: passo 11, imagem 1 %32 Nintendo Wii 2011 DVD Reader Data Cable Replacement: passo 11, imagem 2 %32
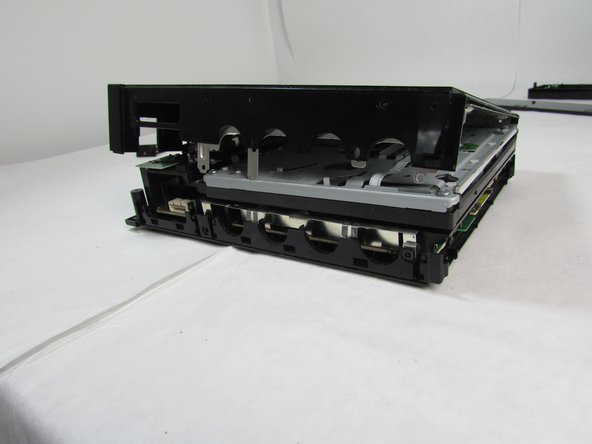
    • After removing the front cover, evenly pull from each corner to pull apart the left side and right side of the case.

    • This step is easiest if you take time to not fully remove the right side cover immediately but instead pull each corner a little amount and repeat as many times as necessary to prevent bending or damage to the interior metal frame.

    Pergunte ao FixBot

    Comentar

  12. Nintendo Wii 2011 DVD Reader Data Cable Replacement: passo 12, imagem 1 %32 Nintendo Wii 2011 DVD Reader Data Cable Replacement: passo 12, imagem 2 %32 Nintendo Wii 2011 DVD Reader Data Cable Replacement: passo 12, imagem 3 %32
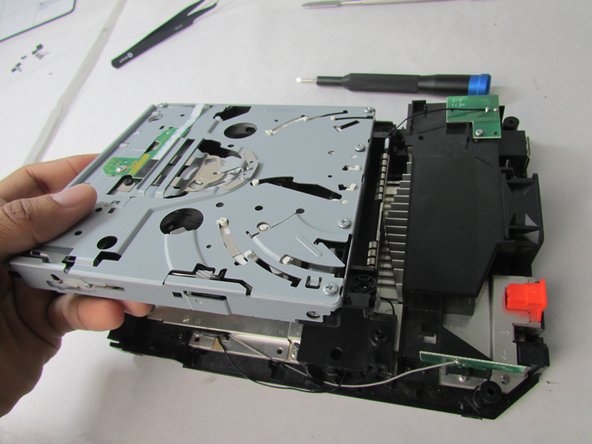
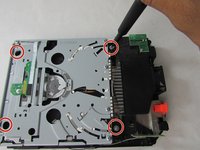
    • Remove the four 9 mm screws using the Phillips #0 screwdriver.

    • They are distinct from all other screws because the head of the screw had a built in washer.

    Pergunte ao FixBot

    Comentar

  13. Nintendo Wii 2011 DVD Reader Data Cable Replacement: passo 13, imagem 1 %32 Nintendo Wii 2011 DVD Reader Data Cable Replacement: passo 13, imagem 2 %32 Nintendo Wii 2011 DVD Reader Data Cable Replacement: passo 13, imagem 3 %32
    • For the wide, flat wire on the left of the other wire, flip up the wire holding lock and then carefully pull away parallel to the disc drive.

    • For the multiple wires on the right side of the wide wire, just pull away parallel to the disc drive to remove.

    Pergunte ao FixBot

    Comentar

  14. Nintendo Wii 2011 DVD Reader Data Cable Replacement: passo 14, imagem 1 %32
    • Remove the three 10mm screws using the Phillips #0 screwdriver.

    • Lift the plastic piece and remove it from the device.

    Pergunte ao FixBot

    Comentar

  15. Nintendo Wii 2011 DVD Reader Data Cable Replacement: passo 15, imagem 1 %32
    • Remove the eight 7mm screws using the Phillips #0 screwdriver.

    Pergunte ao FixBot

    Comentar

  16. Nintendo Wii 2011 DVD Reader Data Cable Replacement: passo 16, imagem 1 %32
    • Remove the four black 10 mm screws attached to the black plastic frames using the Phillips #0 screwdriver.

    Pergunte ao FixBot

    Comentar

  17. Nintendo Wii 2011 DVD Reader Data Cable Replacement: passo 17, imagem 1 %32 Nintendo Wii 2011 DVD Reader Data Cable Replacement: passo 17, imagem 2 %32
    • Very carefully remove the black plastic covers.

    • Be careful during this step because wires are still attached to other components underneath.

    Pergunte ao FixBot

    Comentar

  18. Nintendo Wii 2011 DVD Reader Data Cable Replacement: passo 18, imagem 1 %32 Nintendo Wii 2011 DVD Reader Data Cable Replacement: passo 18, imagem 2 %32
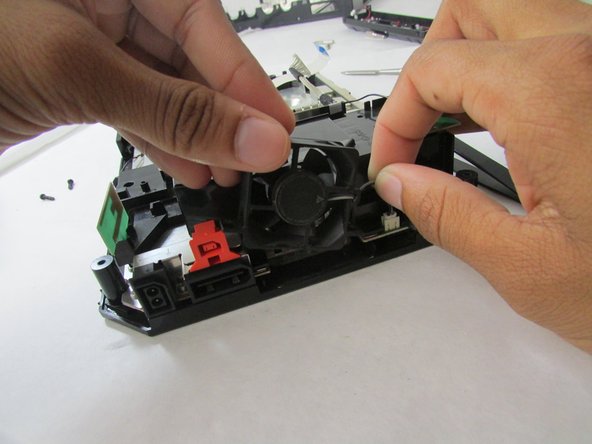
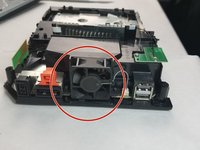
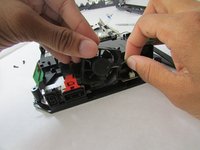
    • After removing all silver and 10 mm black screws attached to the console frame, remove the fan by pinching the grey and black wires at the same time. Detach the wires from the port.

    • If they are not removed at the same time, the risk of wire tear or breaking the proper connection to the port increases.

    Pergunte ao FixBot

    Comentar

  19. Nintendo Wii 2011 DVD Reader Data Cable Replacement: passo 19, imagem 1 %32
    • Remove the metal plate covering the motherboard carefully.

    • The wires should be threaded carefully through the hole in the metal casing, as they are still attached to components underneath.

    Pergunte ao FixBot

    Comentar

  20. Nintendo Wii 2011 DVD Reader Data Cable Replacement: passo 20, imagem 1 %32
    • Using a Phillips #0 screwdriver, remove the four 11.3 mm Phillips screws attaching the heatsink to the case frame and motherboard.

    • Pull off the heatsink and place carefully on a dry surface.

    Pergunte ao FixBot

    Comentar

  21. Nintendo Wii 2011 DVD Reader Data Cable Replacement: passo 21, imagem 1 %32 Nintendo Wii 2011 DVD Reader Data Cable Replacement: passo 21, imagem 2 %32
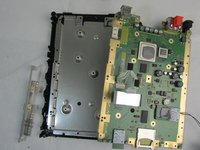
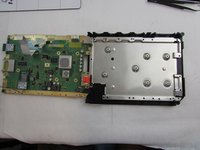
    • Once the heatsink is removed, cautiously pull the motherboard out from the left side of the console case and remove it from the device.

    Pergunte ao FixBot

    Comentar

  22. Nintendo Wii 2011 DVD Reader Data Cable Replacement, DVD Reader Data Cable: passo 22, imagem 1 %32 Nintendo Wii 2011 DVD Reader Data Cable Replacement, DVD Reader Data Cable: passo 22, imagem 2 %32
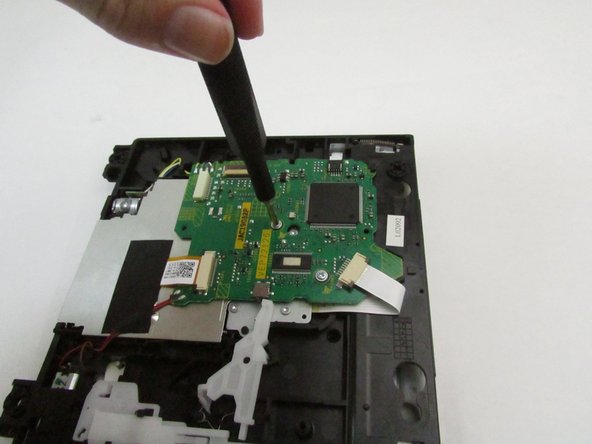
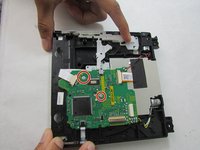
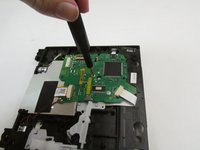
    • Use the Phillips screwdriver to remove two 3 mm screws.

    • Remove the disc drive board.

    Pergunte ao FixBot

    Comentar

  23. Nintendo Wii 2011 DVD Reader Data Cable Replacement: passo 23, imagem 1 %32 Nintendo Wii 2011 DVD Reader Data Cable Replacement: passo 23, imagem 2 %32 Nintendo Wii 2011 DVD Reader Data Cable Replacement: passo 23, imagem 3 %32
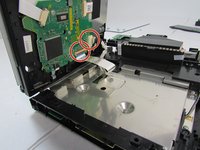
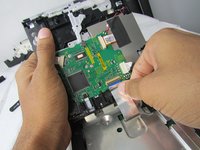
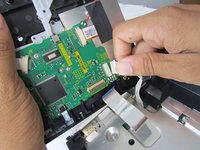
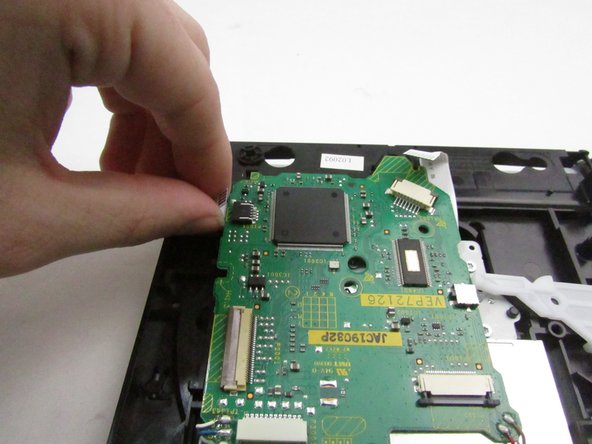
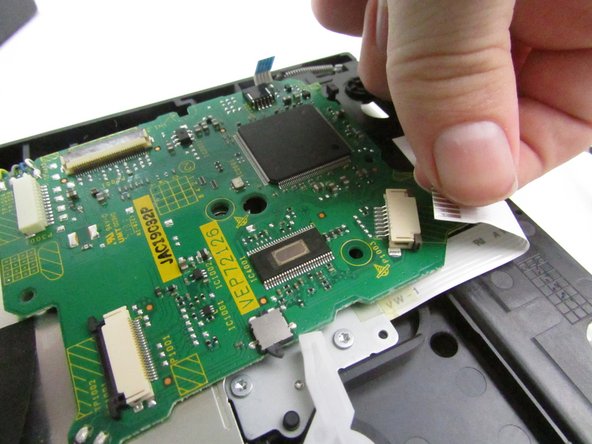
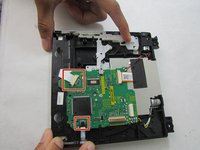
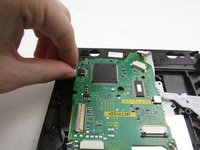
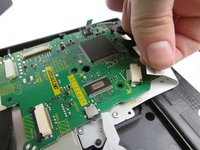
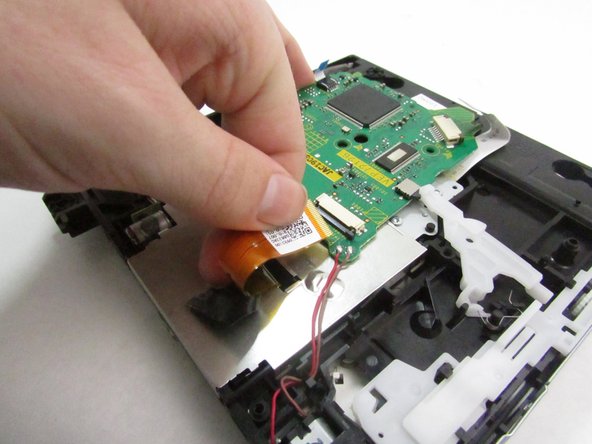
    • Pinch the two cables with your thumb and index finger and pull each cable straight out from the plug-in port.

    Pergunte ao FixBot

    Comentar

  24. Nintendo Wii 2011 DVD Reader Data Cable Replacement: passo 24, imagem 1 %32 Nintendo Wii 2011 DVD Reader Data Cable Replacement: passo 24, imagem 2 %32 Nintendo Wii 2011 DVD Reader Data Cable Replacement: passo 24, imagem 3 %32
    Ferramenta utilizada neste passo:
    Tweezers
    $4.99
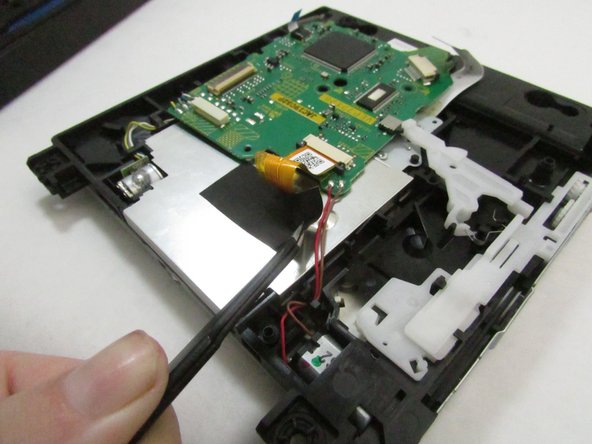
    • Use tweezers to remove the sticker holding the cables down.

    • Pinch the cable with your thumb and index finger and pull straight out.

    Pergunte ao FixBot

    Comentar

  25. Nintendo Wii 2011 DVD Reader Data Cable Replacement: passo 25, imagem 1 %32 Nintendo Wii 2011 DVD Reader Data Cable Replacement: passo 25, imagem 2 %32 Nintendo Wii 2011 DVD Reader Data Cable Replacement: passo 25, imagem 3 %32
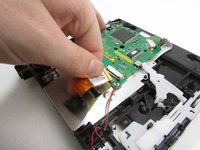
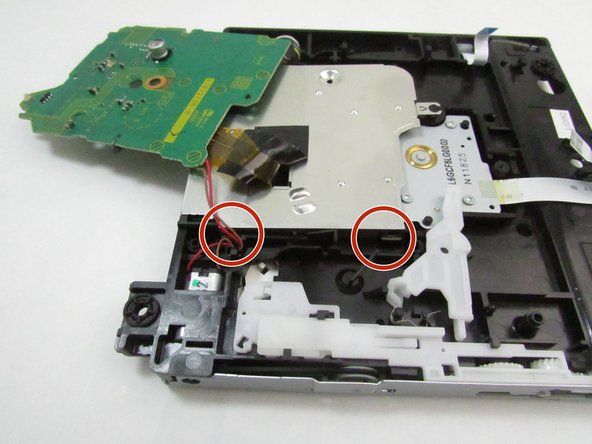
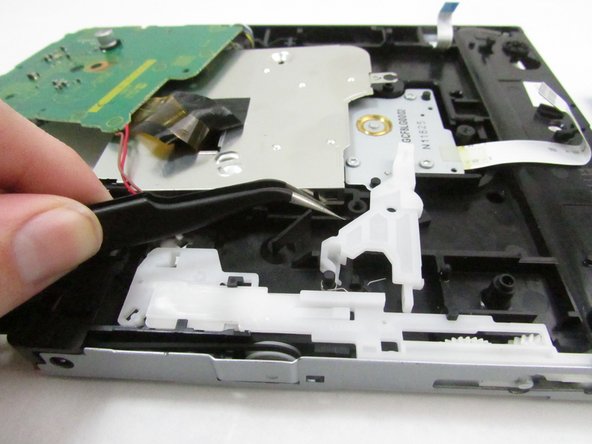
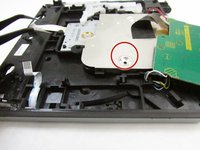
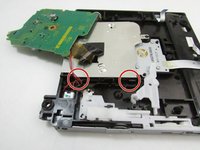
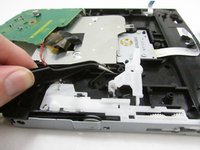
    • There will be one screw and four clips holding the plate in place.

    • Use the tweezers to pry up each of the four clips on both sides of the metal plate.

    • Slide and lift the metal plate simultaneously toward the end of the DVD disc drive where the board is located.

    Pergunte ao FixBot

    Comentar

  26. Nintendo Wii 2011 DVD Reader Data Cable Replacement: passo 26, imagem 1 %32 Nintendo Wii 2011 DVD Reader Data Cable Replacement: passo 26, imagem 2 %32
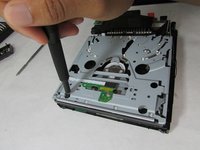
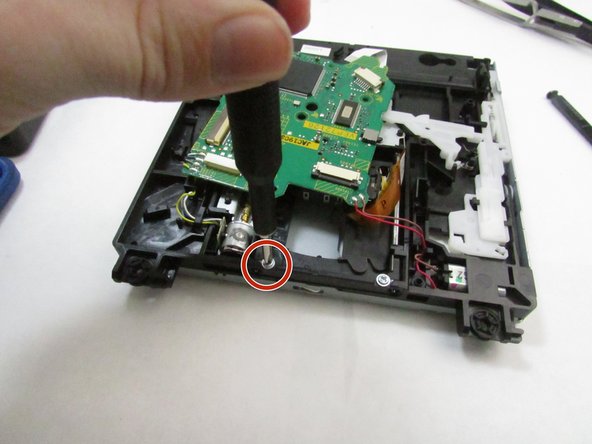
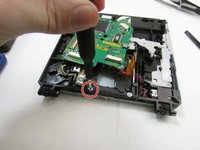
    • Remove the screw using a Phillips screwdriver.

    Pergunte ao FixBot

    Comentar

  27. Nintendo Wii 2011 DVD Reader Data Cable Replacement: passo 27, imagem 1 %32 Nintendo Wii 2011 DVD Reader Data Cable Replacement: passo 27, imagem 2 %32 Nintendo Wii 2011 DVD Reader Data Cable Replacement: passo 27, imagem 3 %32
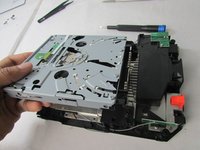
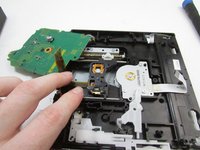
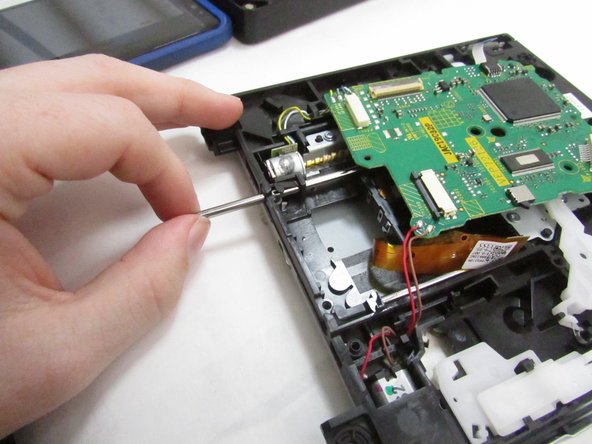
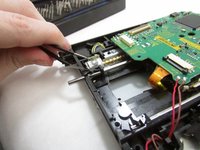
    • Use the tweezers to lift up the plastic piece.

    • Use your fingers to pull out the metal shaft.

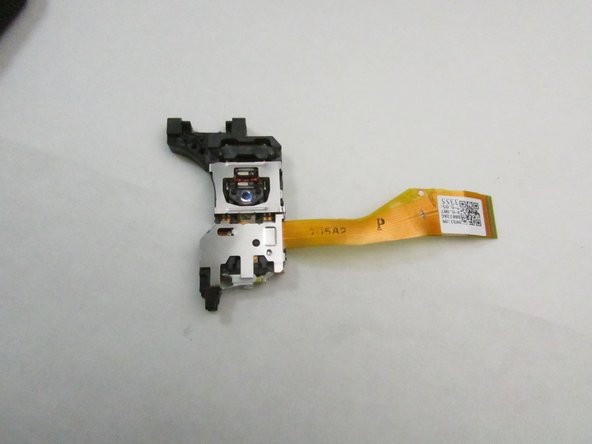
    • Lift the optical drive from the disc drive.

    Pergunte ao FixBot

    Comentar

  28. Nintendo Wii 2011 DVD Reader Data Cable Replacement: passo 28, imagem 1 %32
    • Remove the Phillips screw that secures the white plastic bracket to the lens assembly.

    • Lift the bracket off the lens assembly.

    • If you are going to install a new lens, make sure to transfer the white plastic bracket and screw to the new laser lens before installation.

    Pergunte ao FixBot

    Comentar

Conclusão

To reassemble your device, follow these instructions in reverse order.

Cancelar: não concluí este guia.

1Comentário do guia

What happens if I break the TP 1002 wire when doing this replacement?

Baseball - Responder Compartilhar
Comentar

Visualizações:

Últimas 24 horas: 0

Últimos 7 dias: 6

Últimos 30 dias: 39

Ao todo: 2,511