Introdução
After heavy use or excessive force, the Nintendo Switch Joy-Con casing may become worn or cracked. This may expose the Joy-Cons’ electronics, putting them at risk for further damage. However, Joy-Cons may remain functional without a new shell. We suggest replacing the shell before you have to buy a new pair of Joy-Cons. If you wish to fix a worn Switch casing, use this guide to replace the right Joy-Con shell.
Note that the procedure for repairing the Left Joy-Con is different.
Though replacing a Joy-Con shell involves only unscrewing and moving electronic parts, some steps require precision to re-attach small parts.
Because the Joy-Cons are separate from the main system, you do not have to turn off your Switch before replacing the Joy-Con shells.
O que você precisa
-
-
Remove the 4 tri-point screws on the back of the Joy-Con.
 Pergunte ao FixBot
-
-
Ferramenta utilizada neste passo:Tweezers$4.99
-
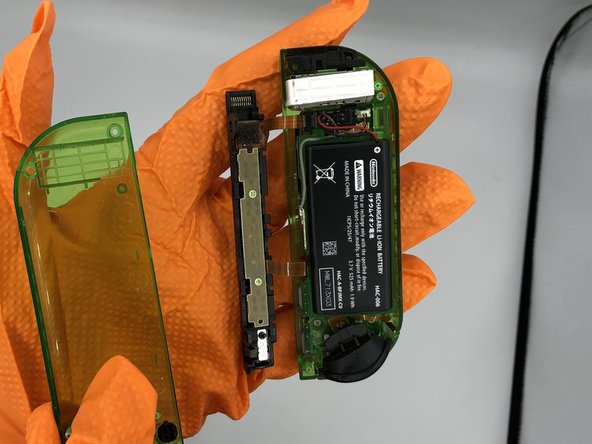
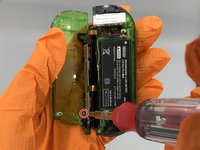
Remove the battery and disconnect it from the motherboard. You may use tweezers or your hands to pull connections from the motherboard.
-
-
-
-
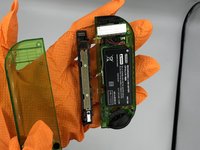
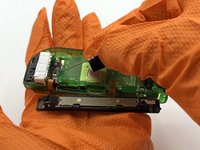
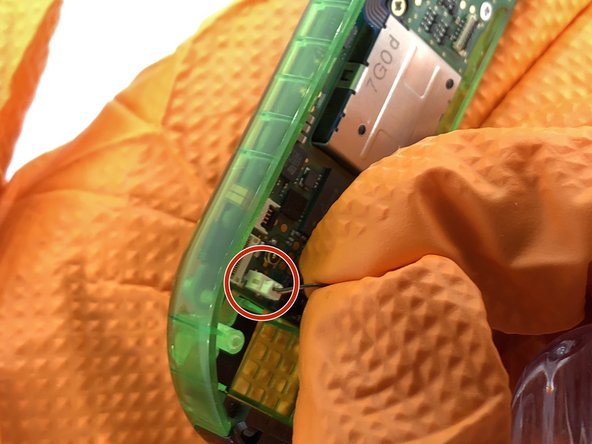
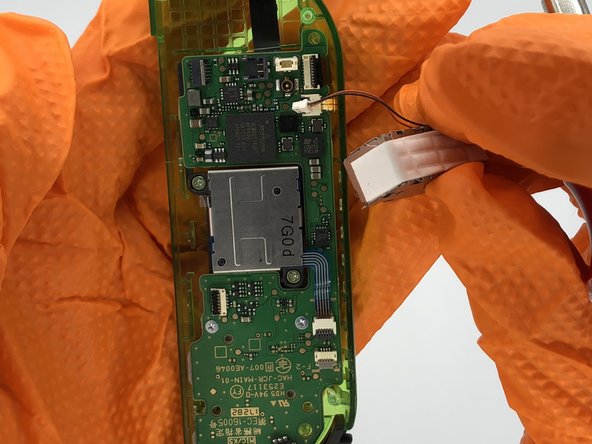
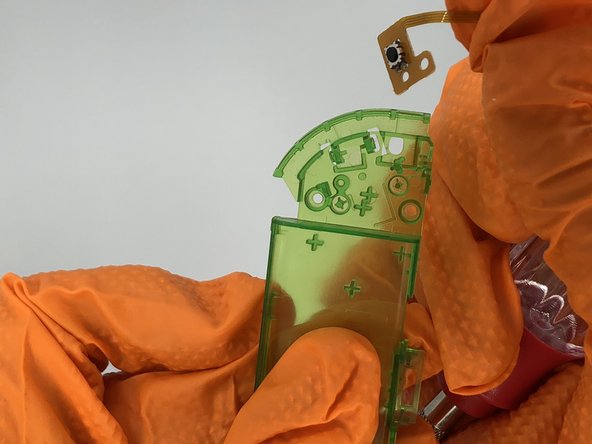
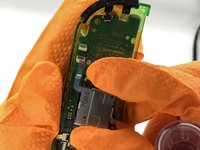
Remove the small antenna chip (shown in second picture) and disconnect it from the motherboard.
-
-
-
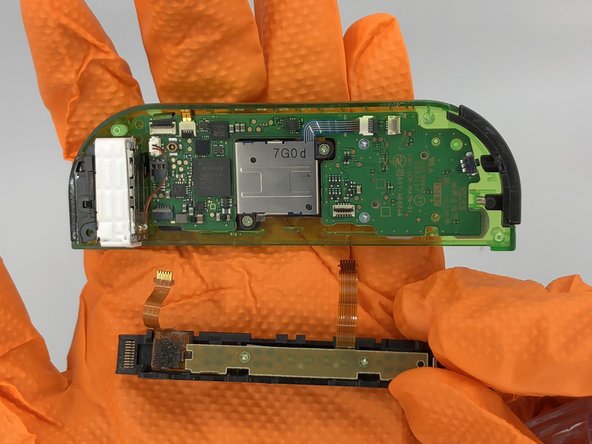
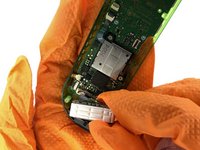
Remove the ribbon cables connecting the rail and battery casing to the motherboard. Unlock the cables by flipping the connector upwards with a spudger, then pull the cable out of the connector.
-
-
-
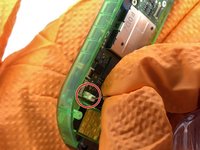
Remove the rumble motor by disconnecting the white 2-pin connector.
-
-
-
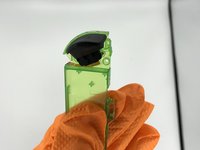
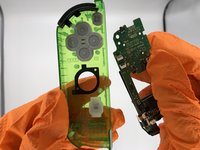
Remove the black ZR button from the battery casing.
-
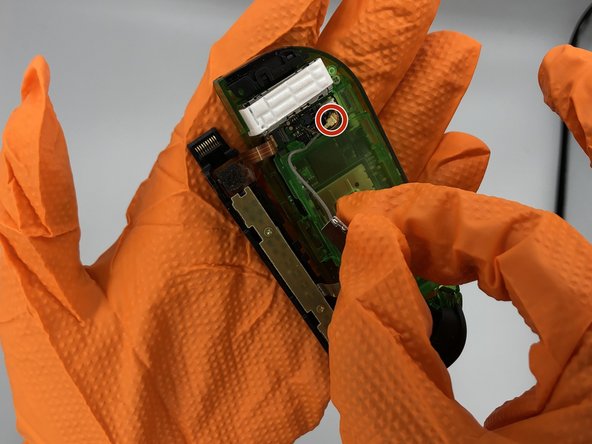
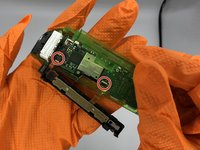
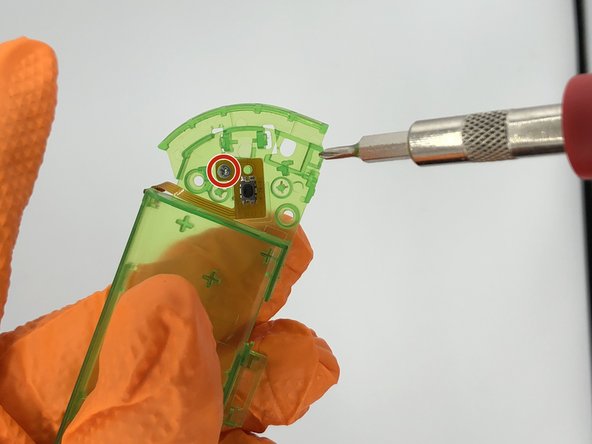
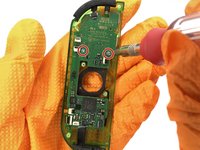
Remove the button sensor by unscrewing it from the battery casing.
-
-
-
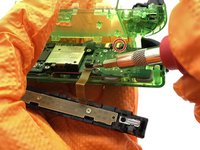
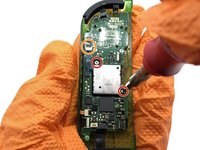
Remove the two Phillips screws holding the joystick to the motherboard.
-
Disconnect the joystick ribbon cable from the motherboard.
-


To reassemble your device, follow these instructions in reverse order.
Cancelar: não concluí este guia.
71 outras pessoas executaram este guia.
Equipe

University of North Texas, Team S1-G8, Raign Spring 2020 Membro de University of North Texas, Team S1-G8, Raign Spring 2020
UNT-RAIGN-S20S1G8
2 Membros
Autoria de 7 guias
9Comentários do guia
Not quite as thorough as the other Joy-con tear down but always a handy thing to have, going by the pictures it gave me all the information I needed personally concerning the screws, so I was able to strip the whole controller down and swap it into another shell. It is straight forward once you get in to it and have to give the author their much deserved credit for posting this up!
Very good detailed guide, only thing I would change is I’d probably take the rumble motor out right after of even before the battery. It’s pretty easy to remove, you can do it at anytime after opening, and it gets the wires out of the way to make other parts easier.
I am having difficulty removing the ribbon cable next to the rumble motor on step 7. It would be nice to have a photo of which way the clamp is expected to swing; I suspect I know the correct direction, but my tools are bending it instead.
In fact, this step is unnecessary unless you are replacing the buttons or rail case. The rail may remain attached if you are only replacing the front, back, and middle casing.
*attention* the r button can be very easily broken off when removing the pcb. It requires soldering skills to re attach it afterward.