Introdução
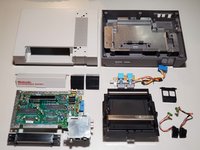
Disassembly of the NES. Use this guide to learn how to open the system and replace items such as the 72-pin connector, controller ports/buttons, & plastics.
O que você precisa
-
-
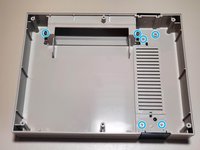
Remove six 13.25mm Phillips screws on the bottom of the system.
-
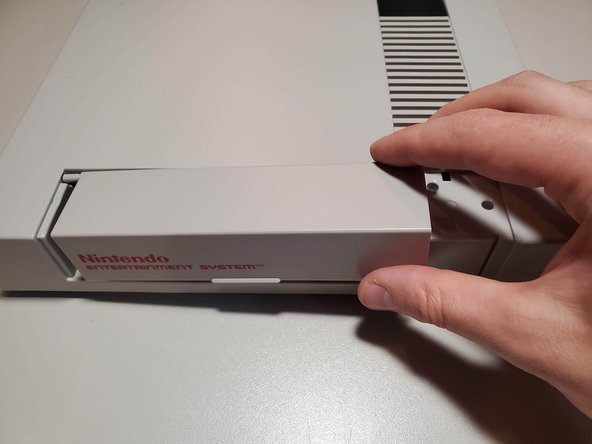
Once all screws are removed, simply lift the bottom half away from the top housing.
-
-
-
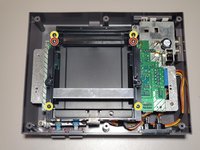
Remove seven 13.25mm Phillips screws around the perimeter of the RF shield.
-
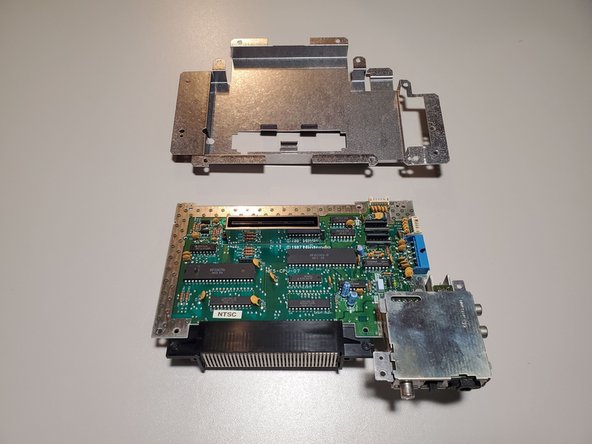
Lift the RF shield up and away from the system and place aside.
-
-
-
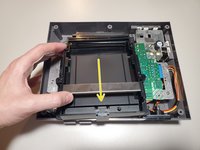
Remove four 13.25mm Phillips screws from the four corners of the cartridge tray.
-
Remove two 17.25mm Phillips screws from the top of cartridge tray.
-
Once free, slide the cartridge tray towards you and then lift slightly in the front to remove.
-
-
-
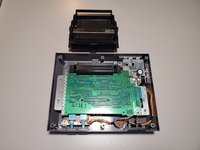
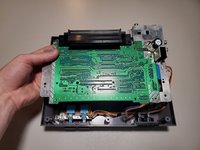
Remove three 13.25mm Phillips screws to free the motherboard from the bottom housing.
-
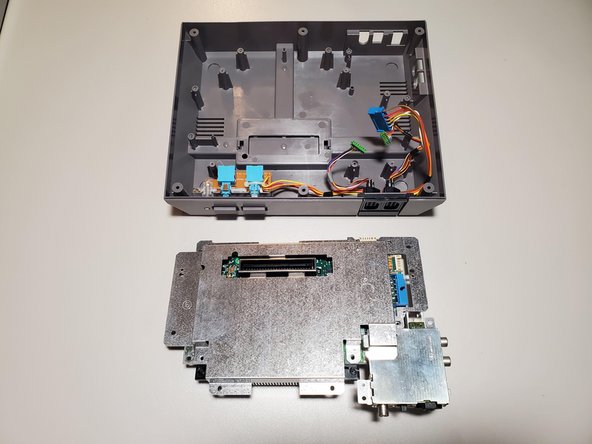
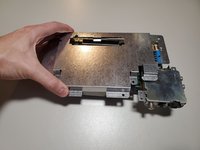
Carefully lift the motherboard and turn it over to find the wired connections.
-
-
-
-
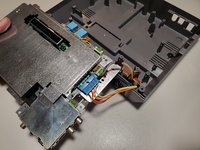
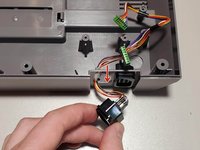
Disconnect the wired connections from the motherboard.
-
Player 1 (Shorter wires)
-
Player 2 (Longer wires)
-
Power/Reset Buttons
-
-
-
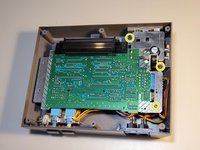
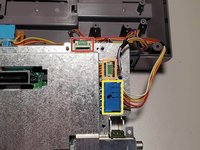
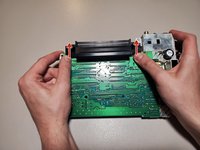
The bottom RF shield is held on by tension around the expansion port. Lift the shield up and away from the motherboard.
-
-
-
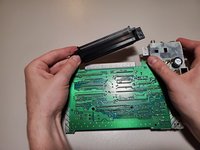
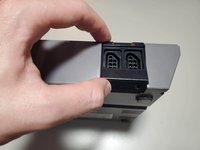
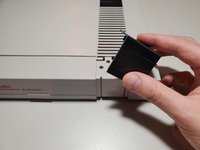
To remove the 72-Pin connector, apply force to each edge and slide the connector off the contacts on the motherboard.
-
-
-
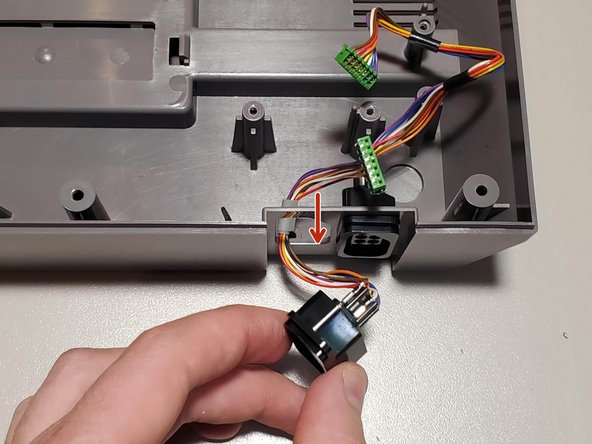
Remove two 13.25mm Phillips screws from the button assembly. Lift slightly in the back and then up and away from the housing to remove.
-
-
-
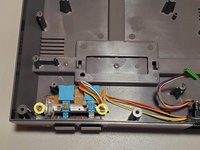
Remove two 7.25mm Phillips screws from the bottom of the system. Lift the controller port faceplate up and away.
-
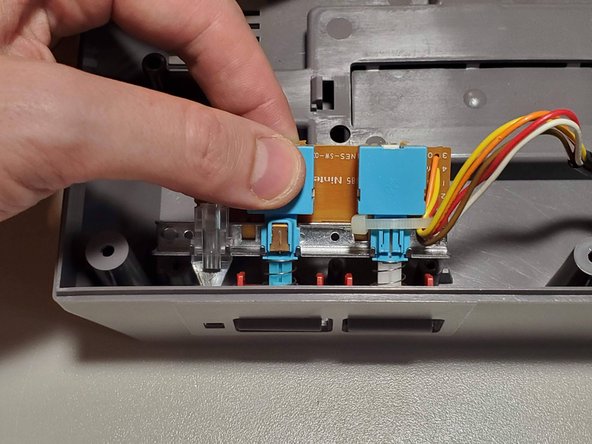
Remove the controller ports by feeding them through the port holes to the front of the housing.
-
-
-
Remove seven 7.25mm small flathead screws from the inside of the top housing.
-
Two of these screws also hold a spring for the door. When reassembling, refer to the keyed shape of the plastic to orient these correctly.
-
-
-
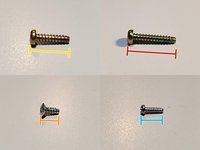
Screw List
-
(19x) 13.25mm Phillips
-
(2x) 17.25mm Phillips
-
(2x) 7.25mm Phillips (Silver, large cap)
-
(7x) 7.25mm Flathead (Silver, small)
-


To reassemble your device, follow these instructions in reverse order.
Cancelar: não concluí este guia.
25 outras pessoas executaram este guia.

6Comentários do guia
Thank you very much!
Love step by step
Very well done easy to do and easier to follow.
Perfect just top style
Great guide, I wanted to confirm that I had the right screws on me since I had disassembled my NES on a workbench with some other consoles (bad habit).
I thought I was going crazy though since the 13.25mm Phillips screw count is off- it's 20 if you have 2 screws on your cartridge tray, and 22 if you have the 6 screws shown in the guide.
- 6x outer casing
- 7x top RF shield
- 2x or 4x cartridge tray
- 3x lower motherboard
- 2x power/reset button assembly