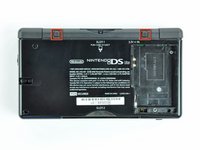
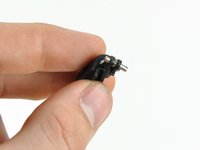
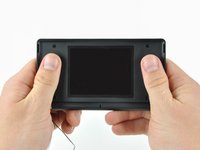
Introdução
Replace the front display bezel of your Nintendo DS Lite to make your DS look brand new again!
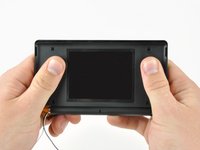
O que você precisa
-
-
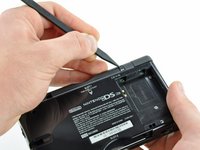
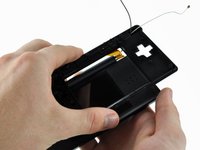
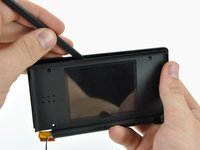
Unscrew the Phillips screw securing the battery cover to the lower case.
-
Pry the battery cover upward with a spudger or fingernail, and lift out of the lower case.
-
-
-
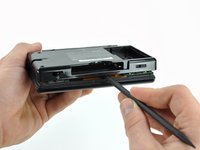
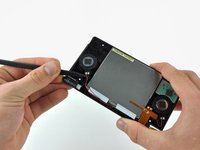
Insert the edge of a spudger in between the lower and upper case near the top right corner of the DS Lite.
-
Carefully run the spudger along the right edge of the DS Lite, creating an opening in the process.
-
Continue running the spudger along the backside of the DS Lite until the majority of the lower case has been separated from the upper case.
-
-
-
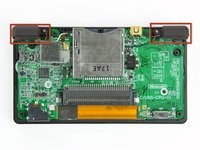
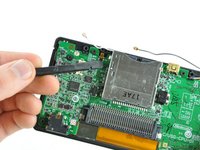
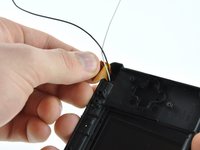
Use the flat edge of a spudger to pry the Wi-Fi antenna connector straight up from its socket on the Wi-Fi board.
-
-
-
-
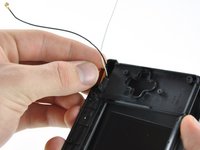
Use the flat edge of a spudger to pry the microphone connector straight up from its socket on the motherboard.
-
-
-
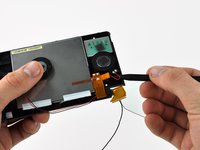
Position the antenna cable with its connector facing up and away from the motherboard using a spudger to hold it down lightly in the gap between chips on the motherboard.
-
Slowly and carefully pull the antenna cable until the cable connector is under the DS Lite game cartridge reader.
-
Continue pulling the cable until the cable connector comes out from under the game cartridge reader on the right side.
-
-
-
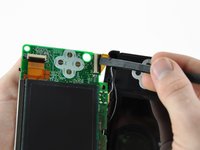
Use your fingernail or the flat edge of a spudger to carefully flip up the upper LCD ribbon cable retaining flap.
-
Pull the motherboard away from the DS Lite to separate the upper LCD ribbon cable from its socket on the motherboard.
-
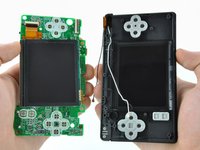
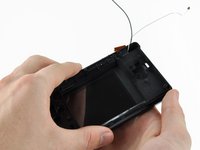
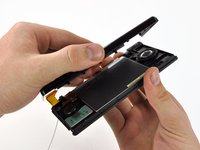
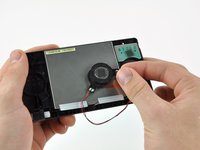
Remove the motherboard from the DS Lite.
-
Now you may open the retaining flap for the lower LCD screen in the same way and separate the lower LCD screen from the motherboard.
-
-
-
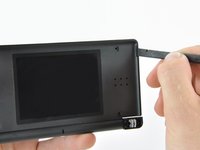
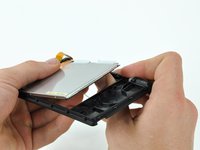
Remove the two 8.3 mm Phillips screws securing the upper case to the display assembly.
-
-
-
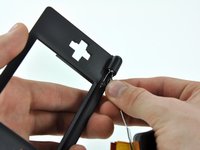
Use a push pin to remove the four plastic screw covers on the front bezel.
-
-
-
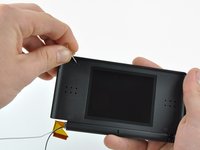
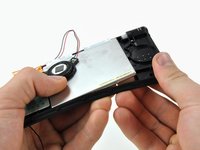
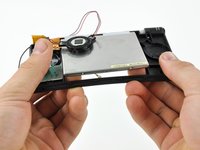
Use the tip of a spudger to pry both speakers up from their housing and place them on the back of the LCD.
-


To reassemble your device, follow these instructions in reverse order.
To reassemble your device, follow these instructions in reverse order.
Cancelar: não concluí este guia.
34 outras pessoas executaram este guia.

4 comentários
Final step is missing ribbon removal but paying careful attention, you can roll the cable up and pull it through. Remember to never be forceful!
There’s a few steps missing at the end. After separating the lcd screen adhesive from the front bezel, you need to run the wifi, mic, and lcd ribbon cables through the hole to remove the screen completely (be careful with this, take out the mic and wifi cable first, then gently roll the lcd ribbon cable until it fits through the hole). If you’re replacing the front bezel, You’ll want to take the metal ring on the bottom left, and the hinge piece on the bottom right (when looking at step 28 image). They should both come out easily especially the hinge piece, assuming a broken hinge. Those need to be put on the new bezel. There is a small piece of plastic in the hinge piece, don’t lose it! It can come out leave holes where the power indicator light is. Make sure that piece of plastic is in the hinge piece before putting it in the new bezel, it requires some force to put in AND take out!