Ir para o conteúdo principal
Participe da comunidade de reparos - Criar conta

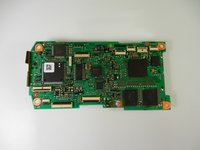
Nikon D40 Mainboard Replacement

O que você precisa

    1. Nikon D40 Mainboard Replacement, Back Cover: passo 1, imagem 1 %32
      • Remove the two visible 6.0 mm Philips #0 screws on the left and right sides of the viewfinder. These screws are highlighted in red.

      Pergunte ao FixBot

      Comentar

    2. Nikon D40 Mainboard Replacement: passo 2, imagem 1 %32 Nikon D40 Mainboard Replacement: passo 2, imagem 2 %32
      • Remove the four 6.0 mm Philips #0 screws on the left and right sides of the camera.

      Pergunte ao FixBot

      Comentar

    3. Nikon D40 Mainboard Replacement: passo 3, imagem 1 %32
      • Remove the four highlighted 3.0 mm Philips #0 screws on the bottom of the camera.

      Pergunte ao FixBot

      Comentar

    4. Nikon D40 Mainboard Replacement: passo 4, imagem 1 %32
      • While pulling the bottom down, remove the back of the camera.

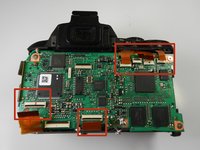
      • Be careful not to pull too hard on the back as it is connected via a ribbon cable. Be sure to disconnect this cable on the main board.

      • To disconnect the ribbon cable pull the small black tab upward and pull gently on the cable.

      Pergunte ao FixBot

      Comentar

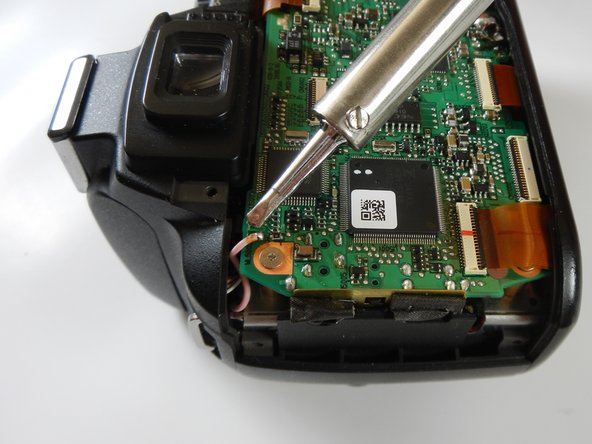
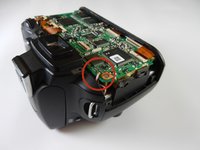
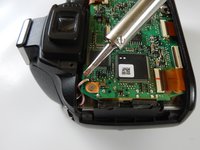
    1. Nikon D40 Mainboard Replacement, Mainboard: passo 5, imagem 1 %32 Nikon D40 Mainboard Replacement, Mainboard: passo 5, imagem 2 %32
      • Remove the solder connecting the red wire to the mainboard.

      Pergunte ao FixBot

      Comentar

    2. Nikon D40 Mainboard Replacement: passo 6, imagem 1 %32
      • Desolder the 4 smaller wires near the bottom of the mainboard.

      Pergunte ao FixBot

      Comentar

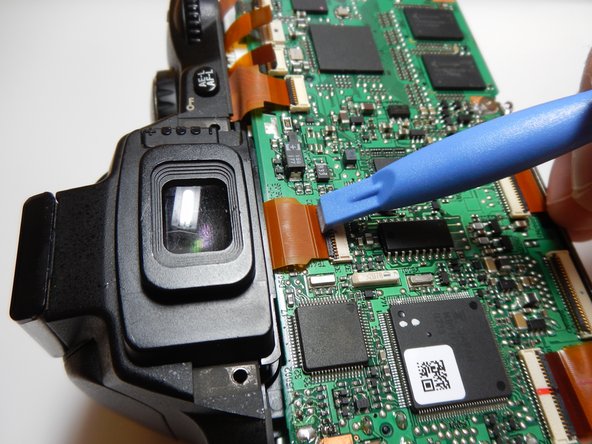
    3. Nikon D40 Mainboard Replacement: passo 7, imagem 1 %32 Nikon D40 Mainboard Replacement: passo 7, imagem 2 %32
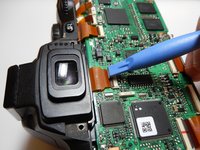
      • Use the plastic opening tool to release the ribbon cables attached to the mainboard.

      Pergunte ao FixBot

      Comentar

    4. Nikon D40 Mainboard Replacement: passo 8, imagem 1 %32
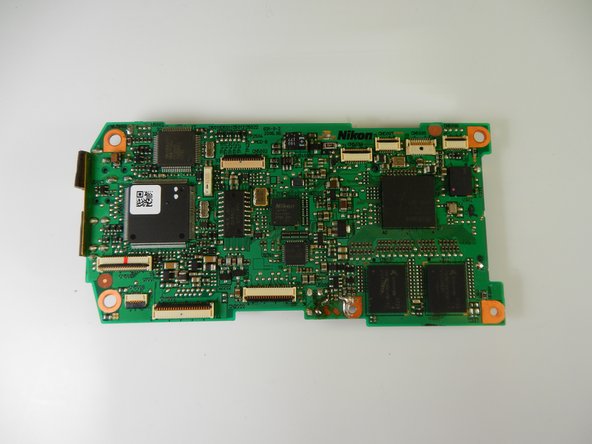
      • Remove the five 3.0mm Philips #1 screws holding the mainboard down.

      Pergunte ao FixBot

      Comentar

    5. Nikon D40 Mainboard Replacement: passo 9, imagem 1 %32 Nikon D40 Mainboard Replacement: passo 9, imagem 2 %32
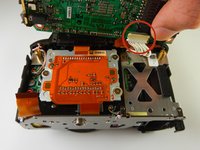
      • Lift the mainboard up to reveal the final connection.

      • Carefully detach the white cable from the board.

      Pergunte ao FixBot

      Comentar

Conclusão

To reassemble your device, follow these instructions in reverse order.

Cancelar: não concluí este guia.

7 outras pessoas executaram este guia.

Joe Leija

Membro desde: 01/21/14

632 Reputação

Autoria de 2 guias

Equipe

Cal Poly, Team 6-19, Maness Winter 2014 Membro de Cal Poly, Team 6-19, Maness Winter 2014

CPSU-MANESS-W14S6G19

4 Membros

Autoria de 31 guias

3Comentários do guia

What is the ordering of the small wires on the bottom? It is hard to put back together from the photos. Thanks!

Joseph Ruskiewicz - Responder Compartilhar

wheres the power source? i mean the fuse

Gringo Maputi - Responder Compartilhar

in the main board located kindly put markings on it

Gringo Maputi - Responder Compartilhar

Comentar

Visualizações:

Últimas 24 horas: 1

Últimos 7 dias: 9

Últimos 30 dias: 51

Ao todo: 5,207