Introdução
This guide will demonstrate how to remove and replace the camera lens on a Nikon Coolpix 3500.
Prior to the replacement process, be sure to save photos from the device, have the new camera lens available, and disconnect any external power.
During the replacement process, it is necessary to disconnect the battery from the device before removing and replacing the camera lens.
After the replacement process, it is then important to reconnect the battery.
O que você precisa
-
-
-
Unlatch the battery cover and slide the cover out. Place cover to the side, it will not be needed for the next few steps.
-
Remove the battery.
-
Remove the battery cover without using excessive force. Keep in mind this cover is fragile.
 Pergunte ao FixBot
-
-
-
-
-
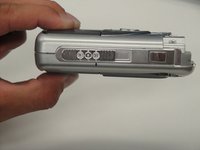
Remove the two 4.5 mm screws that sit next to the battery slot.
-
Remove the 3 mm screw that sits below the CF card slot.
-
Remove the 4.5 mm screw that sits above the digital I/O cover.
-
-
-
Remove the two 5 mm screws that sit near the camera strap eyelet.
-
Remove the camera strap eyelet.
-
-
-
-
Remove the 5 mm screw and cap that were underneath the camera strap eyelet.
-
-
-
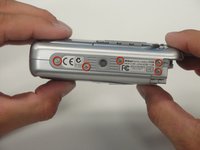
Remove the five 3.5 mm screws that sit at the bottom of the camera.
-
Remove the grey plastic piece, which the five screws held in place, by gently detaching the front cover.
-
-
-
Using a spudger, detach the white-capped wire.
-
Using a spudger, detach the orange-capped wire and set the front cover aside.
-
-
-
-
-
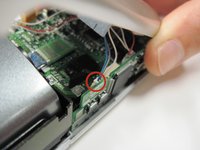
Disconnect the grey-capped wire from the motherboard.
-
Disconnect the blue wire attached to the green chip from the center of the motherboard.
-
-
-
Remove the 3.5 mm screw from the motherboard next to the rotating lens.
-
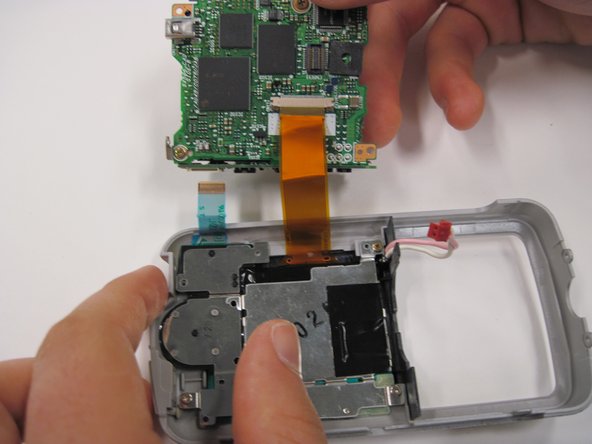
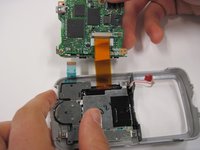
Invert the motherboard and lens toward the orange and blue wires still connecting the motherboard to the LED screen.
-
-
-
Disconnect the blue wire connecting the motherboard to the LED screen.
-
Disconnect the orange wire using a spudger while pushing out horizontally.
-
Disconnect the red capped wire from the motherboard.
-
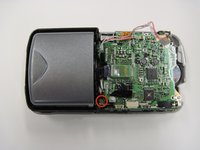
Lift the motherboard and lens (still connected) out of the back case.
-
-
-
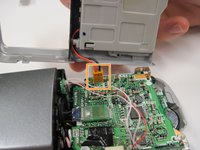
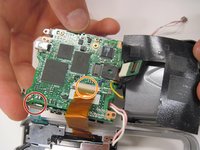
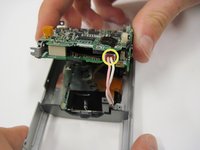
Lift up on the black covering and remove the orange wire connecting the lens to the motherboard.
-
-









To reassemble your device, follow these instructions in reverse order.

Equipe

Cal Poly, Team 30-38, Garner Spring 2010 Membro de Cal Poly, Team 30-38, Garner Spring 2010
CPSU-GARNER-S10S30G38
5 Membros
Autoria de 11 guias
